

Candy bars are already a crowd-pleaser—but dress them up with themed wrappers, and they instantly turn into décor, party favors, and conversation starters. Whether you’re planning a birthday, baby shower, holiday gathering, or school event, custom candy bar wrappers are one of the easiest ways to add a polished, Pinterest-worthy touch without blowing your budget.
The best part? You don’t need fancy tools or design skills. With a little planning and creativity, you can transform everyday candy bars into something that looks custom-made.
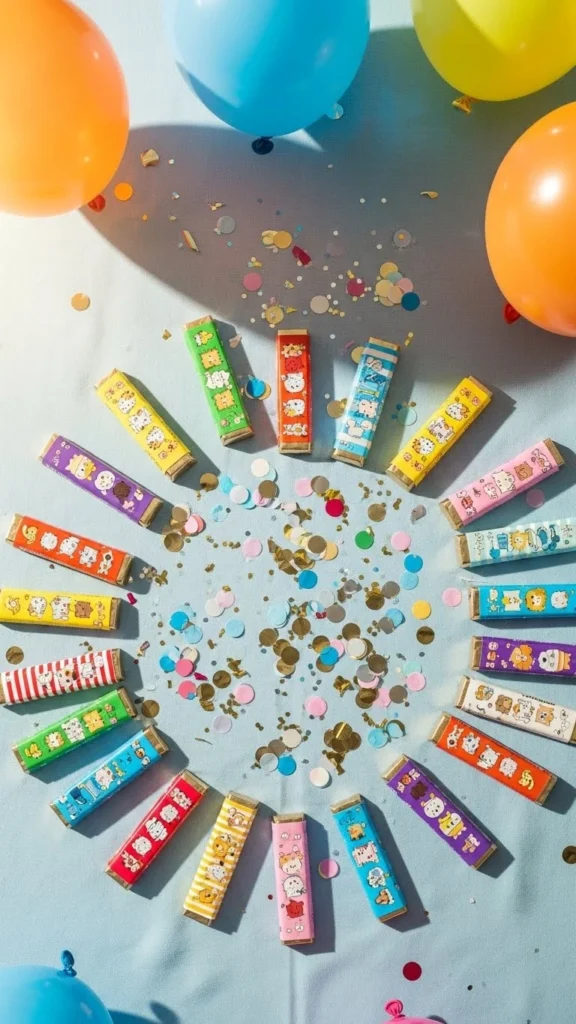
Choose a Clear Theme First
Before touching scissors or paper, lock in your theme. This step guides every design decision and keeps your wrappers looking intentional instead of random.
Popular theme ideas include:
- Birthday themes (unicorns, dinosaurs, sports, rainbows)
- Holidays (Valentine’s Day, Halloween, Christmas, Easter)
- Baby showers or gender reveals
- Graduation or school events
- Color-based themes (pastels, neutrals, bold brights)
Once your theme is set, choose:
- 2–3 main colors
- One main design style (playful, elegant, minimal, bold)
Keeping things simple makes the final result look more professional.
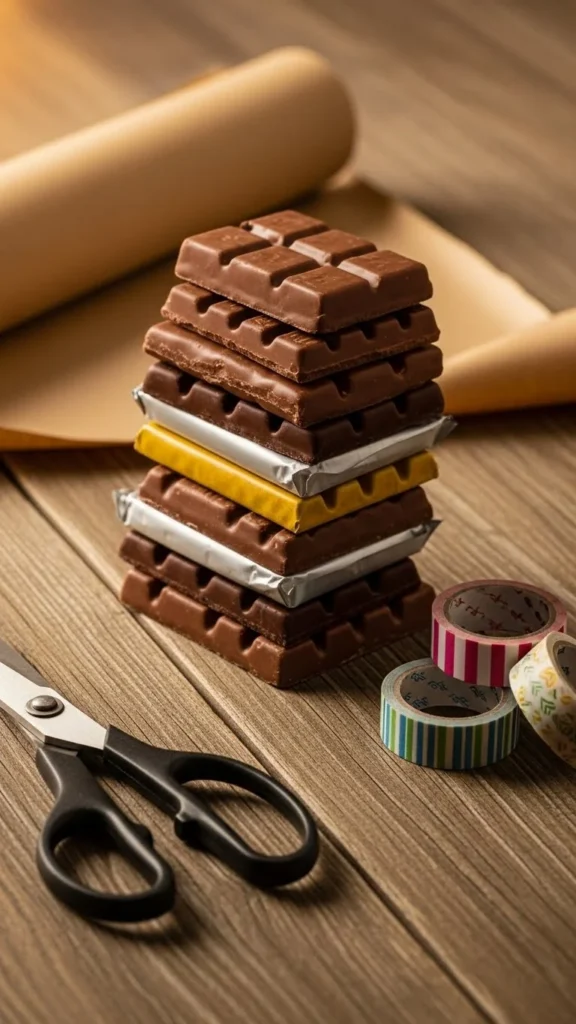
Pick the Right Candy Bars
Not all candy bars are equally easy to wrap. Start with bars that have a clean, rectangular shape.
Good options include:
- Standard chocolate bars
- Slim candy bars
- Mini bars for party favors
- Flat wafer-style treats
Tip: Buy all your candy bars in the same size so you can use one wrapper template for everything. This saves time and avoids frustration later.
Design or Print Your Wrappers
You have two easy routes here: DIY design or ready-made printables.
DIY Wrapper Design
You can design wrappers using:
- Simple design tools
- Printable templates
- Basic word or design software
Design tips:
- Leave space where the bar folds
- Avoid tiny details that won’t show once wrapped
- Use patterns, icons, or illustrations that match your theme
Printable Wrappers
If you’re short on time, printable wrappers are a lifesaver. Just print, cut, and wrap.
Printing tips:
- Use white cardstock for a sturdy, polished look
- Matte paper photographs better than glossy
- Test-print one wrapper before printing everything

Wrap Candy Bars Cleanly and Securely
This step is where your candy bars really come together. Take your time—it’s worth it.
Step-by-Step Wrapping
- Carefully remove or slide off the original wrapper if possible
- Lay your themed wrapper face down
- Place the candy bar in the center
- Fold the paper snugly around the bar
- Secure with double-sided tape or a glue stick
Avoid bulky tape or uneven folds. Smooth edges make even simple designs look high-end.
Helpful tip:
- Use a ruler to create crisp folds for a clean finish
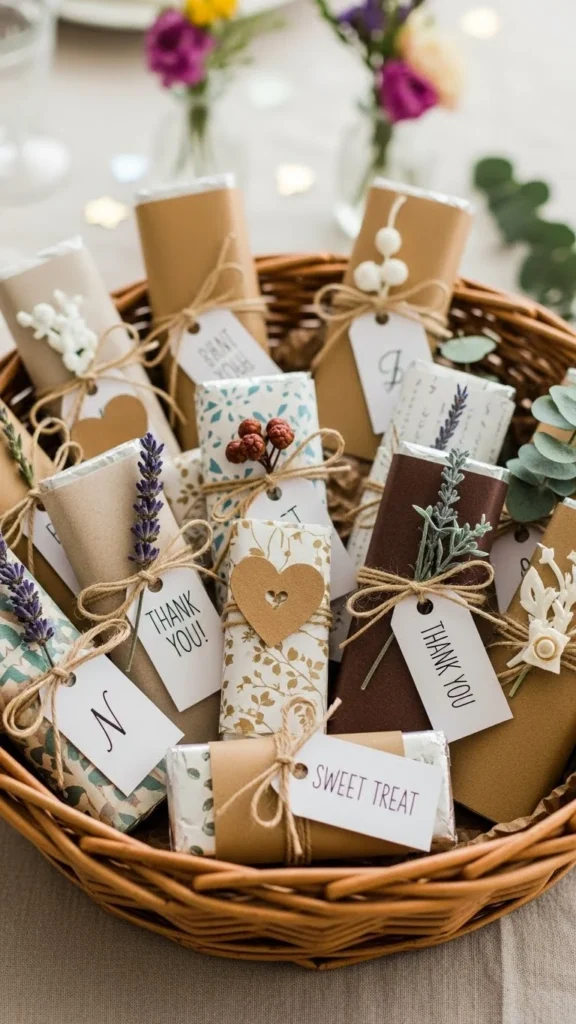
Add Decorative Finishing Touches
This is where you can elevate your wrappers from cute to unforgettable.
Simple add-ons include:
- Ribbon or twine tied around one end
- Small stickers or seals
- Mini tags with names or dates
- Metallic accents for sparkle
Stick to one or two accents max so the candy bars don’t look overdone.
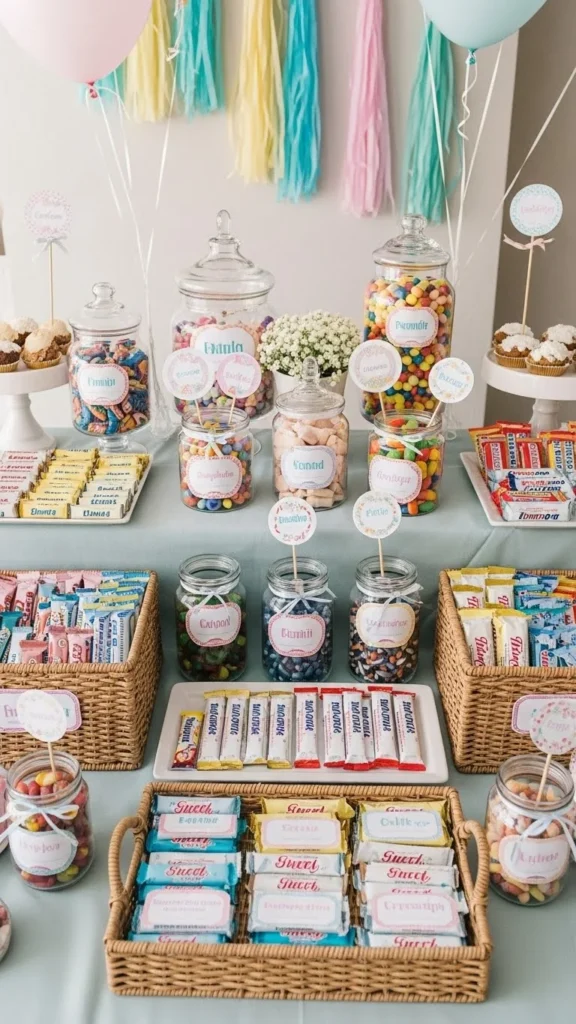
Display Candy Bars as Part of the Decor
Don’t just toss your wrapped candy bars in a bowl. Use them as décor!
Creative display ideas:
- Stack them in clear jars
- Line them up on dessert tables
- Place one at each guest’s seat
- Add them to gift bags or favor boxes
Arranging them neatly makes your wrappers stand out and encourages guests to grab one.
Budget-Friendly Tips That Make a Big Difference
You don’t need to spend much to get great results.
Smart savings:
- Buy candy bars in bulk
- Print wrappers at home
- Reuse the same design across multiple events
- Keep colors limited to reduce ink use
Even simple designs look amazing when done neatly and displayed well.
Final Takeaway
Decorating candy bars with themed wrappers is one of those small details that makes a big impact. With a clear theme, simple supplies, and a little creativity, you can turn everyday treats into party-ready showstoppers that guests love.
Save this idea for your next celebration—and start planning your themed wrappers today!

Leave a Reply