

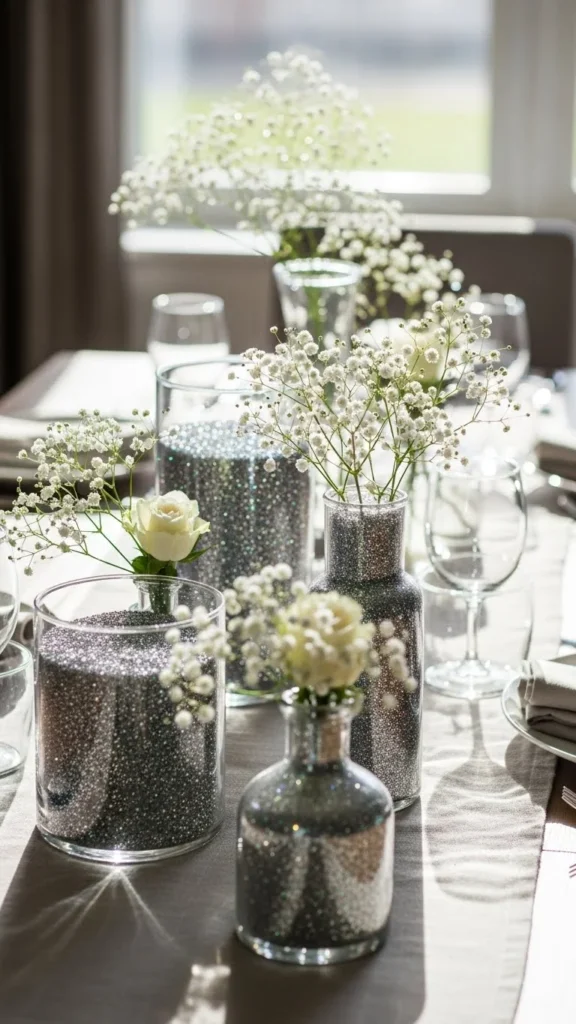
Glitter centerpieces have a magical way of catching the light and instantly elevating any table. Whether you’re hosting a birthday party, planning a baby shower, or refreshing your dining space for a special gathering, a well-made glitter centerpiece can become the star of the room. The best part? You don’t need expensive supplies or advanced crafting skills to make something that looks polished and Pinterest-worthy.
Below, you’ll find easy steps, practical tips, and creative ideas to help you craft glitter centerpieces that truly shine—without the mess or stress.
Choose the Right Base for Your Centerpiece
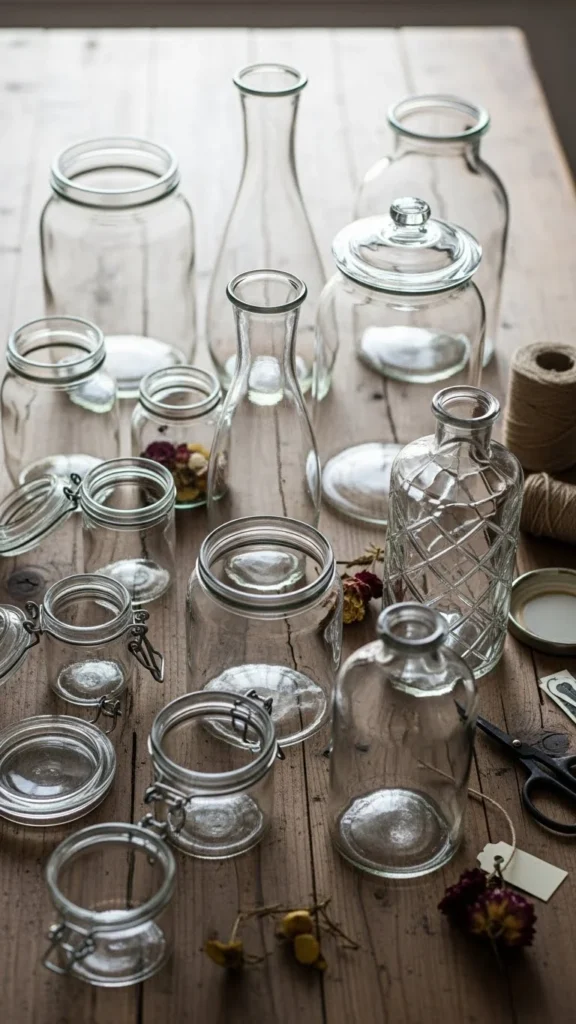
Before adding any sparkle, start with a solid foundation. The base sets the tone for your entire centerpiece and determines how bold or subtle the glitter effect will feel.
Popular base options include:
- Glass vases or jars for a clean, elegant look
- Cylinders or bowls for modern tables
- Wood blocks or boxes for rustic themes
- Foam letters or numbers for birthdays and milestones
Clear or neutral-colored bases work best because they allow the glitter to stand out. If you’re crafting for a themed event, match the base shape to the occasion—tall vases for formal tables or short containers for casual settings.
Pick Glitter That Matches Your Theme
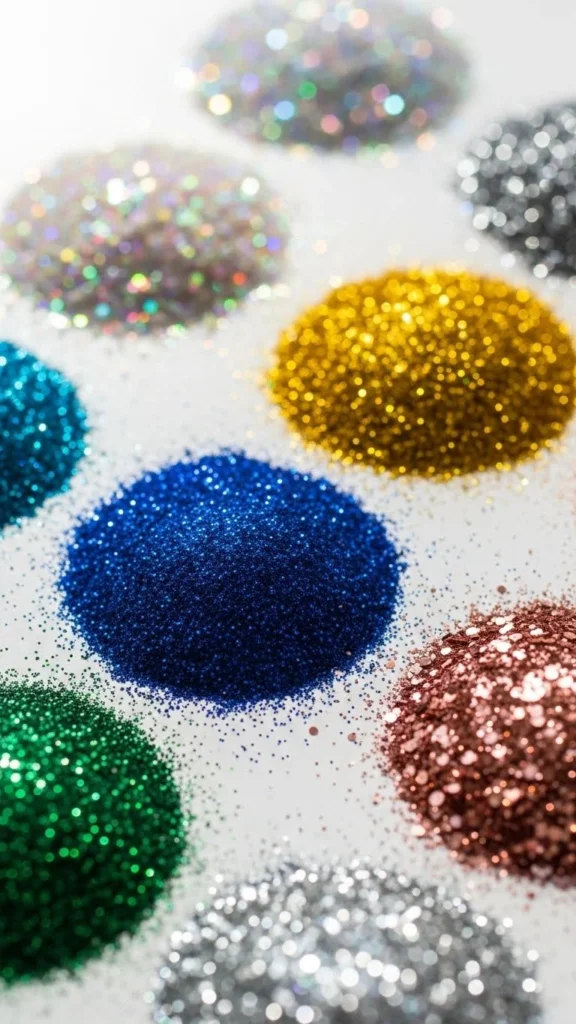
Not all glitter is created equal. The size, color, and finish of your glitter can completely change the final look of your centerpiece.
Here’s how to choose wisely:
- Fine glitter gives a smooth, elegant finish
- Chunky glitter adds texture and drama
- Metallic shades reflect light beautifully
- Matte glitter offers a softer glow
Stick to one or two glitter colors for a cohesive look. Mixing too many shades can make the centerpiece feel busy. If your event already has a color palette, let that guide your glitter choice.
Pro tip: Always test glitter on a small section first to see how it looks once dry.
Apply Glitter Without the Mess
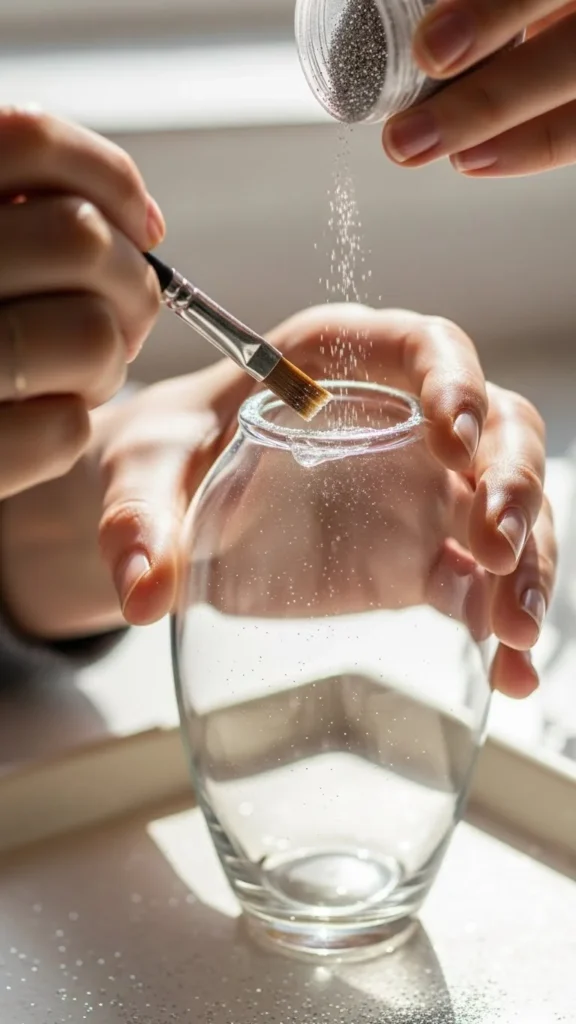
This step makes or breaks your project. A clean glitter application looks professional, while uneven coverage can feel rushed.
Follow these simple steps:
- Protect your workspace with paper or a tray.
- Apply adhesive evenly using a foam brush or sponge.
- Sprinkle glitter slowly over the surface—don’t dump it.
- Let it dry completely before shaking off excess.
For glass items, apply glue only where you want sparkle. Leaving some areas clear creates contrast and keeps the design balanced.
Once dry, lightly tap off extra glitter and seal with a clear spray to prevent shedding.
Add Layers for Depth and Interest
Glitter alone looks great, but layered elements make your centerpiece feel intentional and styled.
Try combining glitter with:
- Faux flowers or greenery
- Candles or LED lights
- Decorative stones or beads
- Ribbons or twine
Place glittered items at the center and surround them with softer textures. This contrast helps the sparkle stand out without overwhelming the table.
If your centerpiece is tall, keep the top lighter and the base heavier for visual balance.
Style Centerpieces for Different Occasions
One of the best things about glitter centerpieces is how adaptable they are. Small changes can make the same base work for many events.
Ideas to inspire you:
- Birthday parties: Glittered numbers or bold colors
- Baby showers: Soft pastels with fine glitter
- Holiday tables: Neutral bases with gold or silver accents
- Everyday decor: Minimal sparkle with natural textures
Keep height in mind if guests will be seated around the table. Centerpieces should enhance conversation, not block views.
Keep Cleanup Easy and Stress-Free
Glitter has a reputation for sticking around long after the party ends—but it doesn’t have to.
Helpful cleanup tips:
- Work over trays or folded paper
- Use lint rollers for quick pickup
- Seal finished pieces properly
- Store centerpieces in boxes to reuse later
Reusable glitter centerpieces are budget-friendly and perfect for future events.
Final Touches That Make It Shine
Before placing your centerpiece on the table, step back and check:
- Is the glitter evenly distributed?
- Does it reflect light nicely?
- Does it match the overall decor?
Sometimes a small adjustment—like adding greenery or removing one extra element—makes a big difference.
Ready to Add Some Sparkle?
Glitter centerpieces don’t need to be complicated to look stunning. With the right base, thoughtful color choices, and a few simple techniques, you can create pieces that feel custom and memorable.
Save this guide for later and try crafting your own glitter centerpiece for your next celebration—you might be surprised how easy it is to make something that truly shines.

Leave a Reply