

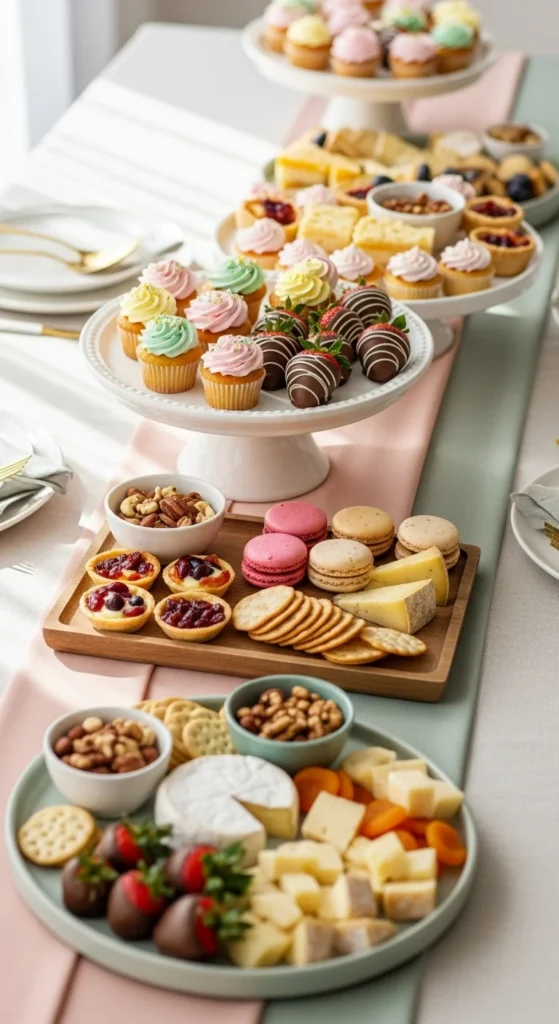
Parties feel more inviting when the food display looks intentional and easy to enjoy. Treat trays help organize snacks, guide guests, and add visual charm without extra effort. The right tray can turn simple treats into a display people remember. Below are stylish treat tray ideas that work for birthdays, holidays, showers, and casual get-togethers, with practical tips you can use right away.
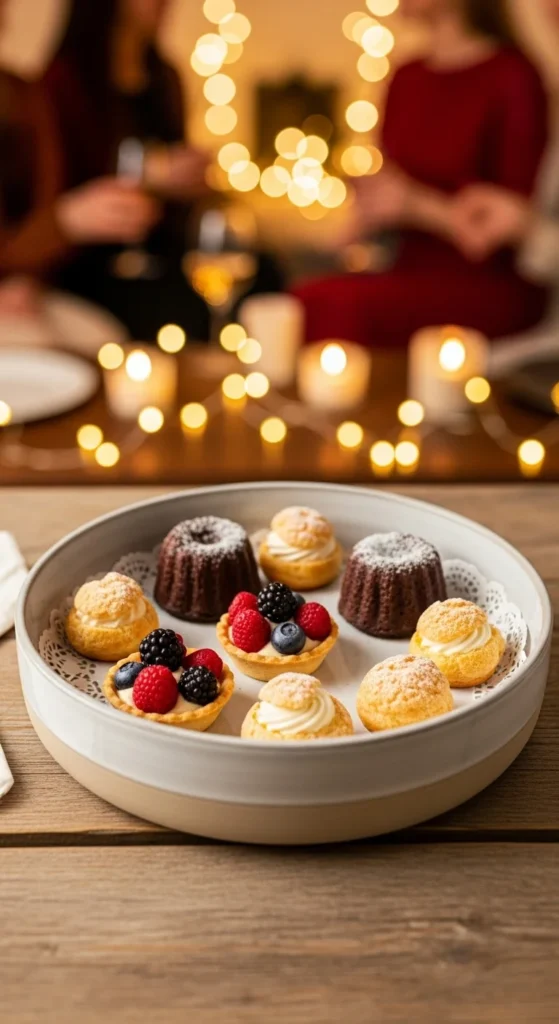
1. Minimal White Ceramic Tray

A white ceramic tray fits almost any party style. It keeps the focus on the treats and blends easily with other décor. This option works well when you mix colors on the table or change themes often.
For budget ideas, look for simple serving platters at thrift stores or discount home shops. Many have plain white options that clean up well. If you want variety, group two or three small ceramic trays instead of one large piece.
DIY tip: Use white oven-safe dishes you already own. Arrange them in a row for a clean display. Add parchment paper underneath treats for quick cleanup. This tray style works for cookies, brownies, or sliced snacks and feels tidy without extra effort.
2. Natural Wood Serving Board
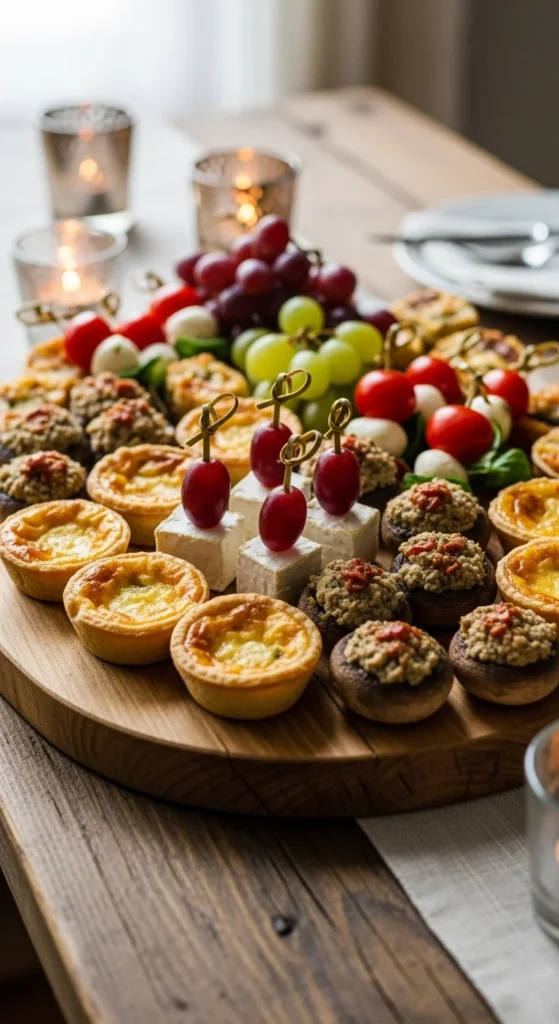
Wood trays bring warmth to party tables. They work well for casual gatherings and outdoor events. The grain adds texture without overpowering the food.
You can find affordable wood boards at kitchen outlets or even repurpose cutting boards. Keep the look simple by spacing treats slightly apart. This helps each item stand out.
DIY idea: Lightly sand an older board and wipe it with food-safe oil. It instantly looks cleaner and ready for guests. Add small paper liners for sticky treats. Wood trays pair nicely with neutral plates and cloth napkins.
3. Tiered Metal Dessert Stand
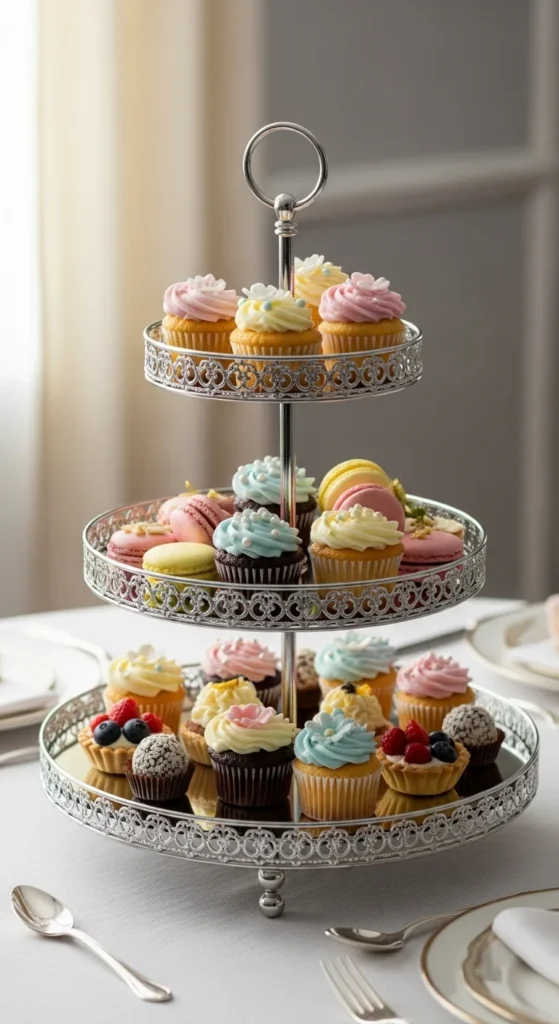
Tiered trays help when table space is limited. They guide guests upward and keep things organized. Metal versions suit both modern and classic themes.
Look for secondhand stands online or at resale shops. A single stand can replace several flat trays. Keep the top lighter and place heavier items on the bottom.
DIY option: Stack two plates with a sturdy candle holder glued between them. Spray paint if needed. This simple setup works for cookies or wrapped treats and keeps the table balanced.
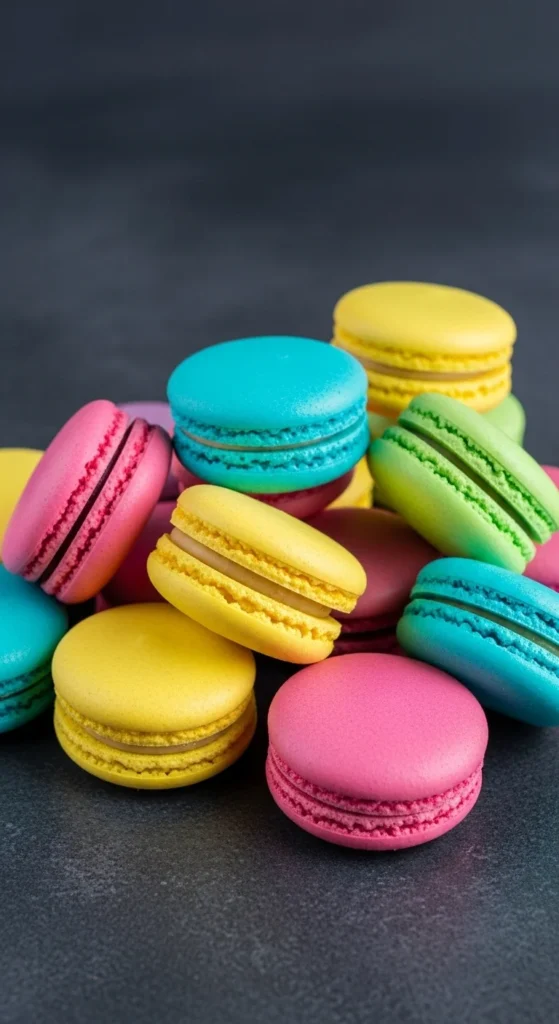
4. Clear Acrylic Treat Tray
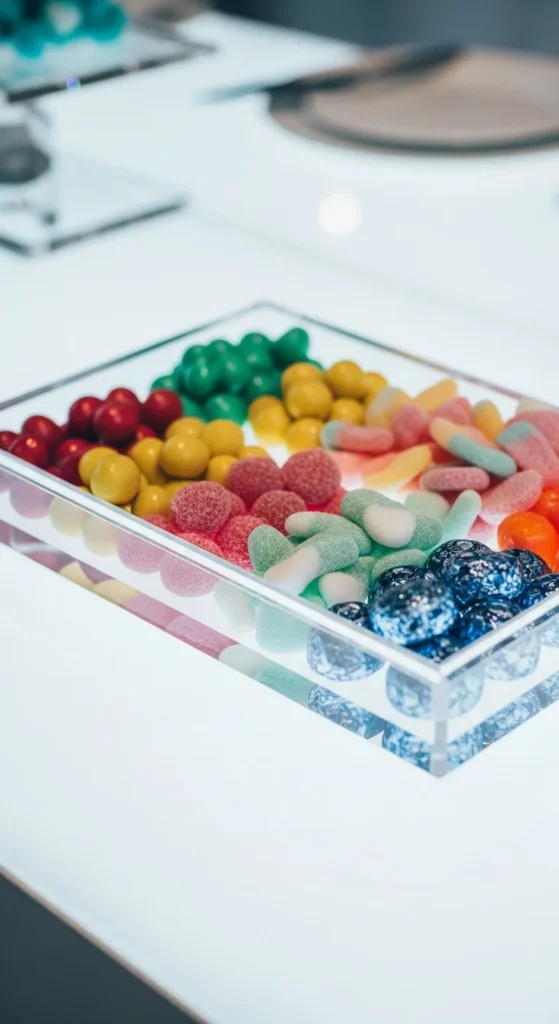
Clear trays let the food become the décor. They work especially well with colorful snacks or themed sweets. The table stays visually open and uncluttered.
Budget-friendly acrylic trays are easy to find online. Choose thicker styles for stability. Keep them clean to avoid fingerprints showing.
DIY tip: Use clear plastic organizers from home stores. They are lightweight and easy to clean. Line with paper doilies for a softer look.
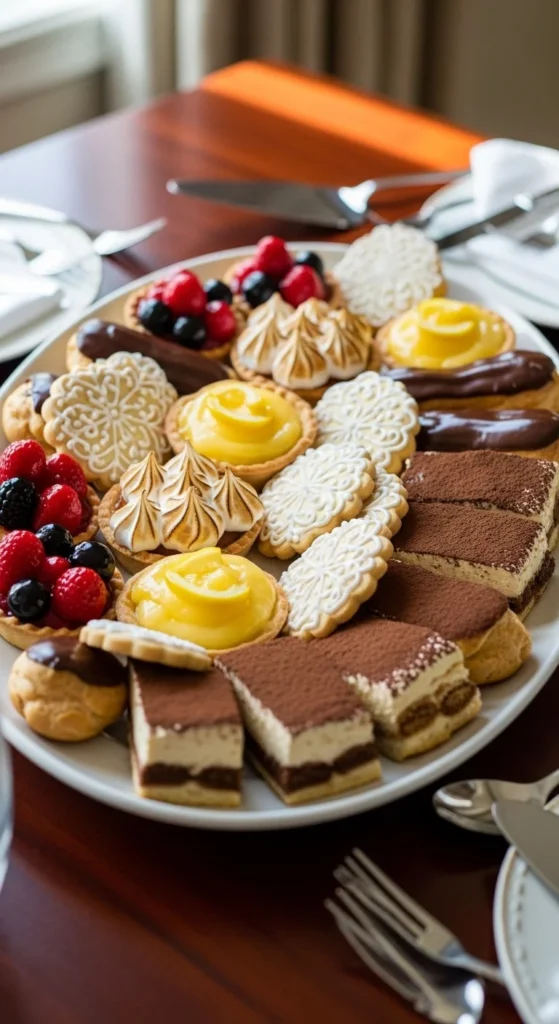
5. Vintage Glass Platter
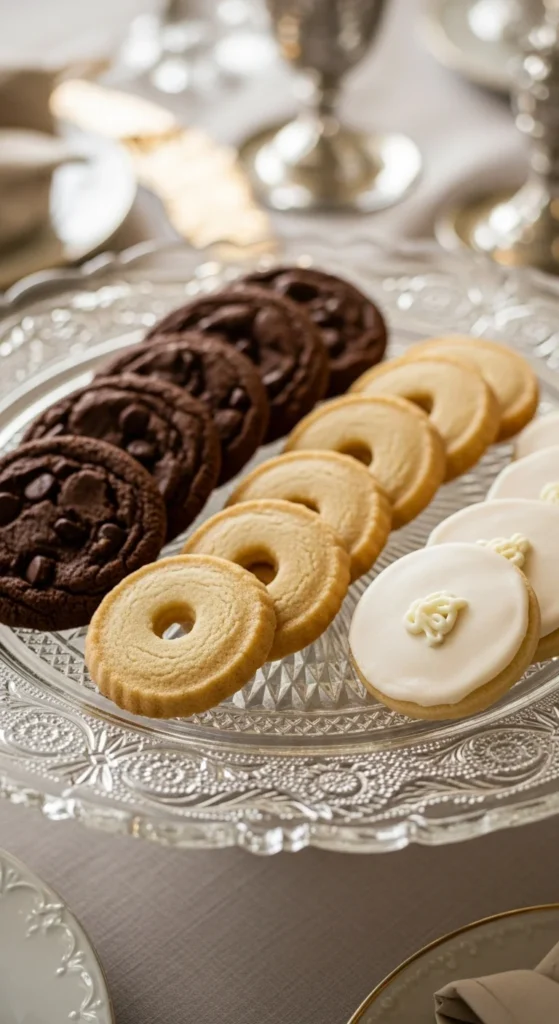
Glass trays add subtle detail without adding color. Patterned edges catch the light and make simple treats feel special.
Thrift shops often carry glass platters at low prices. Mix different patterns for charm. Keep the table simple so the glass stands out.
DIY idea: Pair glass trays with cloth napkins underneath for contrast. This works well for afternoon gatherings and family celebrations.
6. Marble-Inspired Tray
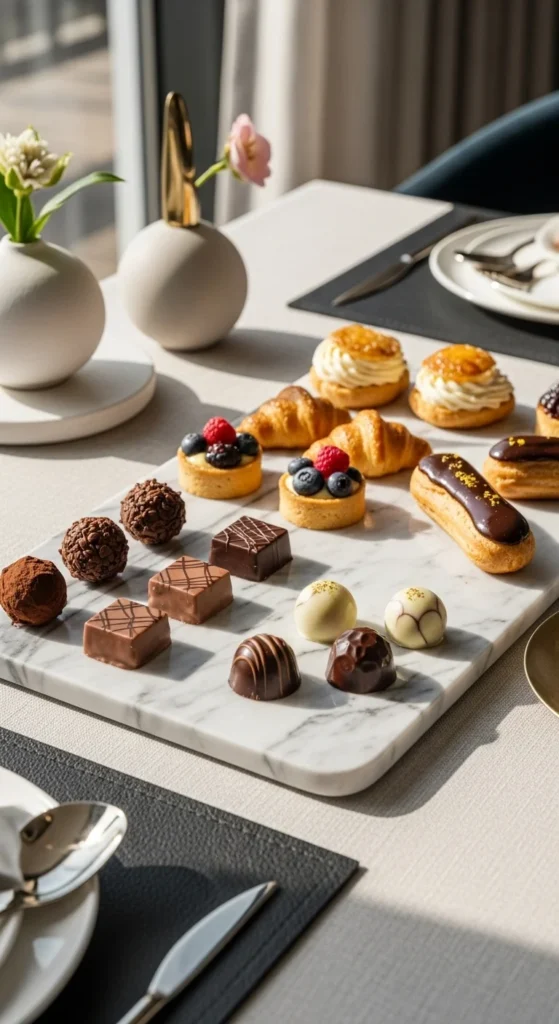
Marble-style trays feel polished and clean. They work for formal events or minimalist themes. Faux marble options are lighter and more affordable.
Use one marble tray as a focal point. Surround it with simple plates to balance the look.
DIY tip: Marble-pattern contact paper can refresh an old tray. Apply carefully for a smooth finish. This trick gives new life to pieces you already own.
7. Color-Coordinated Plastic Tray
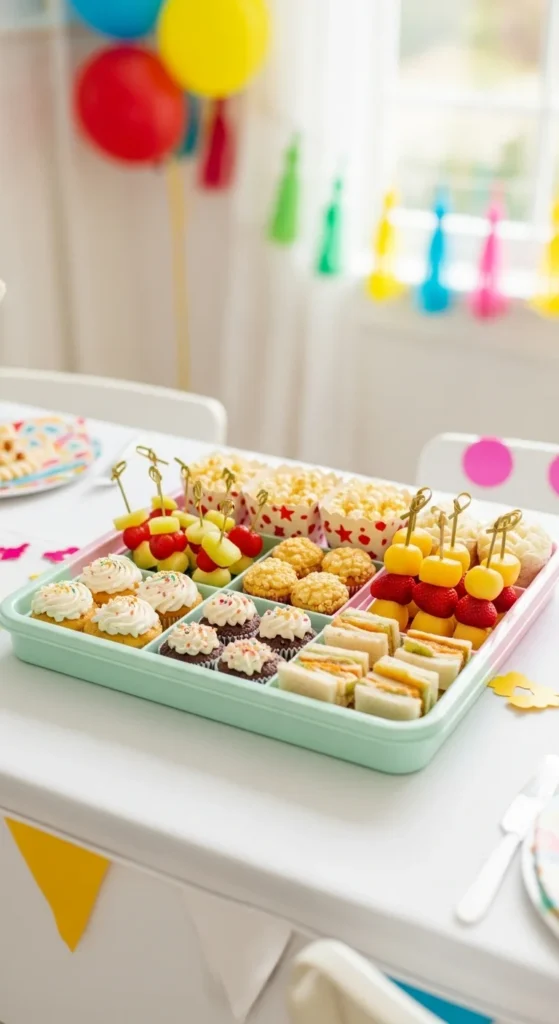
Plastic trays work well for kids’ parties. Choose colors that match the theme for a unified look. They are lightweight and easy to move.
Discount stores often sell these in sets. Use one color per snack type to keep things clear for guests.
DIY idea: Label sections with small tags placed beside the tray, not on it. This keeps the surface clean while guiding guests.
8. Bamboo Snack Tray
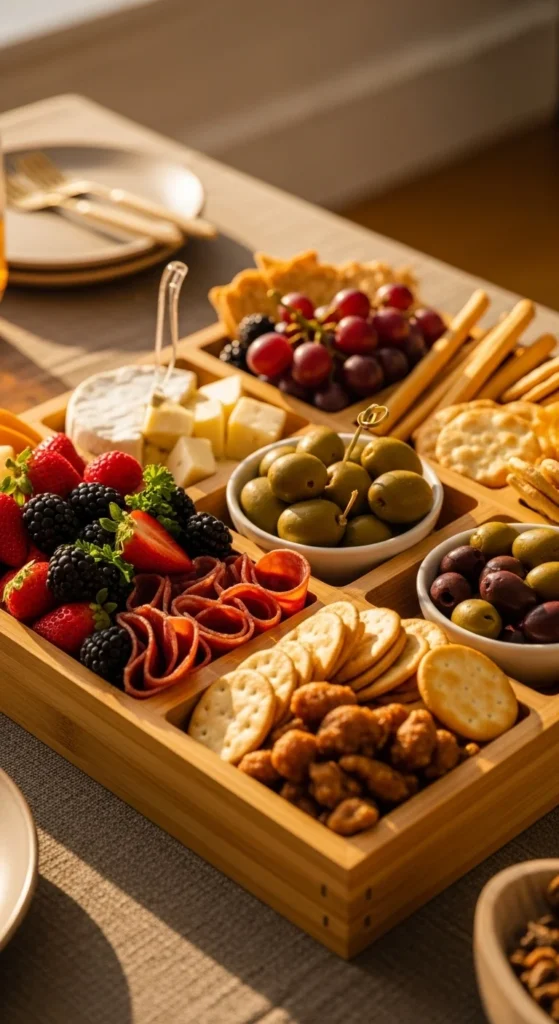
Bamboo trays feel relaxed and organized. Built-in sections help separate snacks without extra dishes.
They are usually affordable and durable. Use them for mixed treats like cookies and fruit.
DIY tip: Line compartments with parchment paper. Cleanup stays quick and the tray stays stain-free.
9. Slate Serving Tray
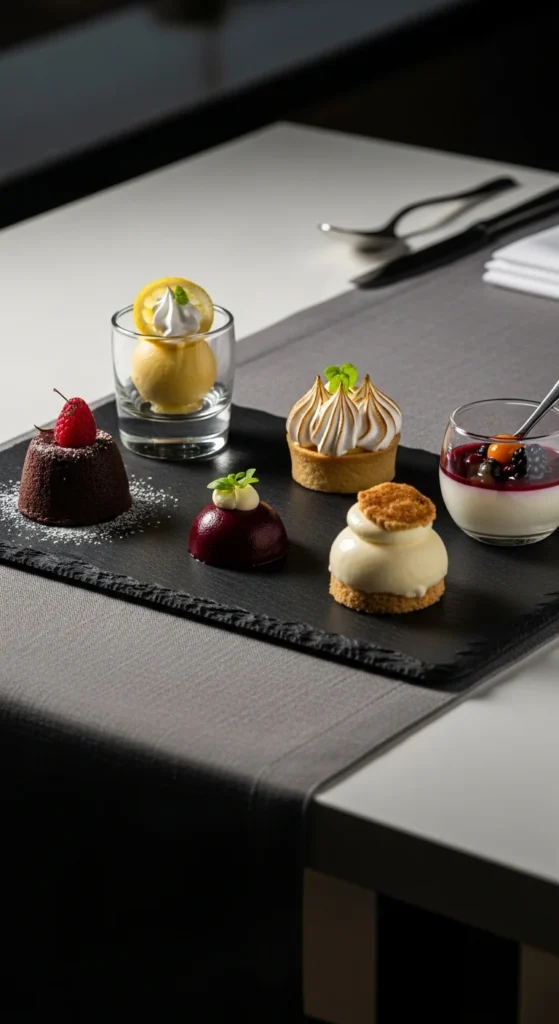
Slate trays add contrast to lighter tables. They highlight light-colored treats and keep the setup grounded.
Look for small slate boards to keep weight manageable. Use non-slip pads underneath.
DIY idea: Use chalk labels placed beside the tray, not on it. This keeps the surface clean and reusable.
10. Woven Rattan Tray
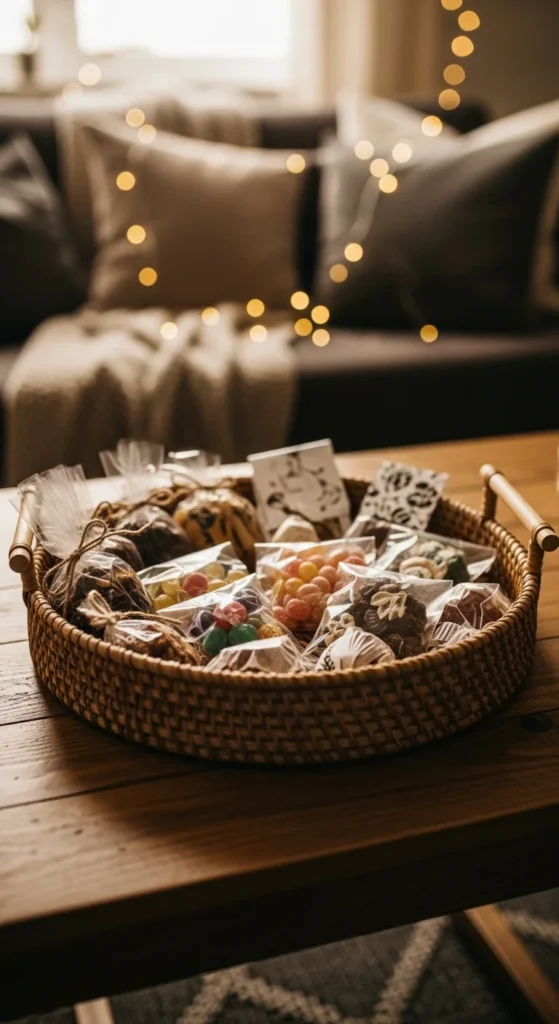
Woven trays bring texture and warmth. They suit outdoor or casual indoor gatherings.
Use liners to protect the tray from crumbs. Rattan trays are often budget-friendly at home stores.
DIY tip: Pair with neutral plates and napkins to keep the table balanced.
11. Round Mirror Tray
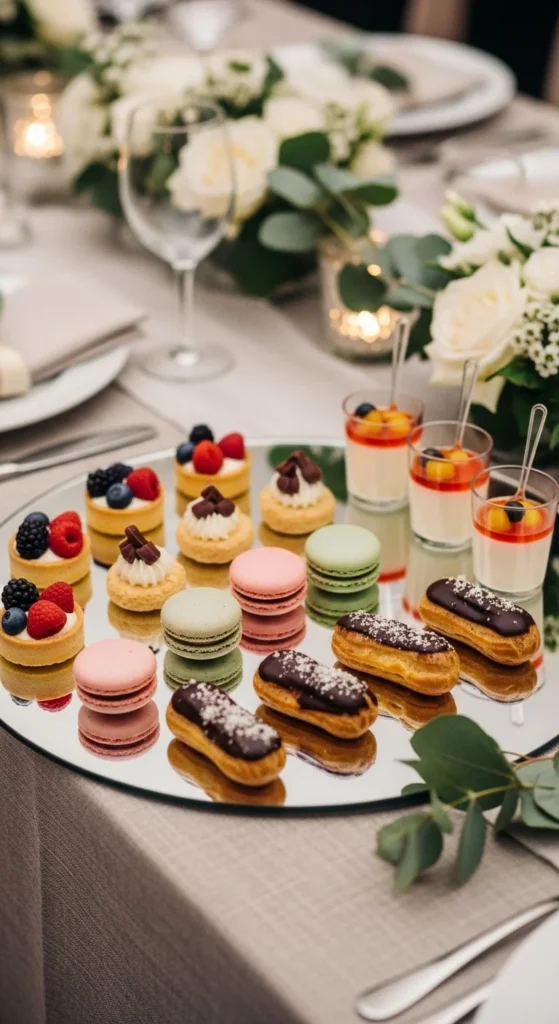
Mirror trays reflect light and add interest. Use them sparingly as accent pieces.
Place sturdy items only. Keep the surrounding décor simple.
DIY idea: Repurpose a small vanity tray for desserts. Clean well and line with paper.
12. Sectioned Ceramic Platter
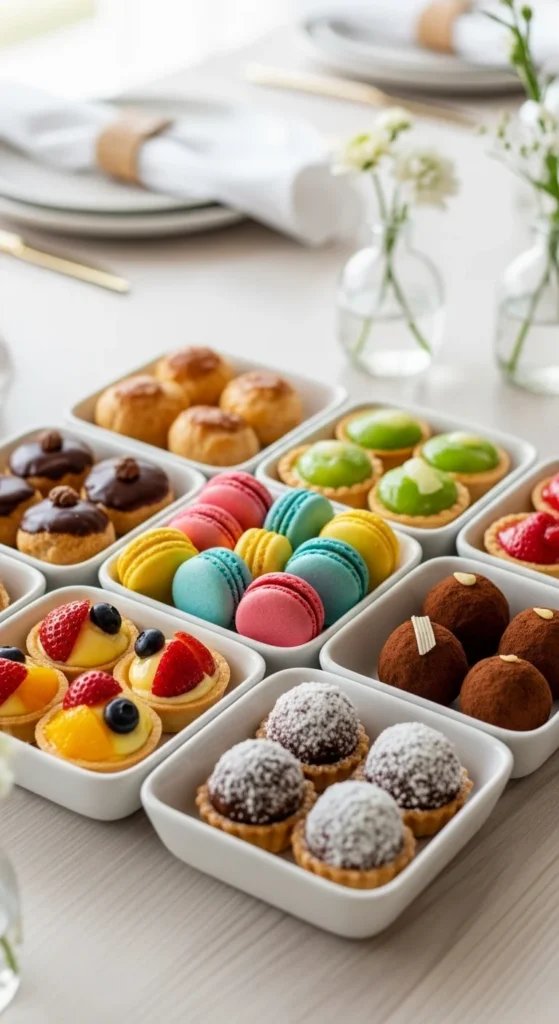
Sectioned platters keep flavors separate. They are great for mixed snack tables.
Look for neutral colors to match any theme. One platter can serve many guests.
DIY tip: Group similar colors in each section for visual flow.
13. Rustic Enamel Tray
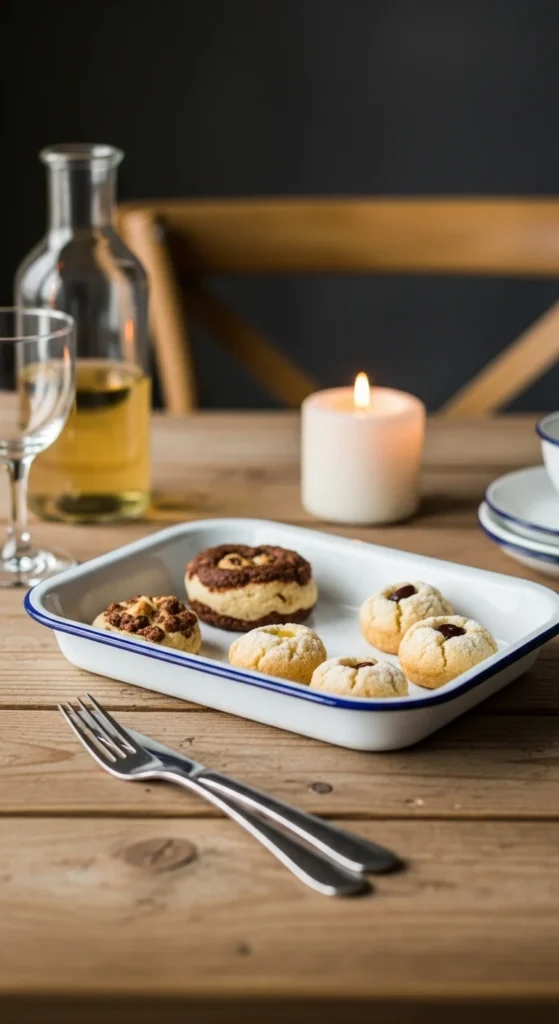
Enamel trays feel relaxed and sturdy. They suit casual gatherings and family events.
Use them for grab-and-go snacks. They clean easily and store well.
DIY idea: Mix enamel trays with wood pieces for a balanced table.
14. Rectangular Metal Sheet Tray
Sheet trays work well for large groups. They are affordable and practical.
Line with parchment for a tidy look. Arrange treats in neat rows.
DIY tip: Use multiple smaller trays instead of one large piece to spread the table evenly.
15. Floral Pattern Tray
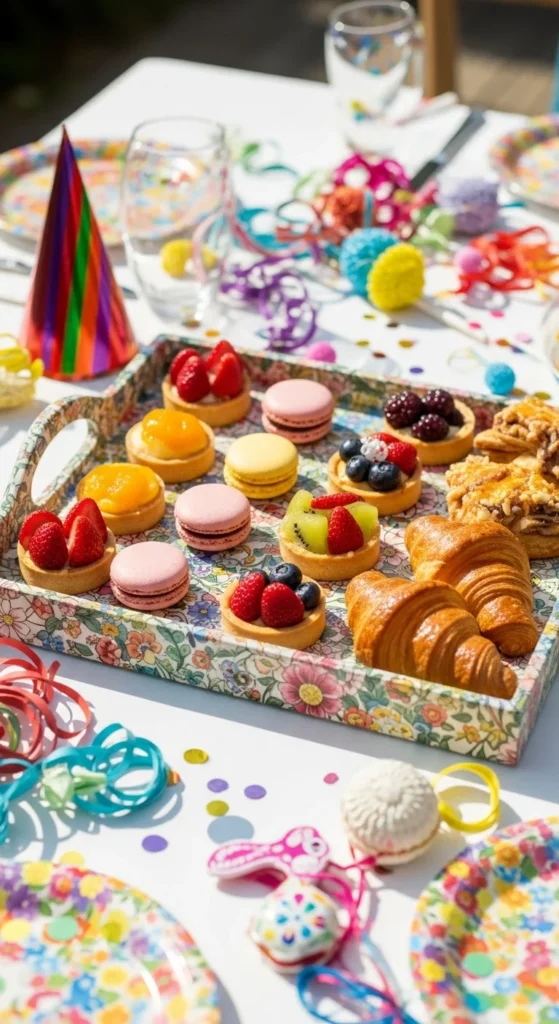
Floral trays add charm and color. Use them for spring or birthday themes.
Keep other décor simple so patterns do not compete.
DIY idea: Mix floral trays with plain plates to balance the display.
16. Stoneware Serving Dish
Stoneware feels grounded and reliable. Neutral tones fit many themes.
Use for heavier treats. The weight keeps the tray steady.
DIY tip: Group stoneware with wood for a relaxed look.
17. Gold-Edge Serving Tray
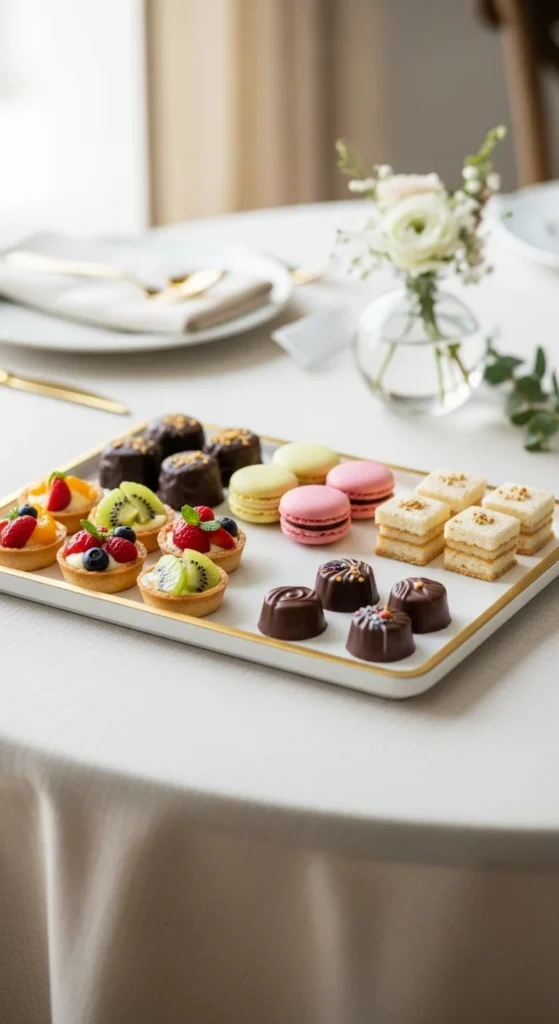
Gold-edged trays add subtle shine. Use sparingly for balance.
Pair with neutral linens to keep the look calm.
DIY idea: One accent tray among simpler ones works best.
18. Kids-Themed Character Tray
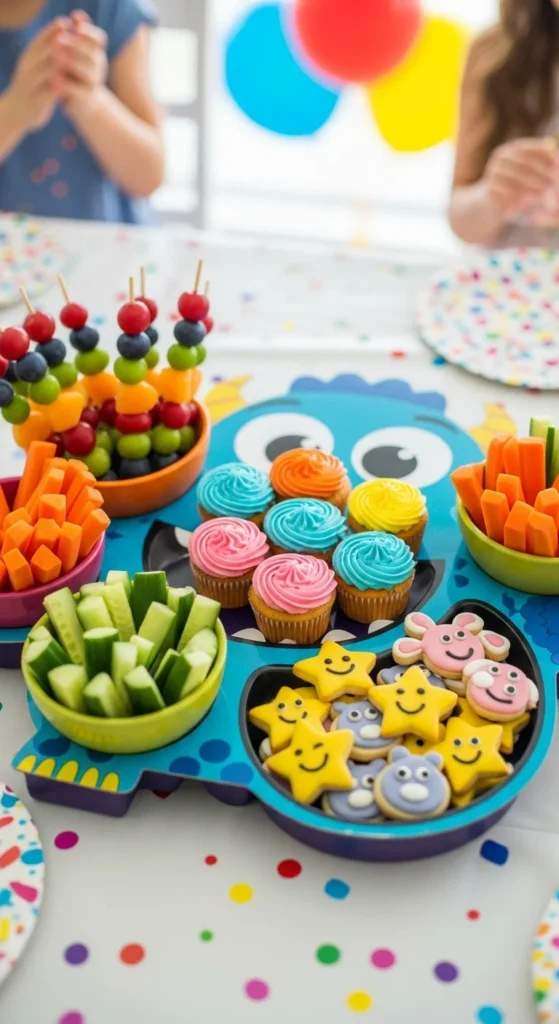
Character trays help kids spot the snack table quickly. Keep treats simple.
Use one themed tray and mix with plain ones.
DIY tip: Wash and store for future parties to save money.
19. Oval Serving Platter
Oval trays fit more than round ones and guide the eye.
Use for longer treats like bars or slices.
DIY idea: Place a cloth underneath for contrast.
20. Farmhouse Tray with Handles
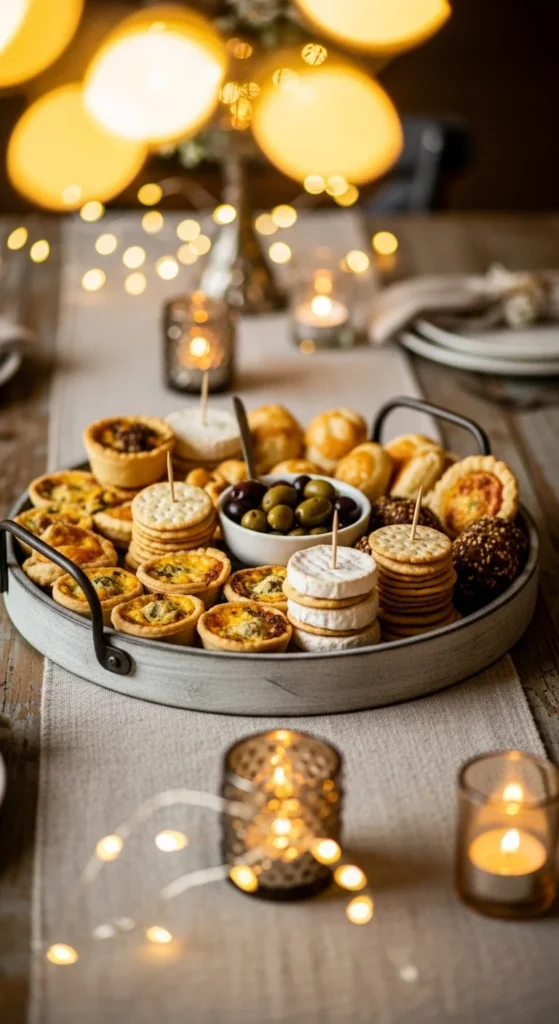
Handled trays are easy to move. They work for refill stations.
Use liners to keep clean.
DIY tip: Repurpose a small storage tray for serving.
21. Modern Matte Black Tray
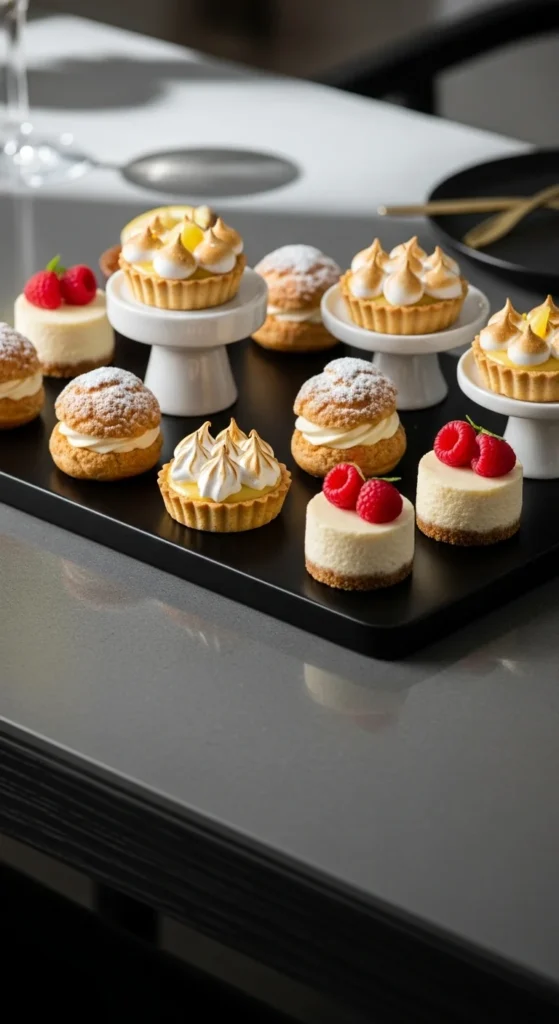
Black trays add contrast and clarity. Light treats stand out well.
Use sparingly to avoid a heavy look.
DIY idea: Pair with white plates for balance.
22. Multi-Level Wooden Display
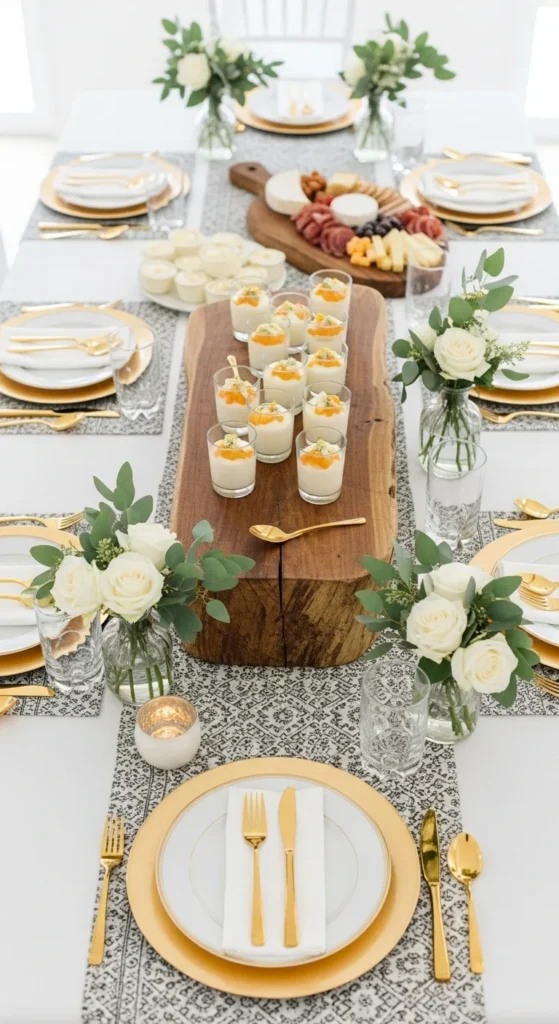
Multi-level displays help with variety. They guide guests naturally.
Use sturdy pieces and space items evenly.
DIY tip: Stack crates or boxes covered with cloth for height.
Conclusion
Treat trays shape how guests interact with food and with each other. Simple choices like material, shape, and layout can make snacks easier to enjoy and tables easier to manage. Start with trays you already own, mix in one or two statement pieces, and keep spacing clear. Save these ideas for your next gathering and build a setup that feels welcoming and easy to repeat.

Leave a Reply