


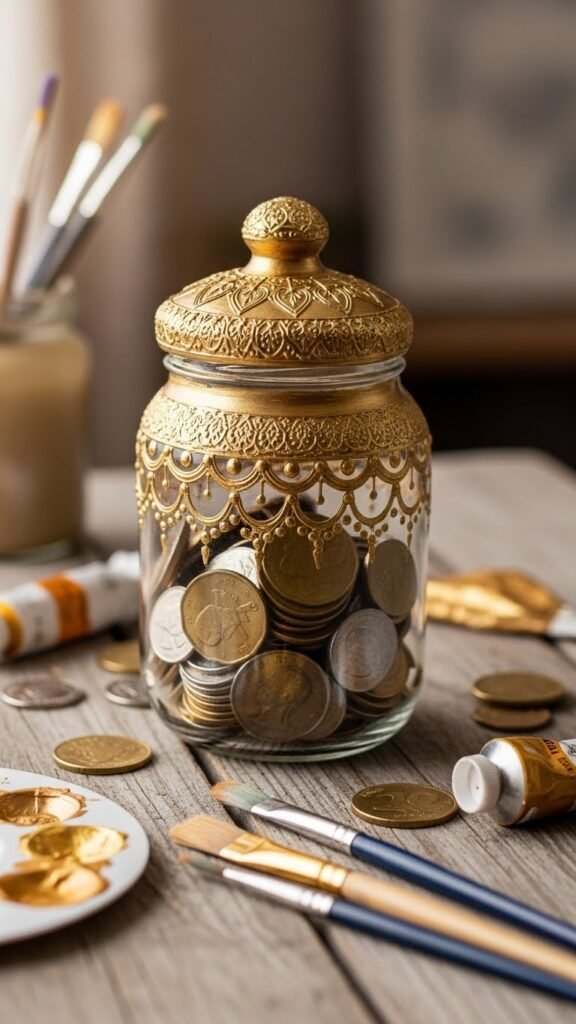
Gold pot jars are a playful craft kids instantly connect with. They mix color, shine, and hands-on fun in a way that feels exciting without being complicated. These ideas work well for school activities, party tables, rainy afternoons, or seasonal decorating with children. Each jar uses easy supplies, simple steps, and flexible ideas that can be adapted for different ages. The goal is simple. Let kids create something shiny, personal, and proudly display it afterward.
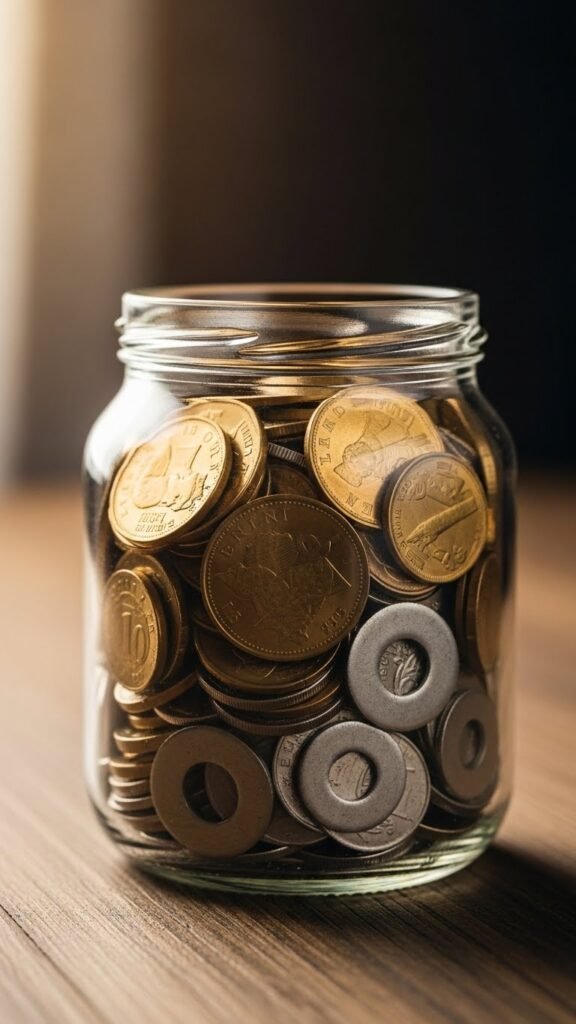
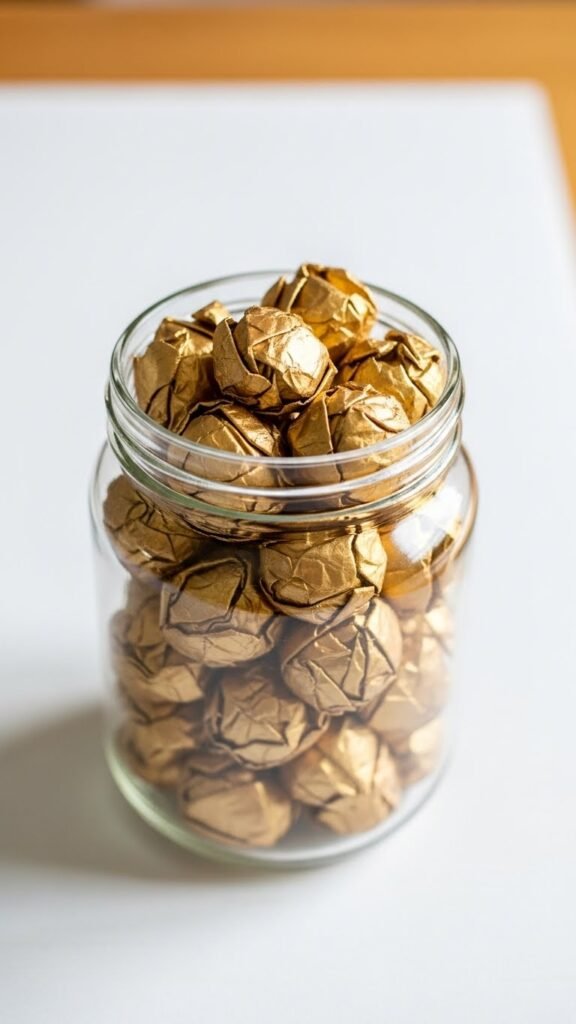
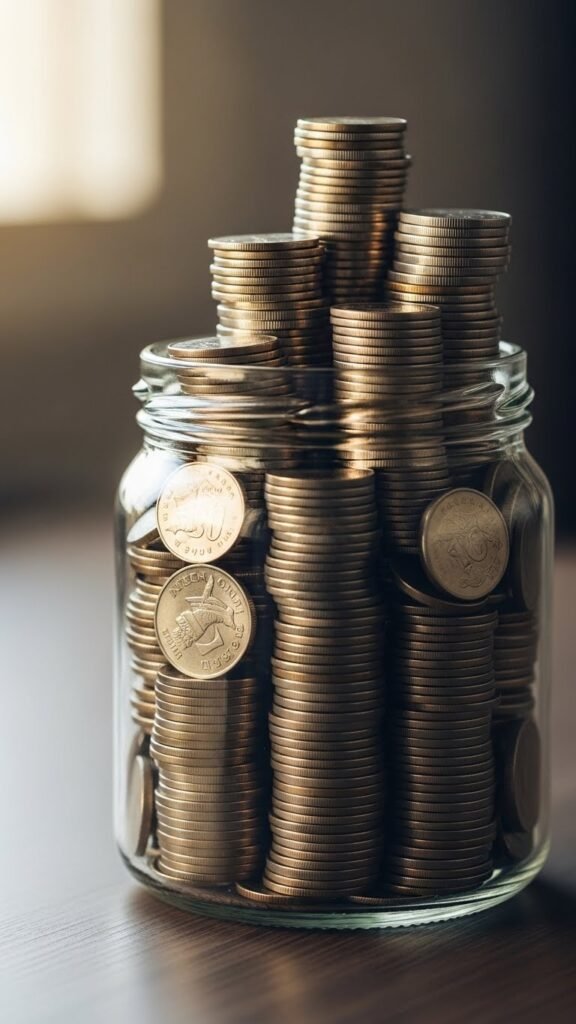
1. Rainbow Coin Treasure Jar
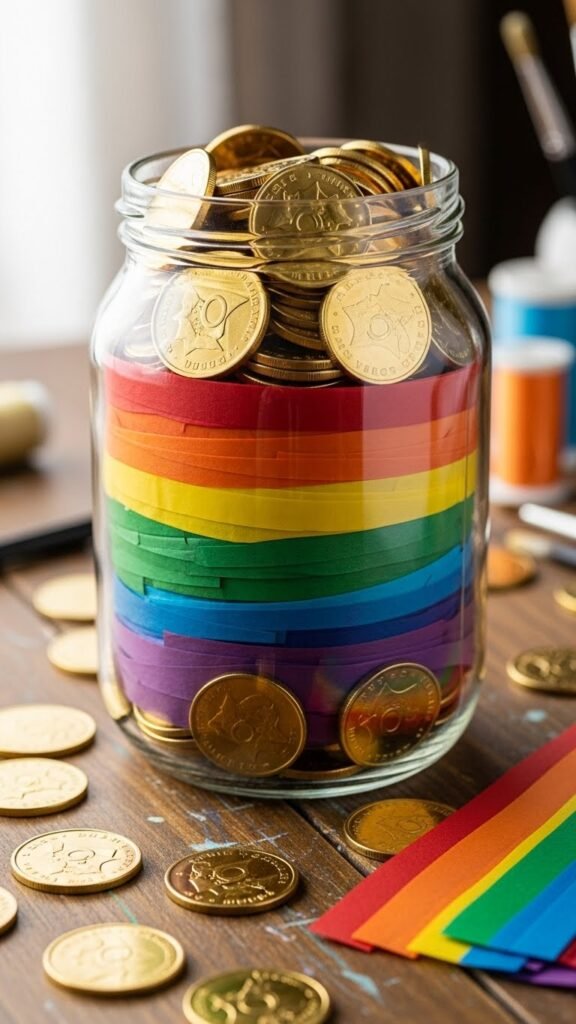
This jar turns simple coins into a colorful treasure kids enjoy making and showing off. Start with a recycled jar and a handful of plastic gold coins. Cut tissue paper into long strips using rainbow colors. Kids can press the paper against the inside walls of the jar using a glue stick or clear-drying glue. Once the inside looks bright, pour the coins into the center. The layered colors shine through and make the coins feel special.
This works well for group crafts because supplies are inexpensive and easy to share. Dollar-store coins, leftover tissue paper, and reused jars keep costs low. Younger kids enjoy pressing paper into place, while older kids can plan color patterns. Add a ribbon around the lid for a finished look.
Display the jar on a shelf or use it as a party centerpiece. Kids often enjoy shaking it gently to hear the coins move, which adds a playful sensory element without making a mess.
2. Glitter Stone Gold Pot
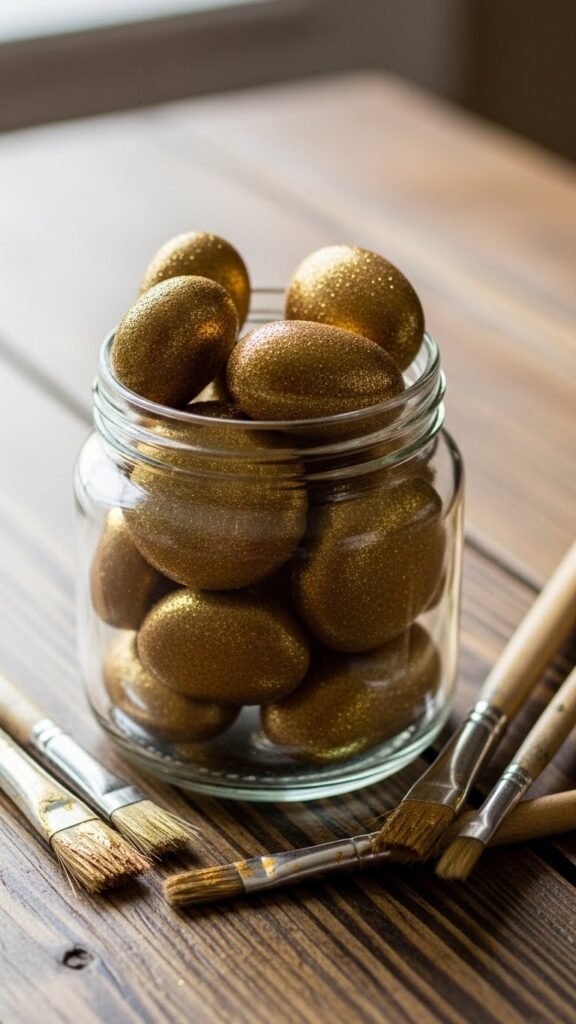
This idea feels sturdy and satisfying for kids who like painting. Gather smooth stones from outdoors or use craft stones. Coat them with washable gold paint and let them dry fully. Once dry, kids can brush on a thin layer of glue and sprinkle glitter lightly over the surface.
Place the stones into a clear jar so the shine shows through. The weight of the stones gives the jar a solid feel that kids enjoy holding. This works well for classroom crafts because each child can decorate their own stones.
Budget-friendly tip: use leftover paint and shared glitter trays to reduce waste. Lining the table with paper makes cleanup simple.
These jars look great on windowsills or desks. Kids often enjoy counting stones or trading designs with friends. It’s a calm craft that still feels exciting because of the shine and texture.
3. Mini Leprechaun Coin Jar
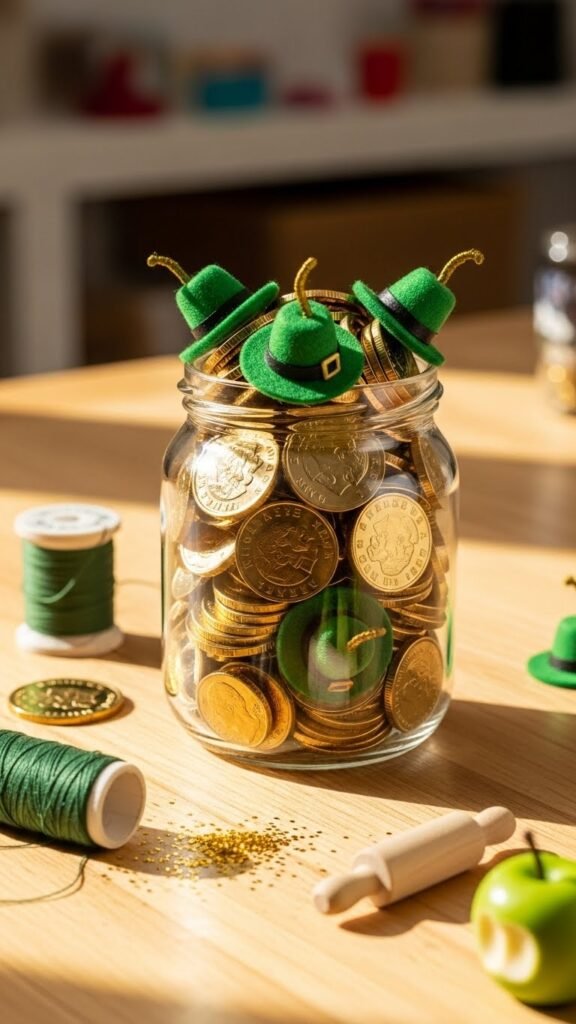
This playful jar adds character with small handmade details. Start with a clear jar and gold coins. Cut tiny hat shapes from green felt or foam sheets. Kids can drop a few hats inside among the coins, creating a hidden surprise effect.
No precise cutting is required. Simple shapes work just fine. Younger kids can tear felt pieces by hand if scissors feel tricky. For older kids, adding a paper buckle shape can be fun.
These jars are easy to assemble and cost very little. Felt scraps and foam sheets stretch across many projects. Add a simple string tie around the lid for extra color.
Kids enjoy spotting the tiny hats through the glass. It becomes a visual game as they turn the jar to find each detail. This idea works well for themed days or party favors that feel personal without being complicated.
4. Glow Pebble Gold Jar
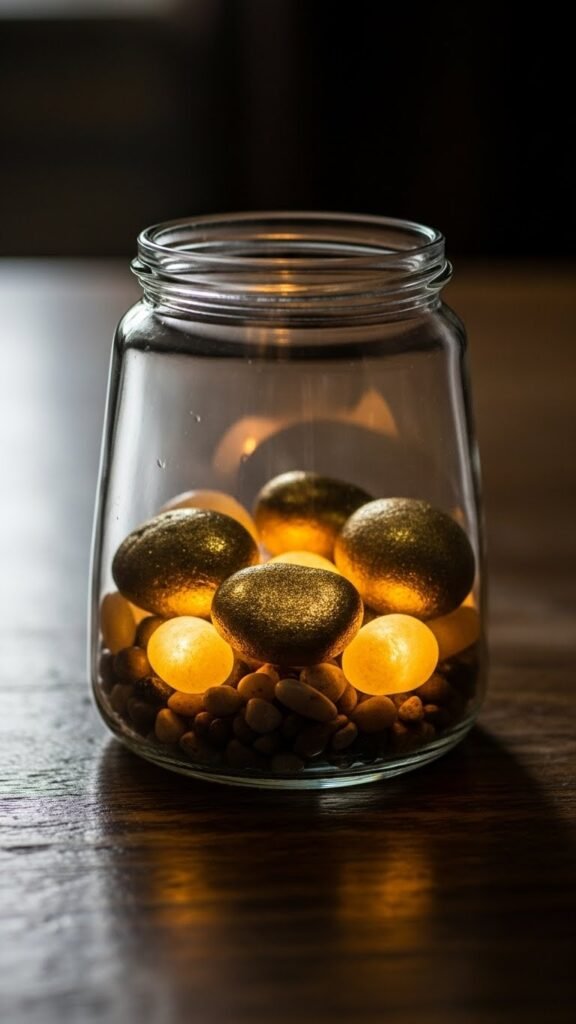
This jar feels magical once the lights dim. Use glow pebbles mixed with gold-painted stones. During the day, the jar looks shiny and bright. At night, it softly glows.
Kids can paint stones earlier in the day, then layer them with glow pebbles inside the jar. No wiring or batteries are required. Just place the jar near light before dark.
Glow pebbles are affordable when bought in small packs and can be reused. One pack can fill several jars when mixed with stones.
This idea works well for bedtime routines or quiet corners. Kids enjoy checking the glow later, which makes the craft feel ongoing rather than finished all at once. The jar becomes part of their space, not just a one-time activity.
5. Shamrock Sprinkle Jar
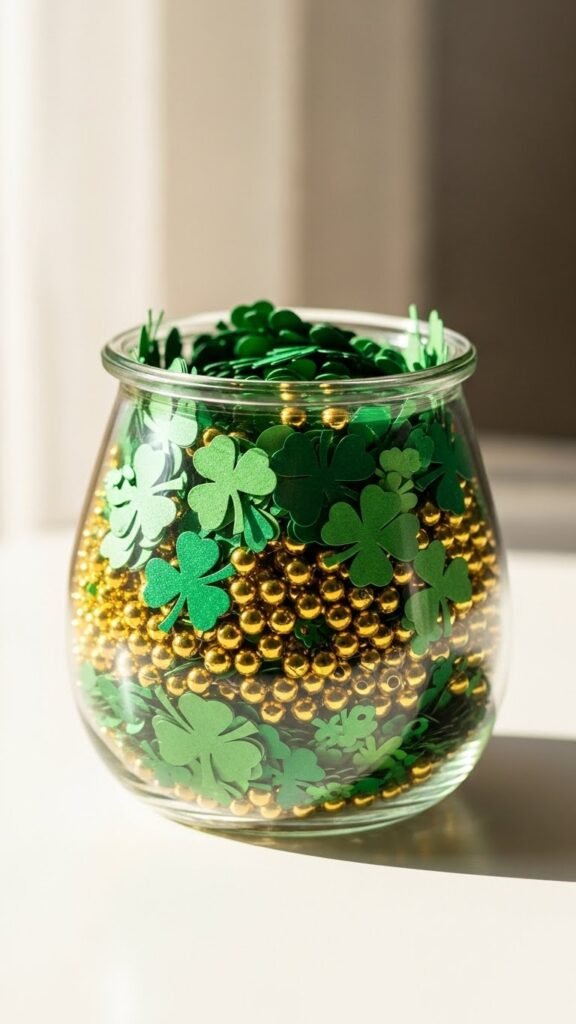
This jar focuses on movement and sound. Fill a clear jar with gold beads, sequins, and shamrock confetti. Kids can scoop and pour layers using small cups or spoons.
The gentle rattle when shaken makes it fun without being noisy. Younger kids enjoy pouring, while older kids enjoy creating color layers.
Budget tip: use paper punchers to create shamrock shapes from green paper. Mixing paper shapes with beads stretches supplies further.
These jars work well for classroom calm-down corners or shelf decor. Kids enjoy watching the layers shift when the jar moves. It’s simple, hands-on, and easy to repeat with different colors later.
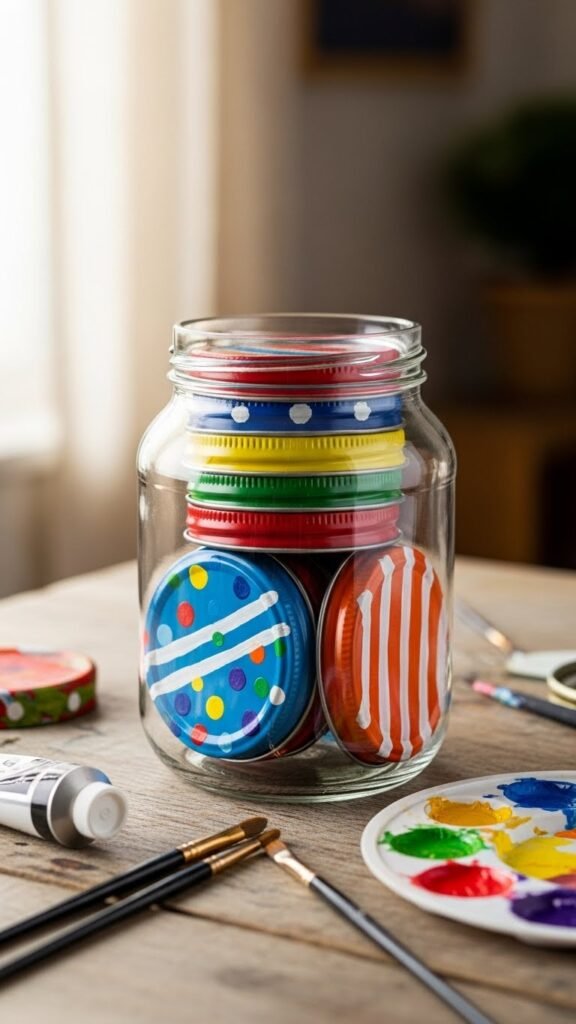
6. Painted Lid Gold Pot Jar
This idea focuses on decorating the lid instead of the inside. Kids paint the lid with washable gold paint and add dots, lines, or simple patterns. Once dry, fill the jar with coins or beads.
Painting lids helps kids practice brush control without worrying about glass slipping. It’s a good option for younger children.
Recycled jars work perfectly here. Ask families to send jars from home to keep costs low.
Once finished, these jars look polished on shelves or desks. Kids often feel proud when they see their painted lid displayed. It shows how small details can change the entire look.
7. Rainbow Ribbon Gold Jar
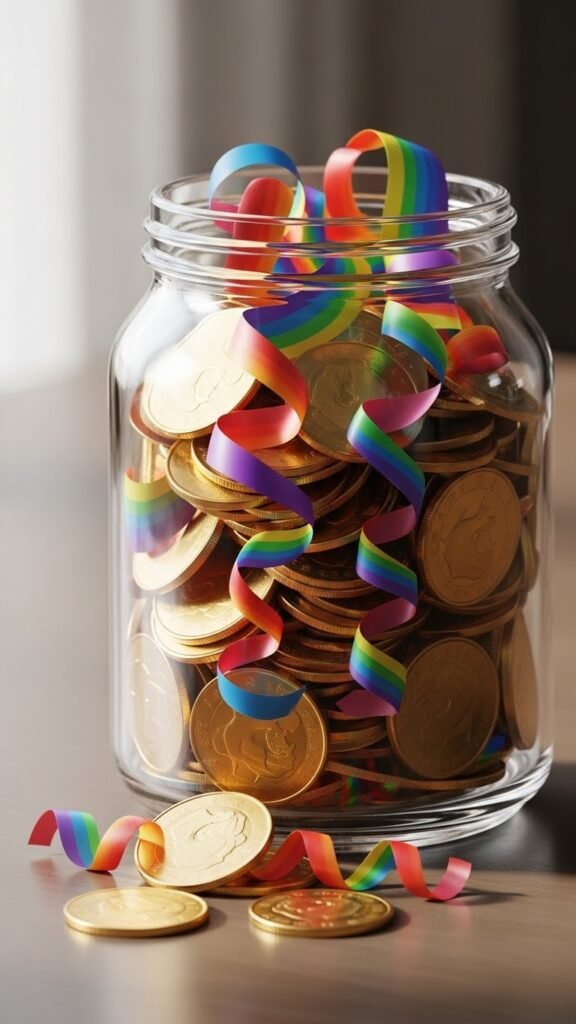
This jar mixes shine with movement. Cut thin strips of colorful ribbon or paper curling ribbon. Curl them using scissors with adult help. Place ribbons inside the jar with coins layered around them.
The ribbons bounce and twist inside the jar, creating visual interest. Kids enjoy choosing color combinations.
Budget tip: use leftover gift ribbon scraps. Short pieces work just as well.
This craft is quick to assemble and great for party stations. Each jar looks different depending on ribbon placement, which makes kids feel ownership over their design.
8. Counting Coin Learning Jar
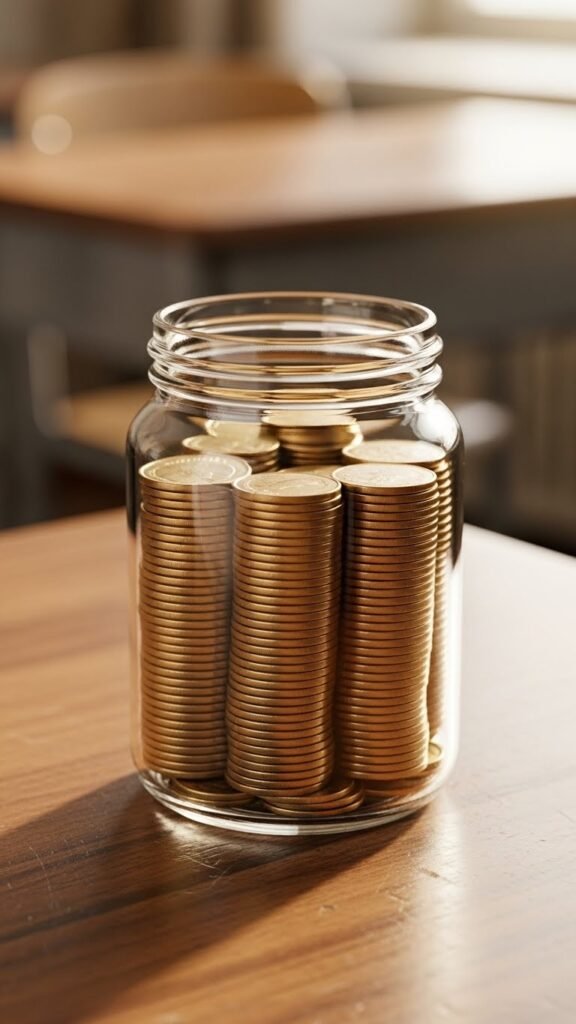
This jar blends crafting with learning. Kids stack coins inside the jar in rows of five or ten. Clear jars make counting visible.
Use plastic coins and encourage kids to count aloud as they add each layer. This works well for early math practice.
Cost stays low with reusable coins and jars. The same jar can be emptied and refilled many times.
Kids enjoy shaking the jar gently after counting, then starting again. It feels like a game rather than a lesson, which keeps engagement high.
9. Gold Sand Layer Jar
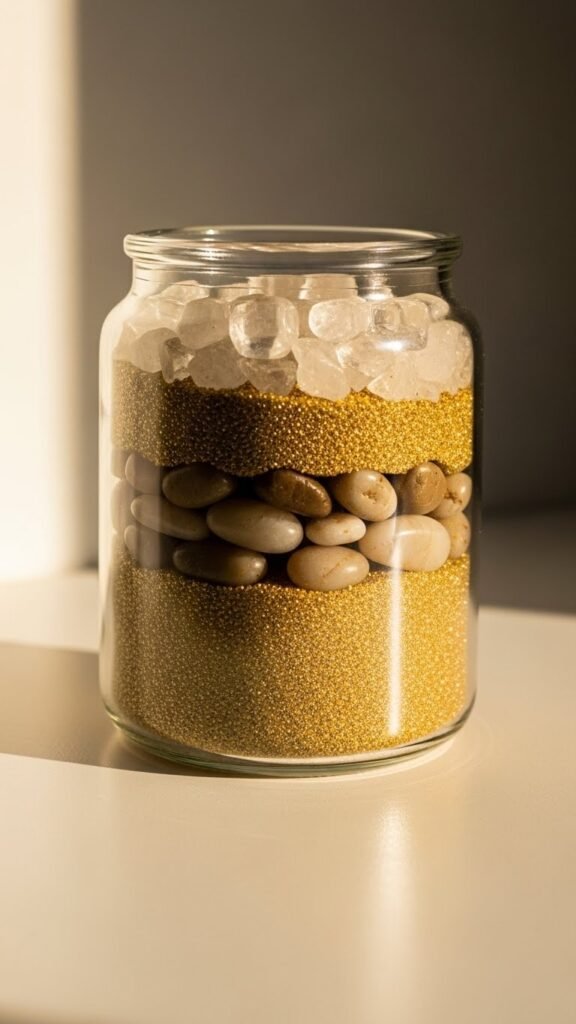
Layering sand feels calming and focused. Use gold-colored craft sand mixed with neutral sand. Kids pour layers slowly using funnels or paper cones.
This helps with patience and hand control. Mistakes still look nice, which keeps frustration low.
Sand is inexpensive and stretches across many jars. Even small amounts create strong visual impact.
Once sealed, the jar becomes a shelf piece kids enjoy revisiting. It shows how slow steps can lead to a striking result.
10. Lucky Charm Jar
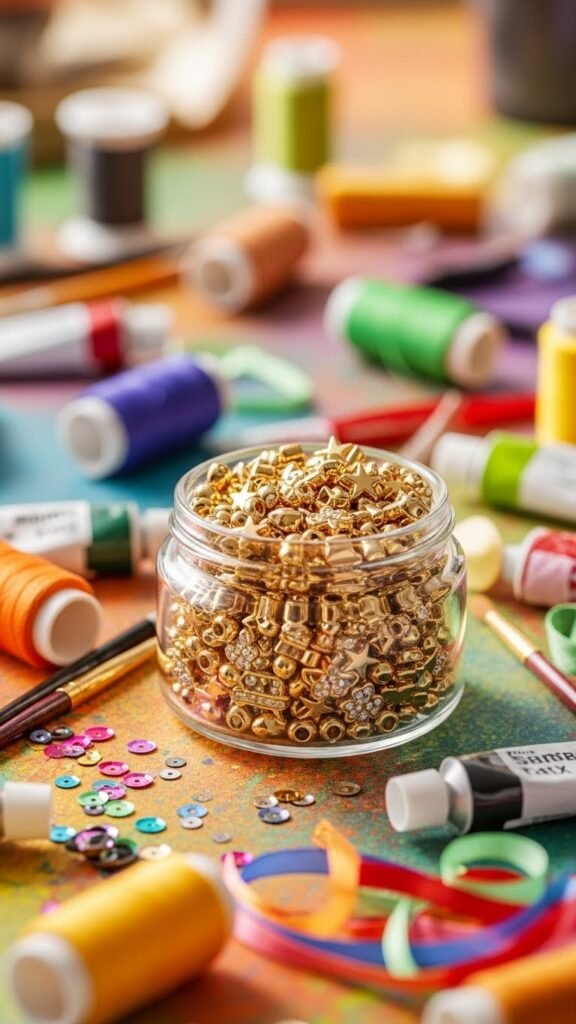
This jar lets kids choose small shapes that feel meaningful. Use bead mixes with stars, hearts, or clover shapes. Kids select pieces and drop them into the jar.
Choice is the fun part here. No two jars look the same.
Budget tip: mix leftover beads from different sets. Variety adds interest.
Kids often enjoy explaining why they chose certain shapes, which adds a storytelling element to the craft.
11. Tissue Wrap Gold Pot
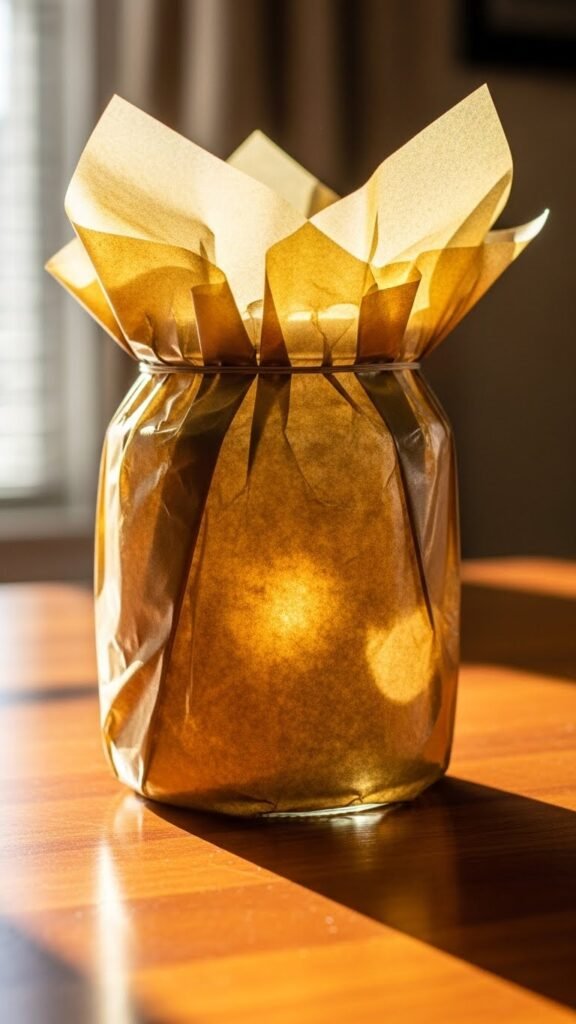
Instead of filling the jar, wrap it. Use gold tissue paper around the outside of the jar and secure with glue. Leave small gaps so light shines through.
Kids enjoy smoothing the paper and seeing the glow effect.
Tissue paper is affordable and forgiving. Wrinkles still look nice.
Add a battery light if desired, or leave it as is for daytime shine.
12. Coin Drop Sound Jar
This jar focuses on sound. Mix plastic coins with washers or beads. Seal tightly.
Kids enjoy shaking gently and listening. It works well for sensory play.
Keep costs low by mixing household items.
The jar becomes a quiet fidget item rather than decor alone.
13. Paper Gold Nugget Jar
Crumple paper into nugget shapes, paint gold, and let dry. Kids enjoy shaping and painting.
Paper is free and easy to replace.
The nuggets look bold inside clear jars and feel lightweight.
14. Name Tag Gold Jar
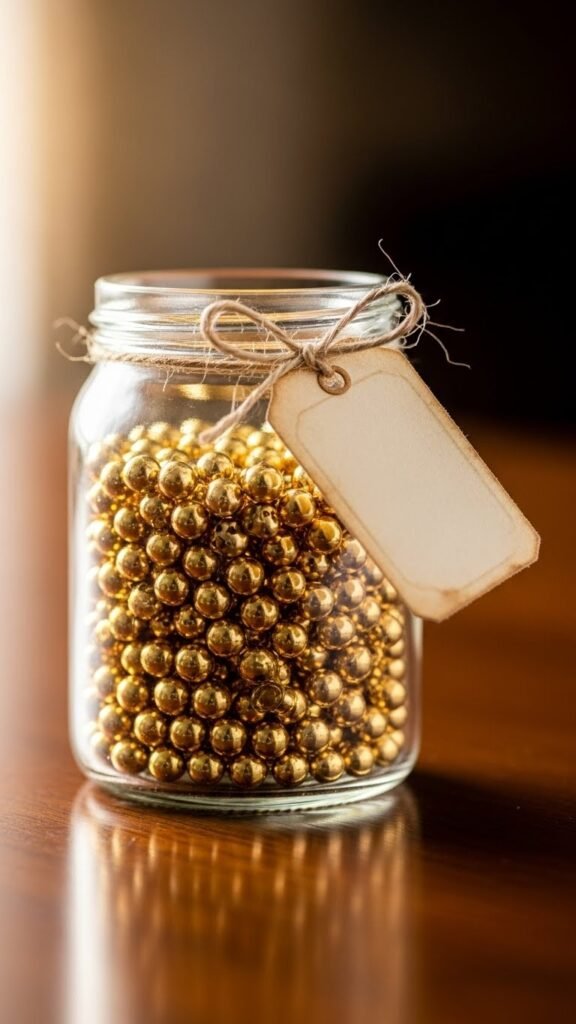
This jar adds identity. Tie a small tag with the child’s name around the lid.
Inside, fill with coins or beads.
This works well for classroom storage or party favors.
Kids quickly recognize their own jar.
15. Gold Button Mix Jar
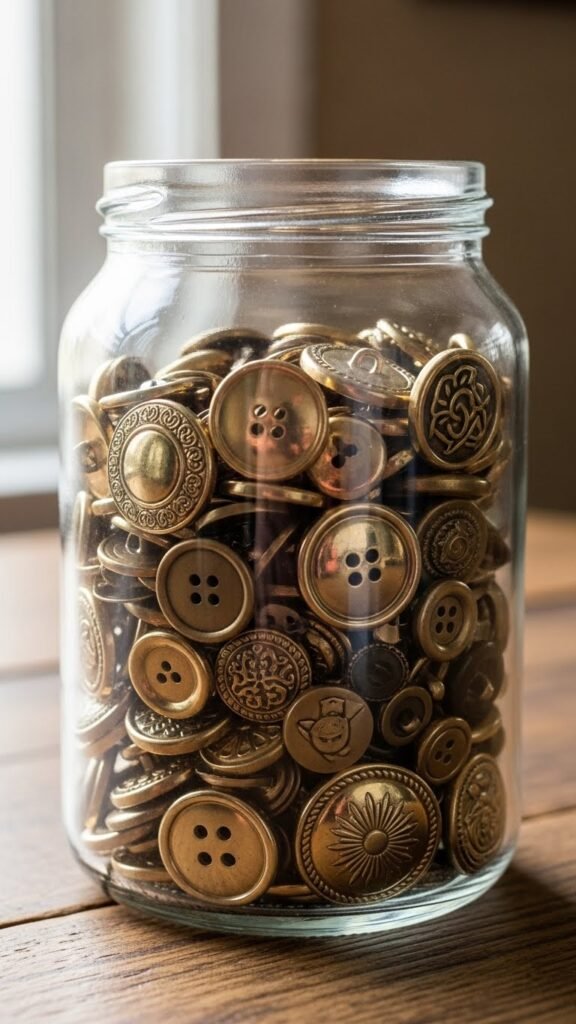
Buttons add texture and shine. Kids sort sizes before filling.
Old button jars work well here.
Sorting adds a calm, focused step to crafting.
16. Gold Confetti Celebration Jar

This jar feels light and playful. Kids punch paper shapes and mix with sequins.
It’s quick and satisfying.
Confetti leftovers can be reused again.
17. Pebble Path Gold Jar
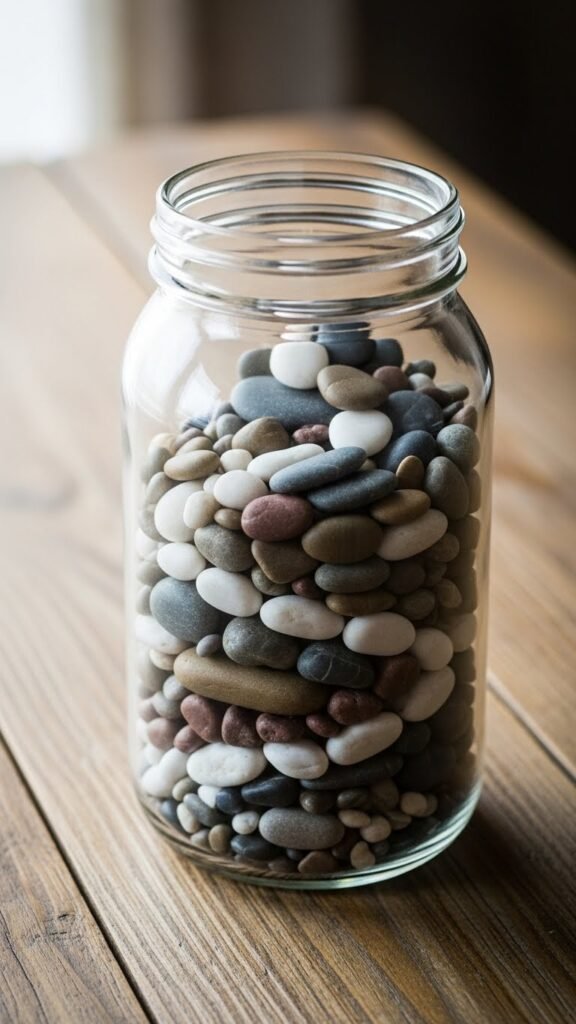
Kids place stones slowly to create patterns.
No glue required.
It encourages planning and patience.
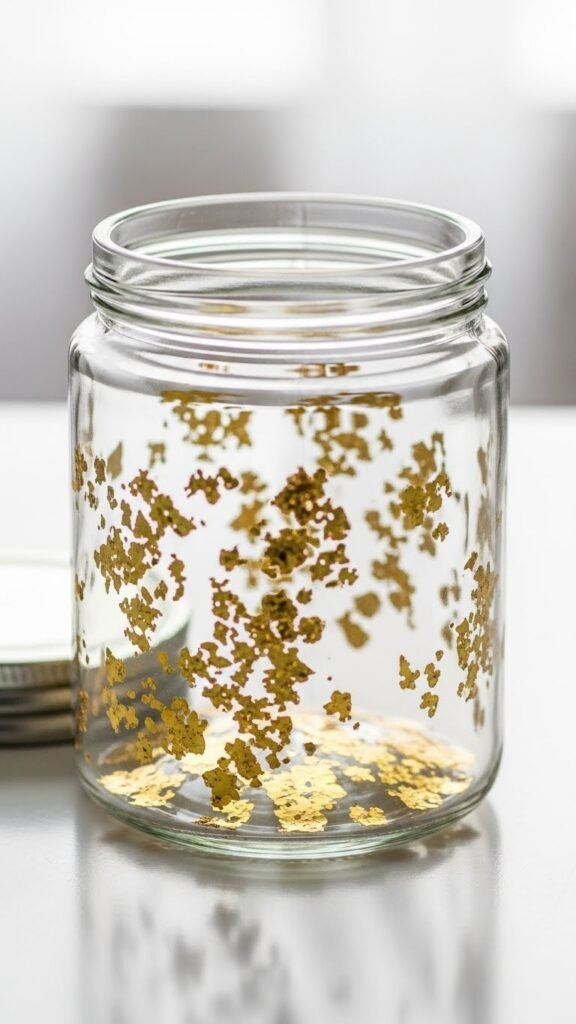
18. Gold Foil Crinkle Jar

Foil adds shine without mess.
Kids tear and crinkle by hand.
It’s simple and fast.
19. Stacked Lid Display Jar
Reuse jar lids painted gold.
Stacking builds problem-solving skills.
Very low cost.
20. Gold Bead Pattern Jar
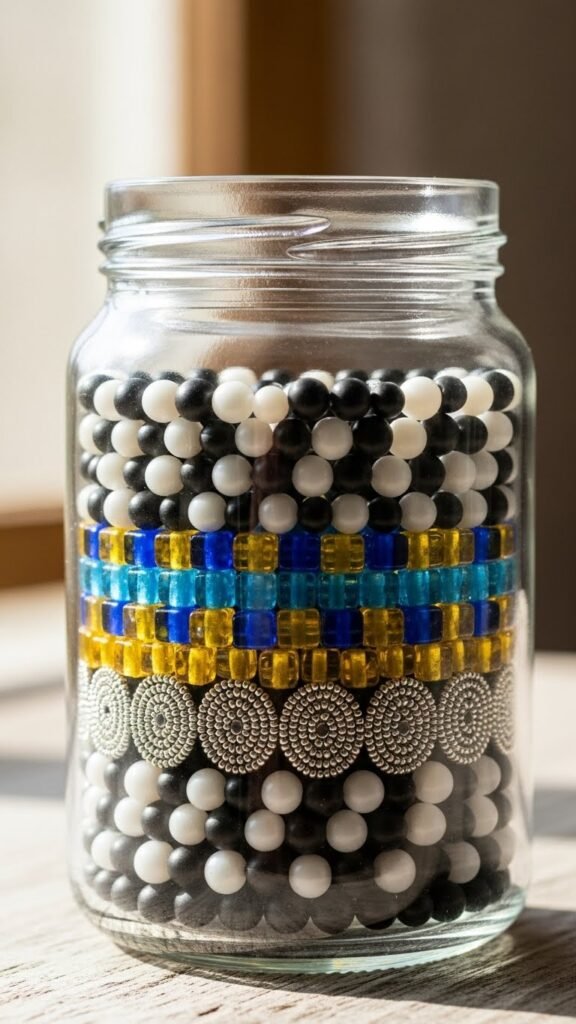
Kids plan patterns before pouring.
It blends play with structure.
Beads are reusable.
21. Shimmer Rice Gold Jar
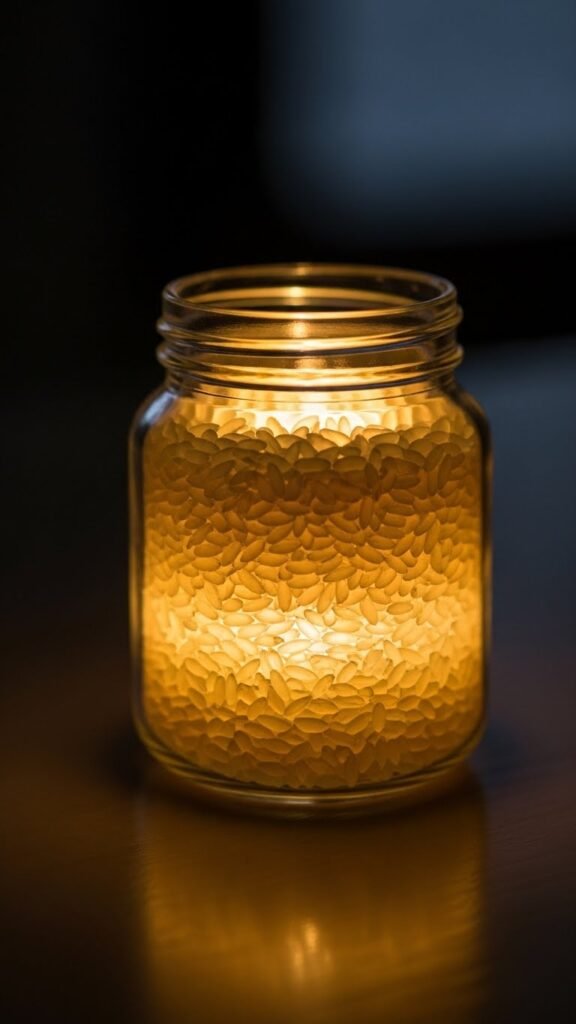
Color rice with washable paint.
Let dry before filling.
It creates smooth layers.
22. Gold Sticker Scene Jar
Kids stick shapes inside.
No filler needed.
It’s mess-free.
23. Coin Tower Challenge Jar
Kids stack coins upright.
It becomes a balance game.
Coins can be reused.
24. Gold Pom Jar
Pom poms feel soft and bright.
Easy for small hands.
Very affordable.
25. Mixed Texture Gold Jar
Mix everything together.
Kids enjoy variety.
No wrong results.
26. Painted Glass Gold Jar
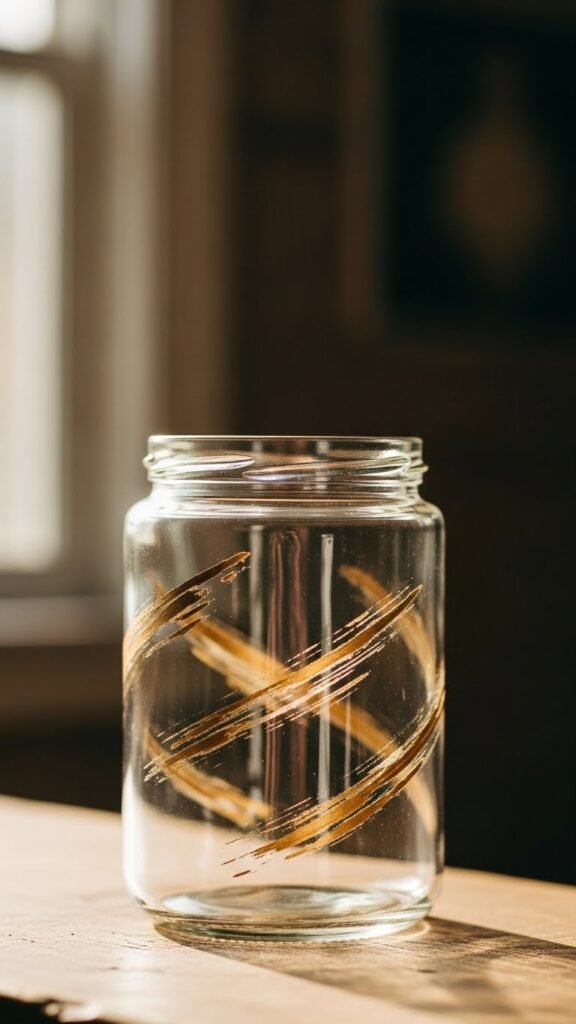
Kids paint directly on glass.
Streaks look artistic.
Simple supplies.
27. Gift-Ready Gold Pot Jar
Finish with ribbon and tag.
Kids give it proudly.
It feels special without extra cost.
Conclusion
Gold pot jars give kids a chance to create something shiny, personal, and proudly displayable using simple supplies. Each idea here keeps steps clear, costs low, and creativity wide open. Whether used for crafts, learning, or playful decor, these jars invite kids to work with their hands and enjoy the result long after the activity ends. Save your favorite ideas and try a few together for easy, joyful crafting moments.

Leave a Reply