


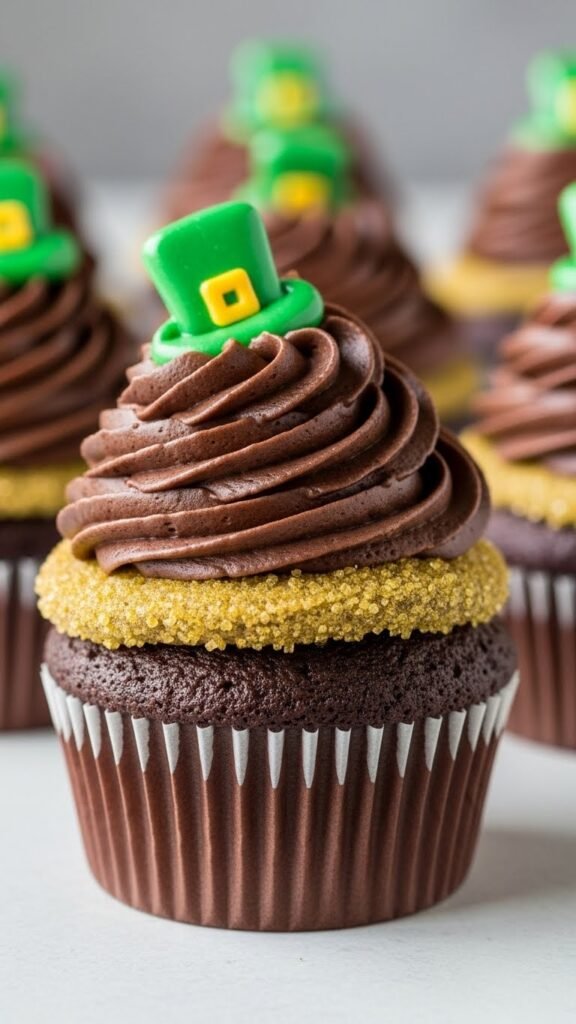
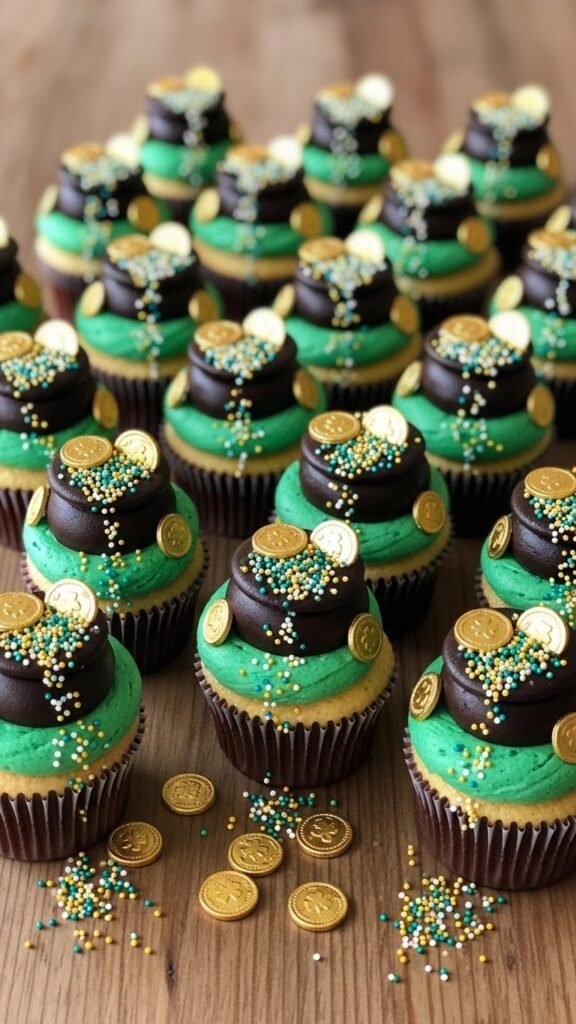
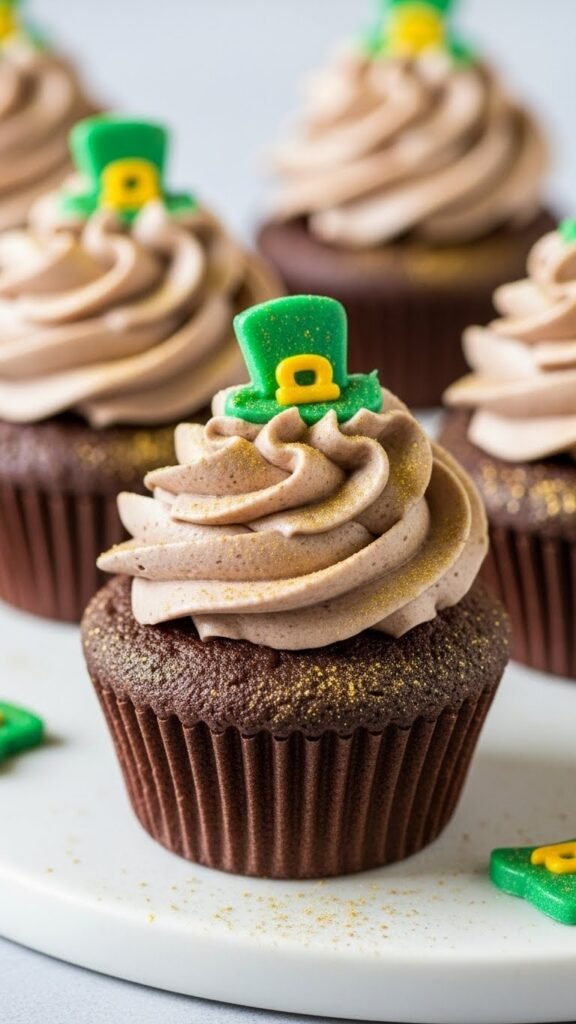
Pot-of-gold cupcakes are a St. Patrick’s Day favorite for a reason. They look playful, feel festive, and still fit into a realistic home-baking plan. This list focuses on cupcakes that shine on dessert tables without fancy tools or pricey ingredients. Each idea uses simple decorating tricks, smart shortcuts, and easy swaps. If you want treats that look special while staying budget-friendly, these cupcake ideas give you plenty of practical ways to bake and decorate with confidence.
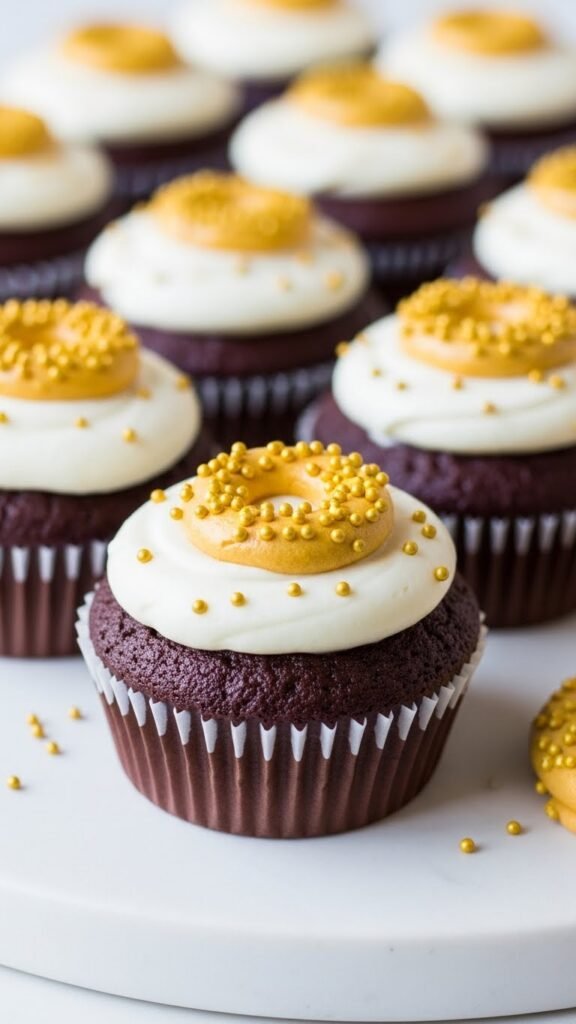
1. Chocolate Fudge Gold Coin Cupcakes

These cupcakes start with a simple chocolate base made from pantry cocoa powder. A thick swirl of dark frosting gives a strong base for decorating. Press foil-wrapped chocolate coins into the top while the frosting is soft. The coins instantly create a pot-of-gold effect with very little effort.
To save money, bake mini cupcakes instead of full-size. One bag of coins stretches much further. You can also use homemade frosting instead of store-bought tubs. Butter, sugar, cocoa, and milk whip together fast.
For extra texture, sprinkle crushed chocolate cookies around the coins. This adds contrast without extra cost. If you want a deeper look, pipe frosting in tight circles so it forms a bowl shape. The coins sit naturally in the center.
These cupcakes travel well and hold their shape. They work for school parties and family gatherings alike. Keep them chilled until serving so the coins stay in place.
2. Vanilla Cupcakes with Golden Sprinkle Centers
This idea uses a soft vanilla cupcake with a hidden surprise. After baking, cut a small hole in the center. Fill it with gold-colored sprinkles or sanding sugar. Replace the cake plug and frost as usual.
When bitten into, the gold center shows right away. Kids love the reveal, and adults appreciate the simple design. You can use boxed cake mix to save time. The decoration still looks thoughtful.
For frosting, keep it smooth and neutral. White or pale yellow works well. This lets the gold center stand out once the cupcake is cut. Use a piping bag or a zip-top bag with the corner trimmed.
If sprinkles feel pricey, mix yellow sugar with a small amount of edible shimmer dust. A little goes a long way. These cupcakes work best served the same day so the center stays crisp.
3. Dark Cocoa Cupcakes with Candy Nugget Toppers
Candy nuggets shaped like rocks make decorating easy. Start with a dark cocoa cupcake for contrast. Frost with a thick layer so the nuggets sit securely on top. Arrange them in a small pile to mimic a pot of gold.
To keep costs low, buy candy nuggets in bulk. One bag can decorate several batches. You can also mix them with chocolate chips for variety.
Pipe frosting in a shallow swirl rather than a tall peak. This creates a stable surface. If you want depth, dust lightly with cocoa powder around the edges.
These cupcakes look detailed but take very little time. They are great when you want something eye-catching without complex piping skills. Store them in a cool place so the candy holds its shape.
4. Black Cocoa Cupcakes with Gold Drizzle
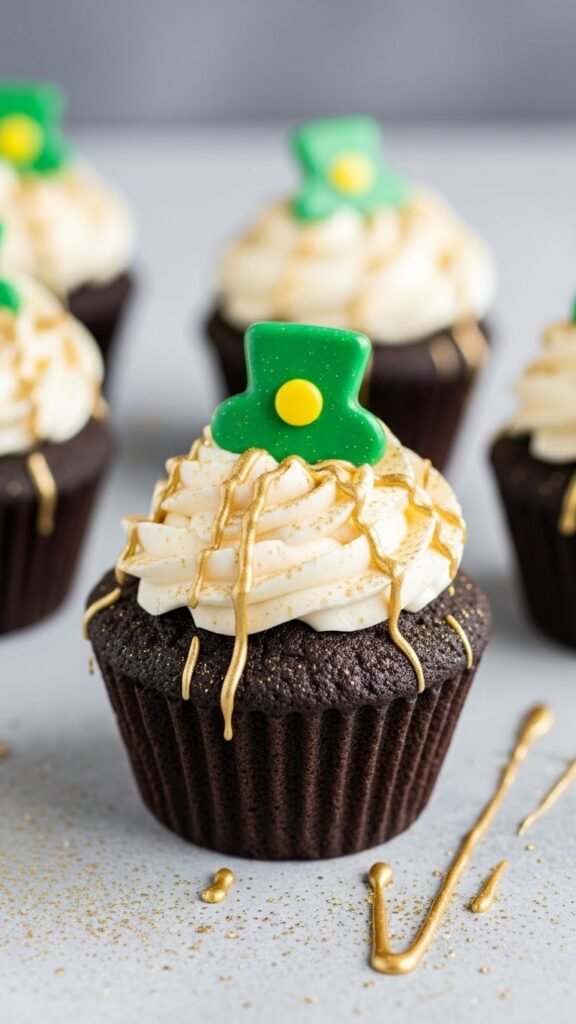
Black cocoa gives these cupcakes a dramatic base. The dark color makes any gold detail pop. Bake the cupcakes as usual, then frost with chocolate or vanilla frosting.
Melt white chocolate chips and mix in gold luster dust. Drizzle it lightly across the top using a spoon. The result looks detailed but takes minutes.
If black cocoa is hard to find, mix regular cocoa with black food coloring. It still gives strong contrast. Use inexpensive piping bags or parchment cones for drizzling.
These cupcakes look striking on dessert tables. They pair well with simple decorations nearby. Keep the drizzle light so it does not overpower the cupcake.
5. Chocolate Cupcakes with Pretzel Pot Handles
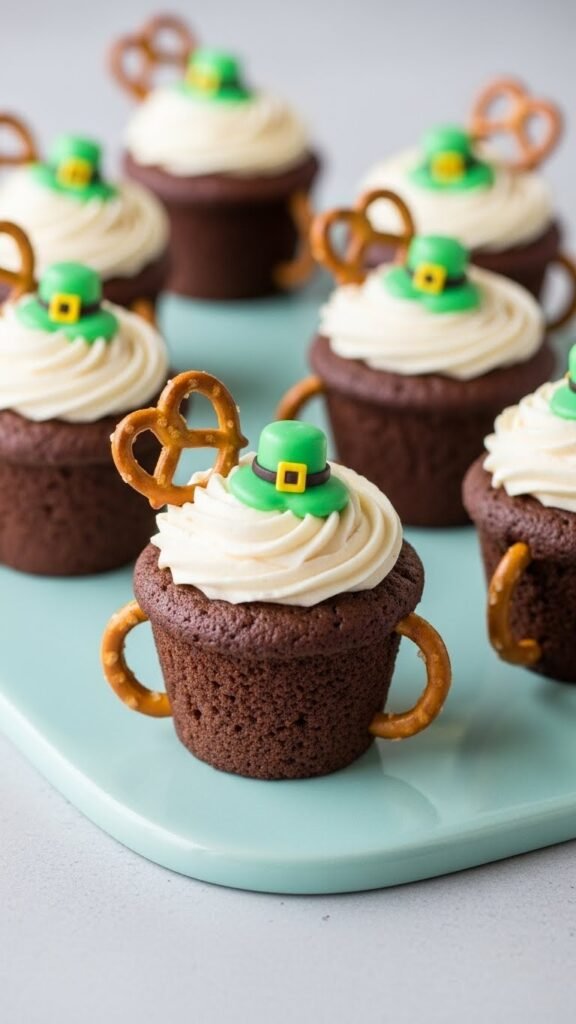
Pretzel loops act as simple pot handles. Frost the cupcake with dark frosting and press two pretzel ends into opposite sides. Add gold candies in the center to complete the look.
This idea uses snacks you may already have. Mini pretzels work best and cost very little. They also add crunch, which balances the soft cake.
Use a thick frosting so the pretzels stay in place. If needed, dab a bit of frosting on the pretzel ends before inserting.
These cupcakes are sturdy and easy to transport. They work well for bake sales since they hold up without extra packaging.
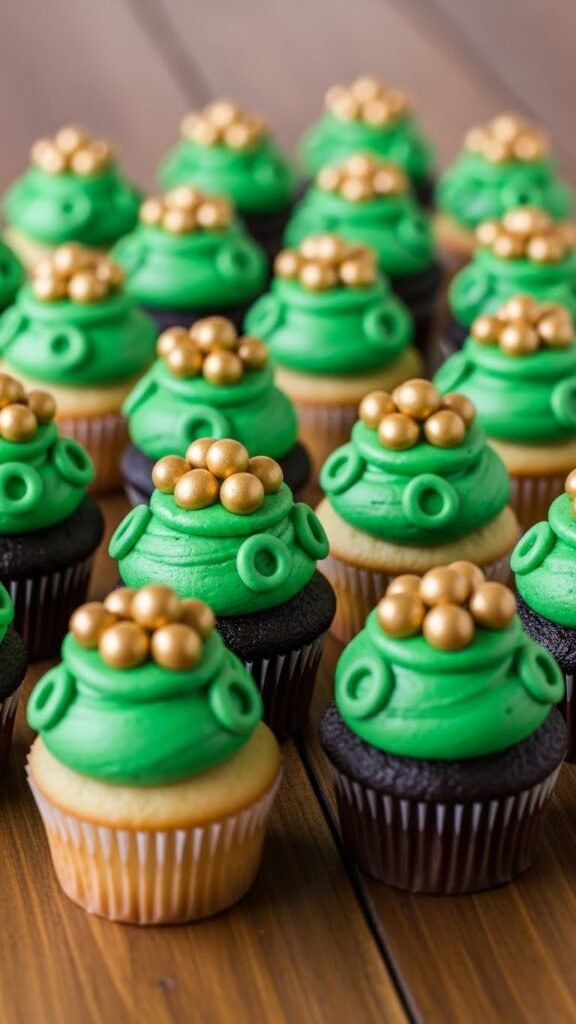
6. Mini Pot-of-Gold Cupcakes

Mini cupcakes stretch your budget fast. One batch creates dozens of treats. Frost each lightly and top with one gold candy.
Because they are small, you do not need heavy decoration. A simple swirl and single topper does the job. This keeps costs low and prep time short.
Mini cupcakes also bake faster. This helps when you are short on time. They are perfect for large groups where guests want just a bite.
Serve them in paper liners for easy cleanup. Arrange them in clusters to make the display look full without extra baking.
7. Chocolate Cupcakes with Crushed Cookie Soil

Crushed cookies make a great “soil” base. Sprinkle them over frosting to create texture. Nestle gold candies into the crumbs so they look tucked in.
Use any chocolate sandwich cookie. Generic brands work just as well and cost less. Crush them in a zip-top bag with a rolling pin.
This design hides imperfections. Uneven frosting disappears under the crumbs. It is a great option for beginner decorators.
These cupcakes feel playful and casual. They work well for kids’ parties or classroom treats.
8. Chocolate Ganache-Topped Gold Cupcakes
A simple ganache gives a smooth finish. Heat cream and pour over chocolate chips. Stir until smooth. Spoon over cooled cupcakes.
Top with gold candies while the ganache is still soft. The glossy surface makes the gold stand out.
Ganache uses only two ingredients and feels special without extra work. You can use chocolate chips from baking aisles to save money.
These cupcakes look polished but stay practical. Chill briefly so the topping sets before serving.
9. Cupcakes with Candy Rainbow and Gold End
Create a small rainbow using curved candy strips. Place it on one side of the cupcake. Add gold candies at the end to suggest the pot of gold.
Use store-brand candy strips to keep costs low. Cut them into smaller pieces so each package goes further.
Keep frosting smooth so the rainbow stays visible. A light background works best.
This design feels cheerful and works well for themed dessert tables.
10. Chocolate Cupcakes with Gold Sugar Dusting
Dusting adds shine with little effort. Mix granulated sugar with gold luster dust. Sprinkle lightly over frosted cupcakes.
This method avoids extra candies. It keeps costs low and cleanup simple. Use a fine mesh strainer for even coverage.
The look stays subtle and works for more formal gatherings. Pair with dark liners for contrast.
Store covered so the sugar stays crisp.
11. Cupcakes with Chocolate Cup “Pots”
Turn small chocolate cups upside down on frosted cupcakes. Fill the center with gold candies.
Chocolate cups are affordable and easy to find. One pack decorates many cupcakes.
This design creates height without piping skills. It looks playful and bold.
Keep cupcakes cool so the chocolate holds its shape.
12. Chocolate Cupcakes with Marshmallow Gold Pile

Mini marshmallows dipped in gold dust become light toppers. Pile them on frosting for a soft look.
Dip only the tops to save dust. Let them dry before placing.
This idea keeps costs down and adds height. Kids enjoy the texture contrast.
Serve the same day for best results.
13. Cupcakes with Gold Candy Shard Centers
Break gold candy melts into shards. Press them upright into frosting.
This creates a dramatic look using simple tools. Melt candies in the microwave and spread thin before breaking.
Use parchment paper for easy cleanup.
These cupcakes stand out on dessert tables and stay affordable.
14. Chocolate Cupcakes with Gold Pearl Rings
Arrange gold sugar pearls in a circle on frosting. The ring shape suggests a pot rim.
Sugar pearls last a long time and decorate many batches.
Use a spoon to place them evenly.
This look stays neat and works for tidy displays.
15. Cupcakes with Chocolate Drip and Gold Center

Add a simple drip around the edge of frosted cupcakes. Place gold candy in the center.
Use a spoon for controlled drips. No piping bag required.
This design looks detailed but stays beginner-friendly.
Chill briefly to set before serving.
16. Chocolate Cupcakes with Gold Candy Mix
Mix several gold candies together. Sprinkle generously on frosting.
This approach uses odds and ends from the pantry.
It saves money and reduces waste.
Each cupcake looks slightly different, adding charm.
17. Cupcakes with Gold Coin Stack
Stack coins upright for height. Press gently into frosting.
Use three coins per cupcake to stretch supplies.
This design looks bold and clear.
Transport carefully so stacks stay straight.
18. Chocolate Cupcakes with Gold Sugar Rim
Roll frosting edges in gold sugar. Leave the center smooth.
This creates contrast with little effort.
Use shallow bowls for dipping.
It works well when short on time.
19. Cupcakes with Chocolate Button Pots
Chocolate buttons form the pot base. Place gold candy inside.
Buttons cost less than molded chocolates.
They add texture and depth.
Serve at room temperature.
20. Cupcakes with Gold Candy Center Crater

Scoop a small dip in frosting. Fill with gold candies.
This hides uneven frosting easily.
Use a spoon for shaping.
It works for fast decorating sessions.
21. Chocolate Cupcakes with Gold Dust Swirl
Brush gold dust lightly over frosting swirls.
Use a clean, dry brush.
This adds shine without candy.
It keeps costs low and cleanup simple.
22. Cupcakes with Gold Candy Cluster
Cluster candies tightly in the center.
This uses fewer pieces per cupcake.
It looks full and festive.
Great for large batches.
23. Chocolate Cupcakes with Gold Sprinkle Ring
Create a ring using gold sprinkles. Leave the middle empty.
This design stays clean and clear.
Use a spoon for control.
Works well for neat displays.
24. Cupcakes with Chocolate Chip Gold Mix
Mix chocolate chips with gold candies. Sprinkle lightly.
This stretches supplies.
Adds texture and contrast.
Perfect for casual gatherings.
25. Chocolate Cupcakes with Gold Candy Crown
Arrange candies around the edge like a crown.
This frames the cupcake nicely.
Use fewer candies per cupcake.
Looks balanced and tidy.
26. Cupcakes with Gold Sugar Dome

Cover frosting fully with gold sugar.
Press gently so it sticks.
This creates a bold look.
Simple and quick to finish.
27. Chocolate Cupcakes with Gold Candy Path
Line candies from edge to center.
This guides the eye.
Use small pieces.
Works well on smooth frosting.
28. Cupcakes with Gold Candy Spill

Let candies spill slightly over the edge.
This adds motion to the design.
Use liners to catch extras.
Fun and playful look.
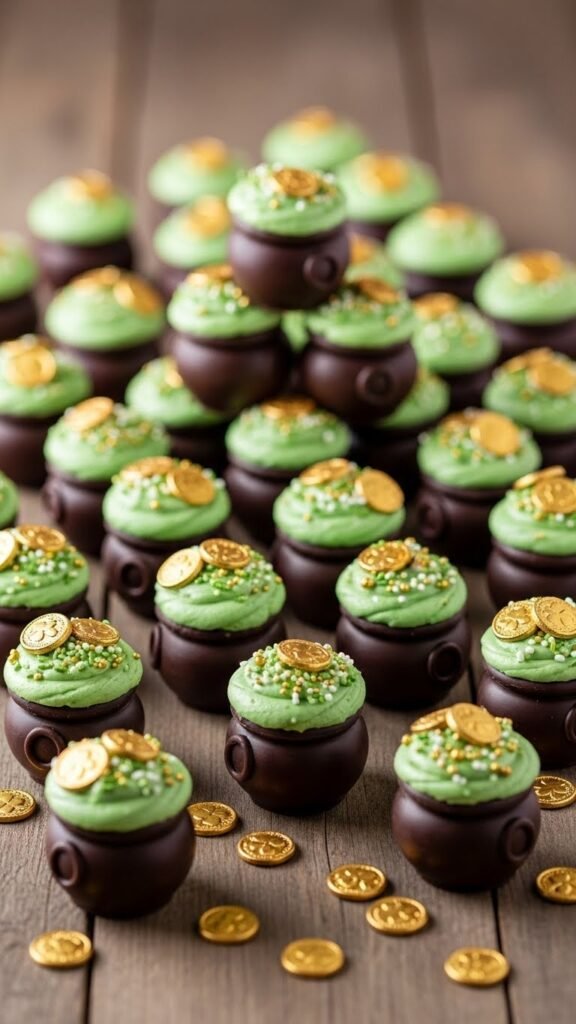
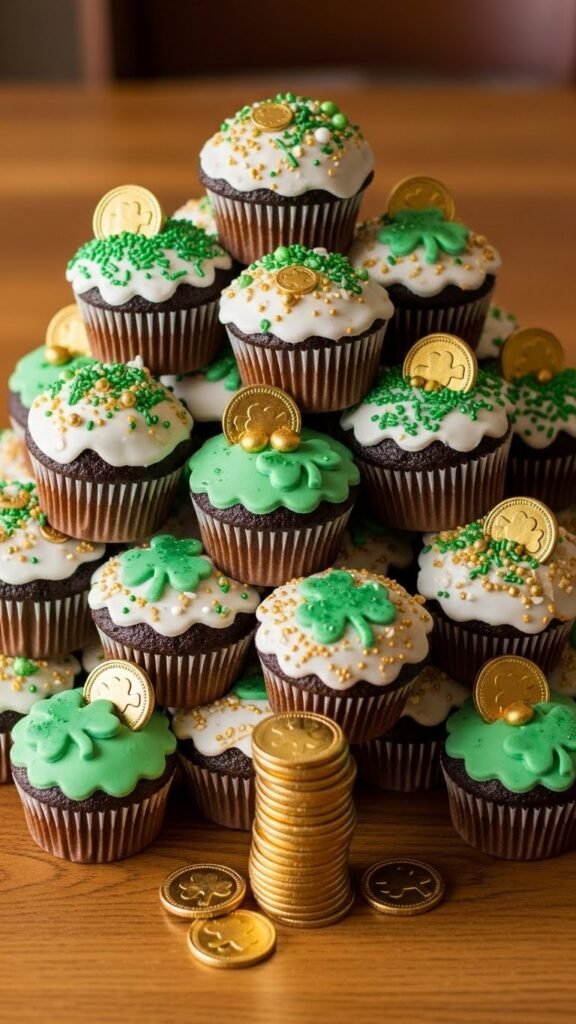
29. Classic Pot-of-Gold Chocolate Cupcakes

Stick with dark frosting and gold coins.
Sometimes simple works best.
This design suits any crowd.
Easy to repeat and scale.
Conclusion
These pot-of-gold cupcakes prove that eye-catching desserts do not require fancy tools or big spending. With smart decorating choices and simple ingredients, you can bake treats that look special and feel fun to share. Pick one idea or mix several styles for variety. Each option keeps prep realistic while still bringing festive charm to the table.

Leave a Reply