

Big entrances set the tone for a party—and giant letters do that instantly. Whether you’re welcoming guests to a birthday, baby shower, graduation, or themed celebration, oversized letters create that wow moment before anyone even steps inside. The best part? You don’t need special tools or a huge budget to make them.
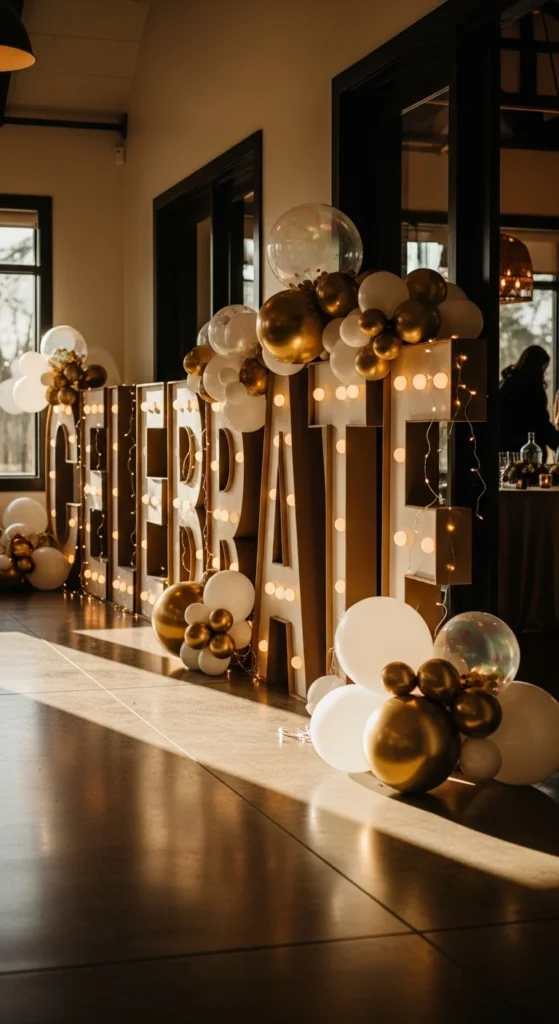
This guide walks you through simple, practical ways to create giant letters that look party-planner approved but feel totally doable at home.
Choose the Right Size and Letter Style
Before cutting or building anything, decide how big your letters should be and what style fits your event.
Common sizes that work well
- 3–4 feet tall for indoor entrances
- 4–5 feet tall for outdoor or large spaces
Block-style letters are the easiest for beginners. Straight edges are simpler to cut and more stable when standing.
Quick planning tips
- Sketch your letters on paper first
- Print a large letter template and tape pages together
- Keep fonts bold and simple for clean edges
Planning upfront saves time and materials later.
Pick Your Base Material (Budget-Friendly Options)
You don’t need woodshop skills to make giant letters. These materials are easy to find and work with.
Great beginner materials
- Cardboard boxes (appliance boxes are perfect)
- Foam board (lightweight and smooth)
- Poster board layered together
- Lightweight plywood (only if you want reusable letters)
Cardboard is ideal for one-time parties. Foam board gives a cleaner finish and holds shape better for photos.
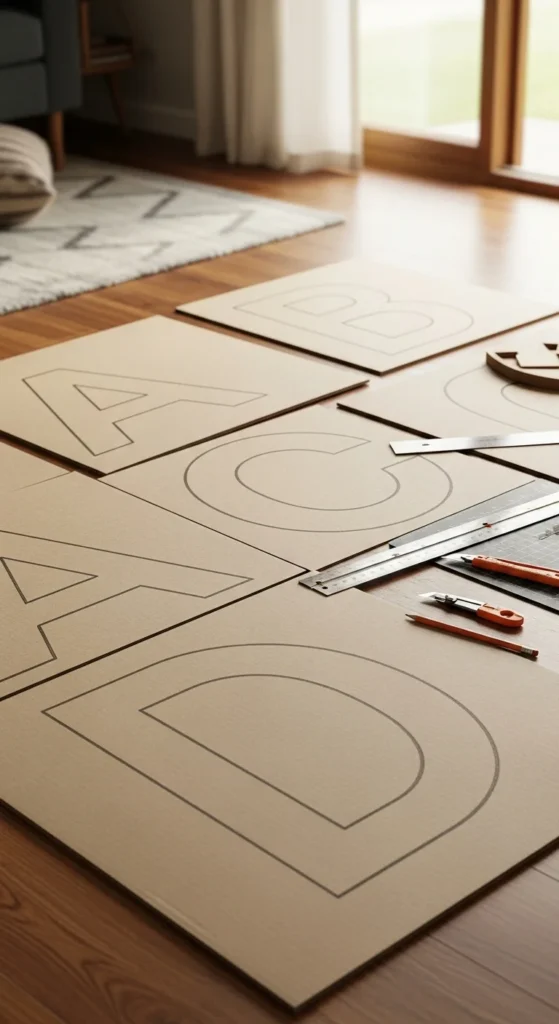
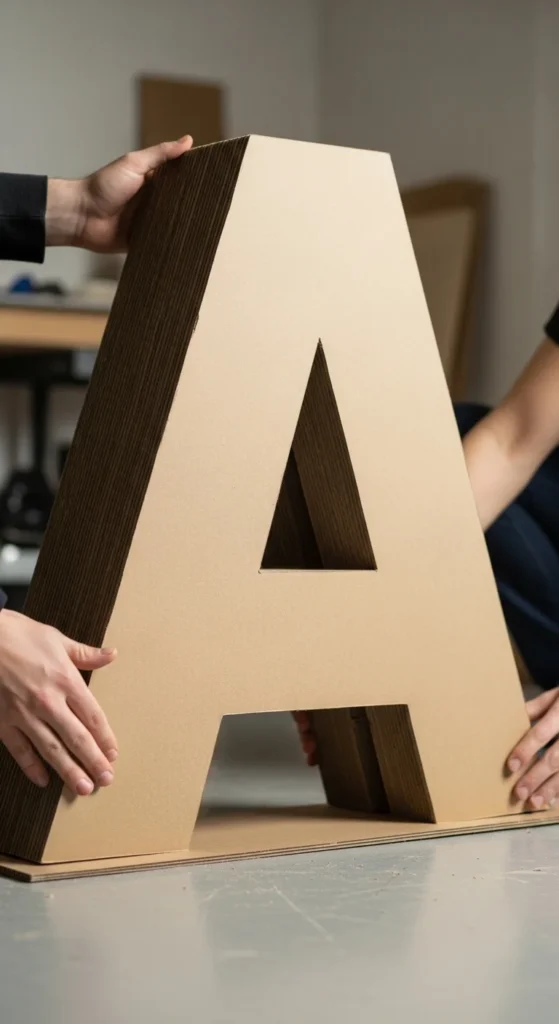
Cut and Build the Letter Shapes
This is where your letters come to life.
How to do it
- Trace your letter shape twice (front and back).
- Cut carefully using a craft knife or box cutter.
- Cut side strips (3–6 inches wide) for depth.
- Attach sides using hot glue or strong tape.
- Reinforce corners from the inside.
Stability hacks
- Add cardboard braces inside tall letters
- Make wider bases for letters like “A” or “Y”
- Use double layers for thin areas
Take your time here—clean cuts make decorating much easier.
Make Letters Stand on Their Own
A strong entrance needs letters that don’t tip over.
Easy standing methods
- Fold-out cardboard feet glued to the back
- Weighted bases using books or small weights hidden inside
- Wooden dowels taped inside for vertical support
- Wall-leaning setup for indoor hallways
If your party is outdoors, always add extra weight. Wind is not your friend.
Decorate to Match Your Party Theme
This is the fun part. Decoration turns simple letters into statement pieces.
Popular decoration ideas
- Balloon clusters along edges
- Faux flowers or greenery
- Tissue paper fringe
- Glitter paper accents
- LED fairy lights wrapped around edges
Pro decorating tips
- Stick to 2–3 colors for a polished look
- Decorate the front fully, sides lightly
- Keep heavy items near the bottom
Hot glue works best, but double-sided tape is great for lighter decor.
Add Lighting for a Wow Effect
Lighting makes giant letters pop, especially at entrances.
Easy lighting ideas
- Battery fairy lights tucked inside letters
- Clip-on spotlights aimed upward
- Floor lanterns placed behind letters
Lighting creates depth in photos and makes the entrance feel intentional, not last-minute.

Set Up the Perfect Entrance Scene
Don’t stop at the letters—frame them.
Simple styling ideas
- Balloon arches or columns nearby
- A small rug or runner leading to the door
- Matching decor on both sides of the entrance
- Photo props placed close for guest photos
Leave enough space so guests can walk around the letters comfortably while still stopping to admire them.
Storage or One-Time Use?
Decide this before you decorate.
- One-time use: Cardboard + lightweight decor
- Reusable: Foam board or wood + removable decorations
If you want to reuse letters, attach decor with hooks or removable strips so you can change themes later.
Final Takeaway
Giant letters instantly elevate party entrances, and making them yourself is easier than it looks. With simple materials, clean shapes, and thoughtful decoration, you can create a memorable first impression without stress or overspending.
Save this guide for your next celebration—and let your entrance do the talking.

Leave a Reply