

Birthday photos last forever — and the shirt you wear can make or break the whole vibe. Whether you’re snapping pictures at home, hosting a themed party, or posing for social posts, a DIY birthday shirt lets your personality shine while keeping everything camera-ready. The best part? You don’t need fancy tools or pro skills to make one that truly pops.
Below, you’ll find easy, creative steps to design birthday shirts that look amazing in photos — even on a budget.
Choose Colors That Stand Out on Camera
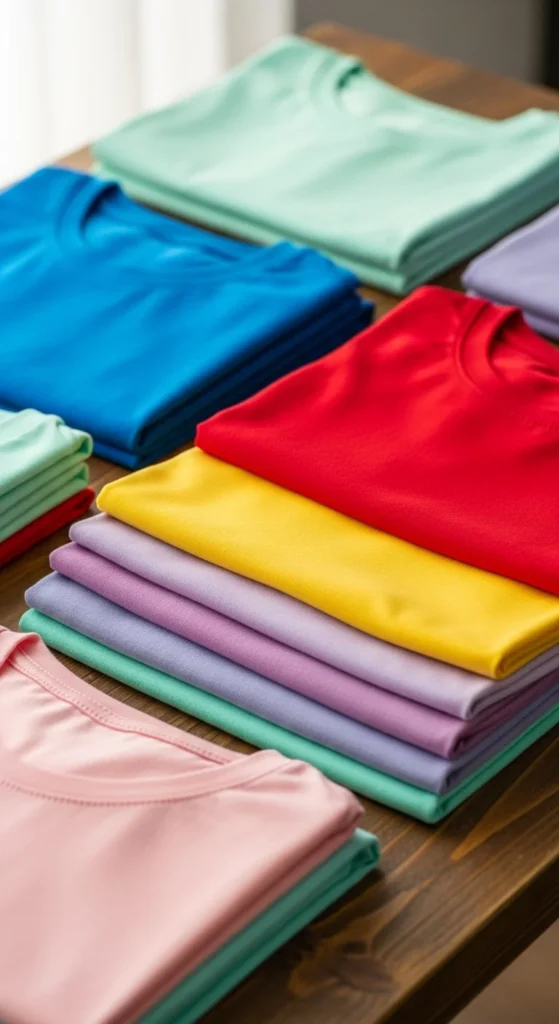
The first secret to a photo-worthy birthday shirt is color choice. Some shades look great in real life but fall flat in photos.
Colors that photograph beautifully:
- Bright white or soft cream for clean contrast
- Bold shades like cobalt blue, emerald green, or hot pink
- Pastels for daytime or outdoor parties
Colors to be cautious with:
- Very dark black (details can disappear in photos)
- Neon shades that reflect too much light
- Busy multicolor prints that distract from your face
Tip: If your party has a theme, pull one main color from the décor and build your shirt around it.
Pick a Shirt Style That Fits the Celebration
Your shirt’s cut and fabric matter just as much as the design. Comfortable shirts help you relax, and relaxed people photograph better.
Popular DIY shirt bases include:
- Classic cotton tees for all-day comfort
- Oversized shirts for a trendy, casual look
- Fitted shirts for polished group photos
- Long-sleeve shirts for cooler weather or indoor parties
Fabric tip: Matte fabrics photograph better than shiny ones. They reduce glare and keep the focus on the design.
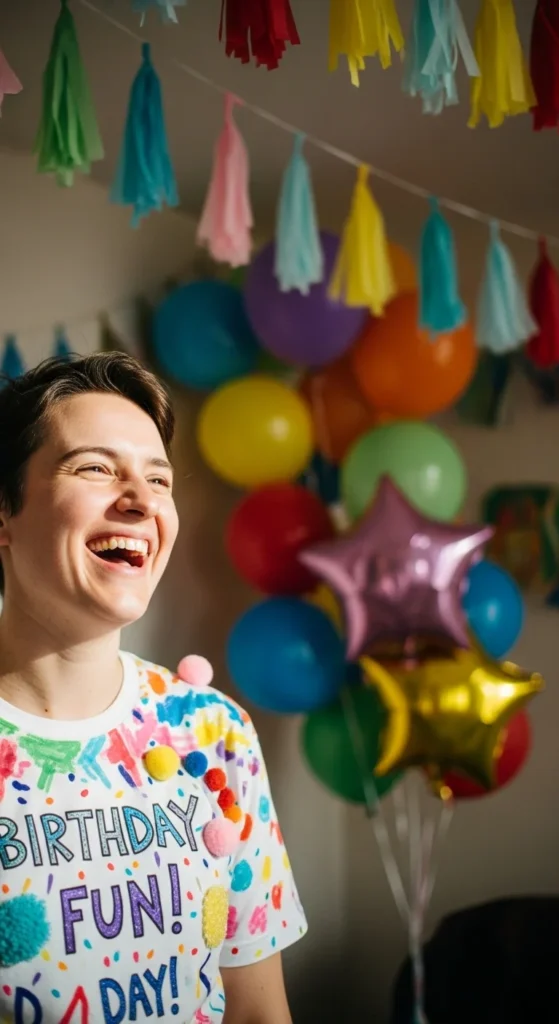
Create a Design That’s Bold but Simple
When it comes to DIY birthday shirts, less is more. A clean, bold design always beats tiny details that disappear in pictures.
Ideas that work well:
- Large numbers (age, milestone year)
- One short phrase in a strong font
- Simple icons like stars, crowns, or hearts
- Minimal graphics placed at chest level
Avoid overcrowding your shirt with too many elements. If you’re unsure, step back a few feet and see if the design is still readable.
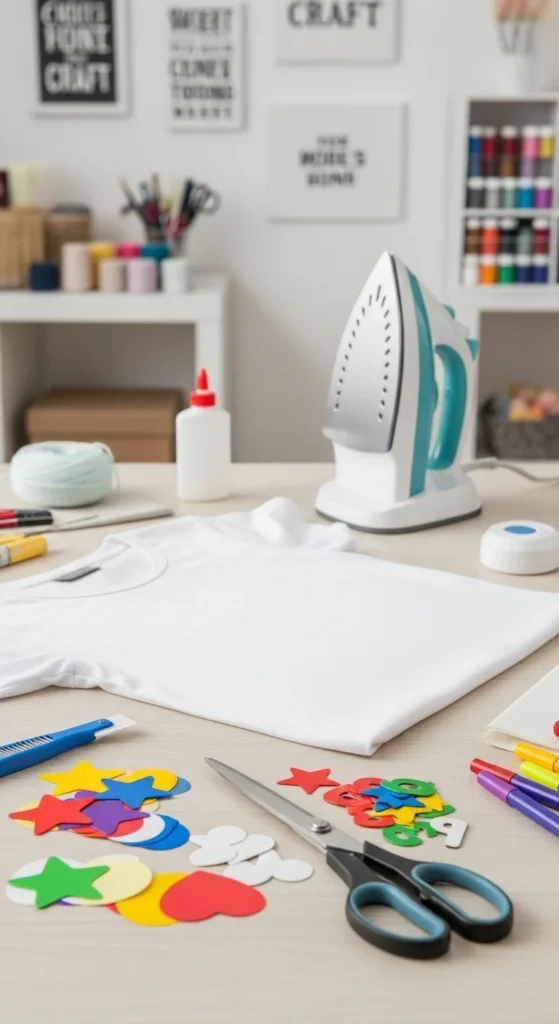
Use Easy DIY Methods That Look Professional
You don’t need advanced tools to make your shirt look polished. These beginner-friendly methods deliver great results.
Heat-Transfer Vinyl
- Clean edges and bold colors
- Perfect for numbers and shapes
- Long-lasting when applied correctly
Iron-On Transfers
- Great for images or illustrations
- Easy to find and simple to use
- Ideal for quick projects
Fabric Paint or Markers
- Best for hand-drawn designs
- Adds personality and texture
- Practice on scrap fabric first
Pro tip: Always test your method on an old shirt before applying it to your final piece.
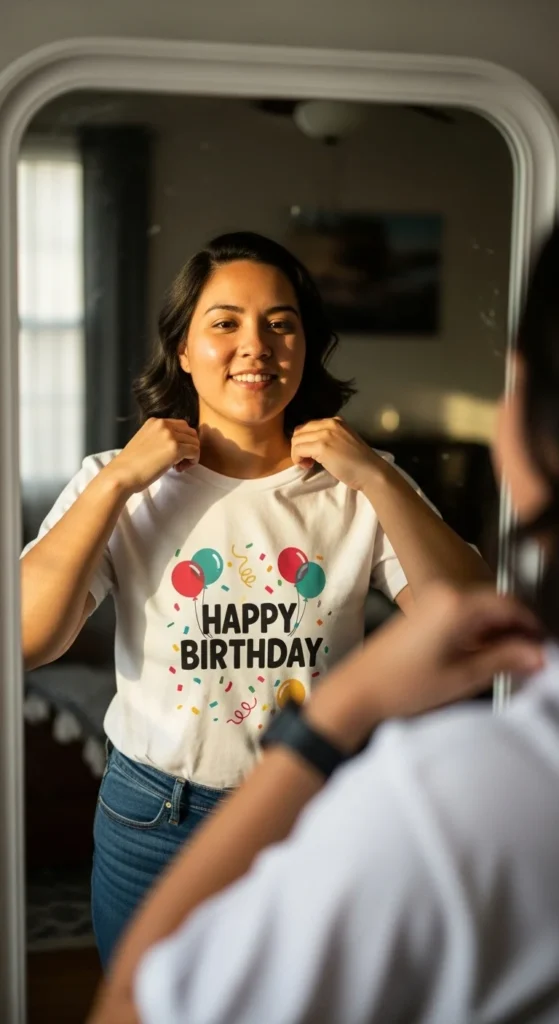
Position Your Design for Maximum Impact
Design placement makes a huge difference in photos. A great design in the wrong spot can look awkward on camera.
Best placement tips:
- Center designs slightly higher on the chest
- Avoid designs too close to the neckline
- For oversized shirts, scale the design up
- Keep sleeve designs simple and minimal
When in doubt, try the shirt on and take a quick phone photo. You’ll instantly see what works.
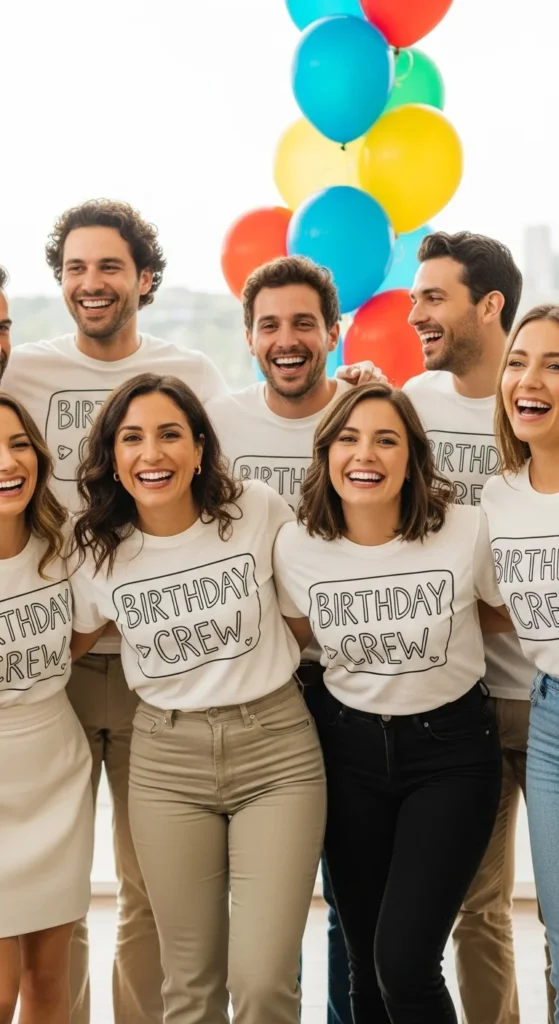
Coordinate Shirts for Group Photos
If you’re celebrating with friends or family, coordinated DIY shirts look amazing in group shots.
Easy coordination ideas:
- Same design, different colors
- Same color shirts with personalized details
- Matching fonts with unique icons
- Shared theme with individual numbers or names
This approach keeps photos cohesive without making everyone look identical.
Style Your Birthday Shirt for Picture-Perfect Results
Once your shirt is ready, styling completes the look. Simple styling helps the shirt stand out without stealing attention.
Style tips:
- Pair bold shirts with neutral bottoms
- Avoid busy patterns that clash
- Roll sleeves slightly for a relaxed look
- Steam or iron the shirt before photos
Accessories should support the shirt, not compete with it.
Wash and Care Before the Big Day
Nothing ruins photos faster than wrinkles or faded designs. Prep your shirt properly.
- Wash inside out on a gentle cycle
- Skip high heat when drying
- Avoid harsh detergents
- Store flat until the event
This keeps your design crisp and photo-ready.
Final Takeaway
DIY birthday shirts are more than just clothing — they’re part of the celebration story. With the right colors, simple designs, and smart placement, you can create a shirt that looks incredible in every photo and feels personal to you.
Save this guide for your next birthday, gather your supplies, and start creating a shirt that truly pops on camera!

Leave a Reply