

Looking to create a vibrant, photo-worthy backdrop for a birthday celebration? Birthday bunting is the perfect way to set the mood and create a fun, festive atmosphere. Whether you’re throwing a cozy gathering or a big bash, DIY bunting can be easily customized to suit any theme, and it makes for a fantastic photo opportunity. Here’s how to make your very own birthday bunting that will leave your guests smiling and your photos looking great!
Materials You’ll Need
Before you start crafting your birthday bunting, gather the following materials to make the process easy and enjoyable:
- Fabric or paper: Use a lightweight fabric like cotton or felt, or choose colorful scrapbook paper.
- Scissors: A sharp pair of scissors to cut clean, crisp shapes.
- Twine or ribbon: To hang the bunting. Ribbon adds a touch of elegance, while twine provides a rustic feel.
- Hot glue gun: For quick assembly, or you can sew the fabric together if you prefer.
- Stencil or template: For consistent shapes, especially if you’re cutting triangles or circles.
- Paint markers or glitter: For a fun, personalized touch, use paint or glitter to add names, numbers, or designs to the bunting.
Once you have everything ready, you can start crafting your bunting with ease!
Step 1: Choose Your Bunting Design
The design of your bunting is the first thing people will notice. Think about the vibe you want to create. Here are some fun options:
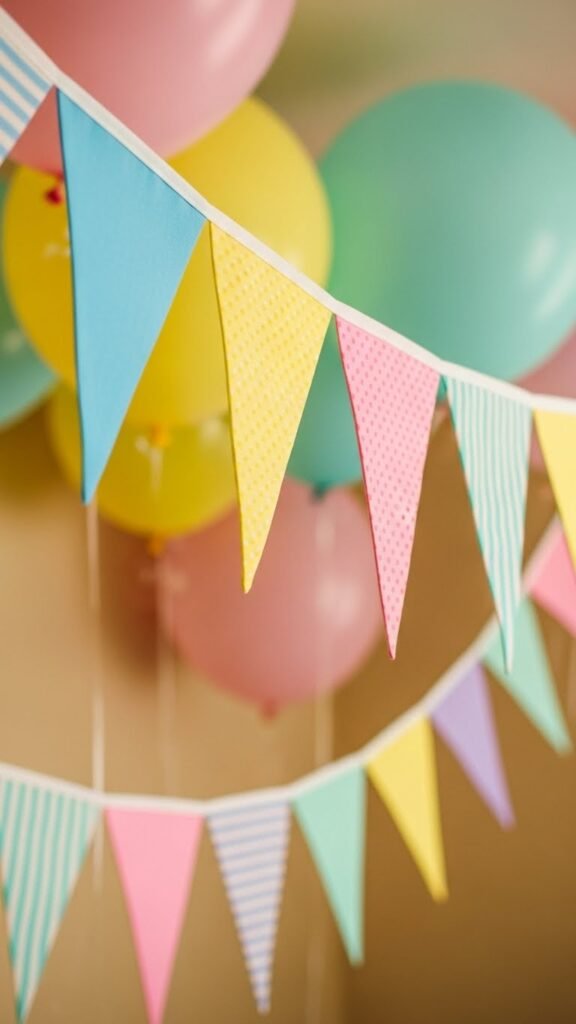
- Classic triangle flags: Perfect for any birthday theme! These can be cut from fabric or paper and strung together on twine.
- Circular bunting: Add a twist by opting for round shapes instead of triangles. These can look especially great when made from patterned paper or fabric with a modern, chic style.
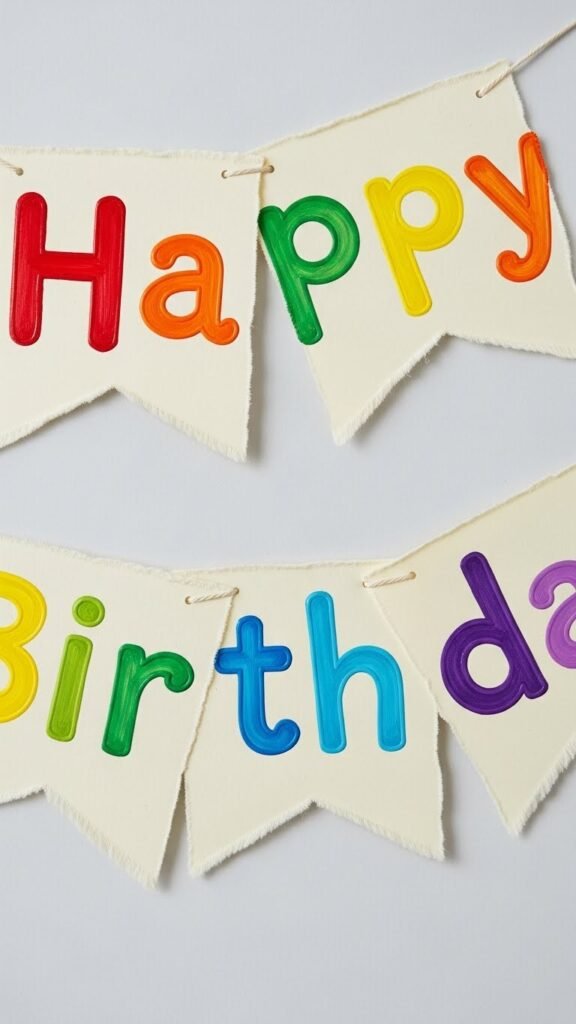
- Letters or numbers: Spell out “Happy Birthday” or the birthday person’s name! Lettered bunting adds a personal touch and works well for milestone birthdays.
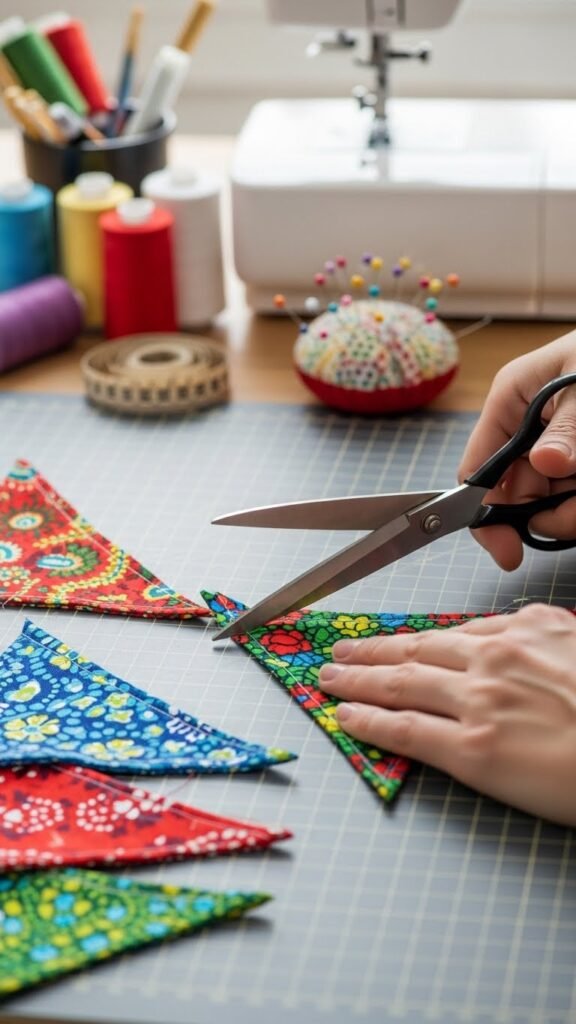
Step 2: Cut Your Shapes
Using your stencil or template, cut out your shapes. If you’re using fabric, ensure each piece is the same size for a uniform look. If you’re using paper, a sturdy cardstock will work best to prevent wrinkles or tears.
- Tip: To make sure each piece is the same size, cut one shape first and then use it as a template for the rest. This will save time and ensure consistency.
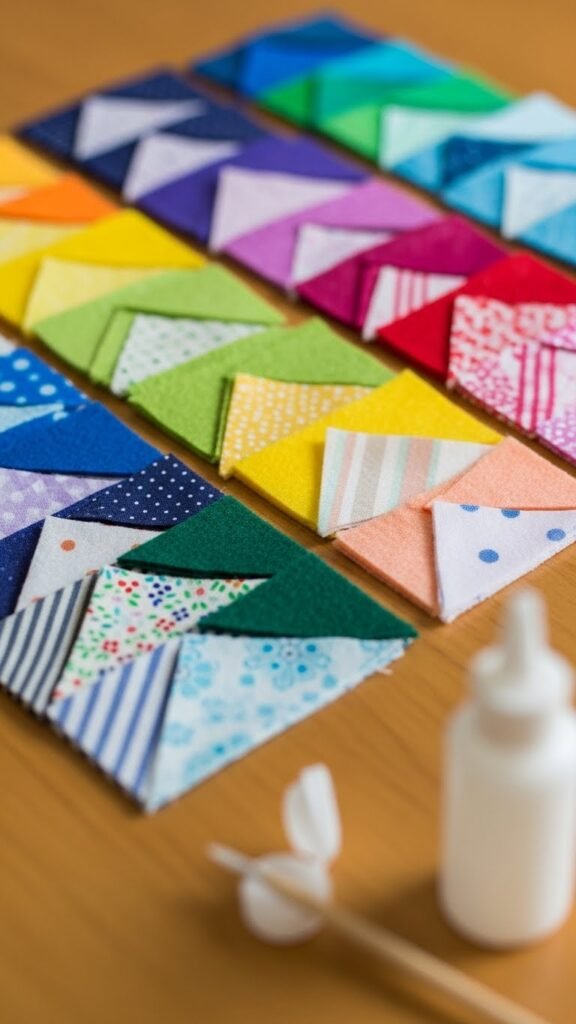
For a more festive look, use multiple colors or patterns. A fun combination of pastel and bold colors can make the bunting pop. You can also opt for different textures, like glitter paper for added sparkle!
Step 3: Personalize Your Bunting
Now comes the fun part—personalizing your bunting! Add some birthday flair with paint markers, glitter, or stickers.
- Custom messages: Use paint markers to write out special messages like “Happy Birthday,” the celebrant’s name, or “Let’s Party!”
- Glitter accents: Add some sparkle by outlining the shapes with glitter glue or sprinkling loose glitter on the edges.
- Embellishments: Attach small pom-poms, buttons, or other decorative items to the bunting for a playful touch.
Step 4: Attach the Bunting to Twine or Ribbon
Next, it’s time to string up your bunting. Lay out your twine or ribbon on a flat surface. Use a hot glue gun to attach each shape to the twine, ensuring they’re evenly spaced. If you prefer a more polished look, you can sew each flag or circle onto the twine.
- Spacing tips: For a neat appearance, measure a small gap between each shape (about 3 to 4 inches). If you’re going for a fuller look, you can place the flags closer together.
- Tip: If you want to hang your bunting vertically, simply attach the shapes to shorter lengths of twine and let them cascade down.
Step 5: Hang Your Birthday Bunting
Once your bunting is complete, it’s time to hang it up! You can place it along the wall, drape it across the door frame, or even hang it from the ceiling for a whimsical effect. Make sure the bunting is positioned where it will be in the background of photos for a perfect shot!
- Pro tip: Use removable adhesive hooks or tape to easily hang the bunting without damaging walls.

Final Touches for a Photo-Ready Room
Now that your bunting is up, consider adding a few other elements to make the room even more photo-ready:
- Balloons: A few colorful balloons will complement the bunting and enhance the celebratory vibe.
- String lights: Add some twinkling lights around the bunting for an enchanting effect.
- Confetti or paper streamers: Scatter a bit of confetti or hang paper streamers from the ceiling for extra fun!
Don’t forget to take plenty of pictures! With your DIY birthday bunting as the centerpiece, your photos will look amazing.
Conclusion: Ready, Set, Party!
Creating birthday bunting is a simple yet effective way to elevate your party décor and make your event feel special. Whether you’re celebrating a big milestone or a simple gathering, this fun DIY project will add charm to your space and create lasting memories. So, gather your materials, get crafting, and let the birthday fun begin!
Pro tip: Save this guide for future party planning—it’s perfect for every birthday celebration you host!

Leave a Reply