

Designing personalized gift tags for party favors is a wonderful way to add a unique touch to your celebrations. Whether you’re throwing a birthday bash, bridal shower, or holiday gathering, custom gift tags show thoughtfulness and creativity. In this article, we’ll explore how to design beautiful and memorable gift tags that will impress your guests.

Why Gift Tags Matter
Gift tags aren’t just labels; they are a way to express your personality and style. Custom gift tags help elevate your party favors and make them feel more personal. They create a cohesive theme that ties all your party elements together. Whether you’re using them for a rustic wedding, a chic birthday celebration, or a festive holiday gathering, gift tags add charm and warmth to your favors.
How to Design the Perfect Gift Tag
Creating a beautiful gift tag doesn’t require advanced design skills. With a few simple tools and tips, you can craft tags that leave a lasting impression. Here’s how you can get started.
Step 1: Choose Your Theme and Color Palette
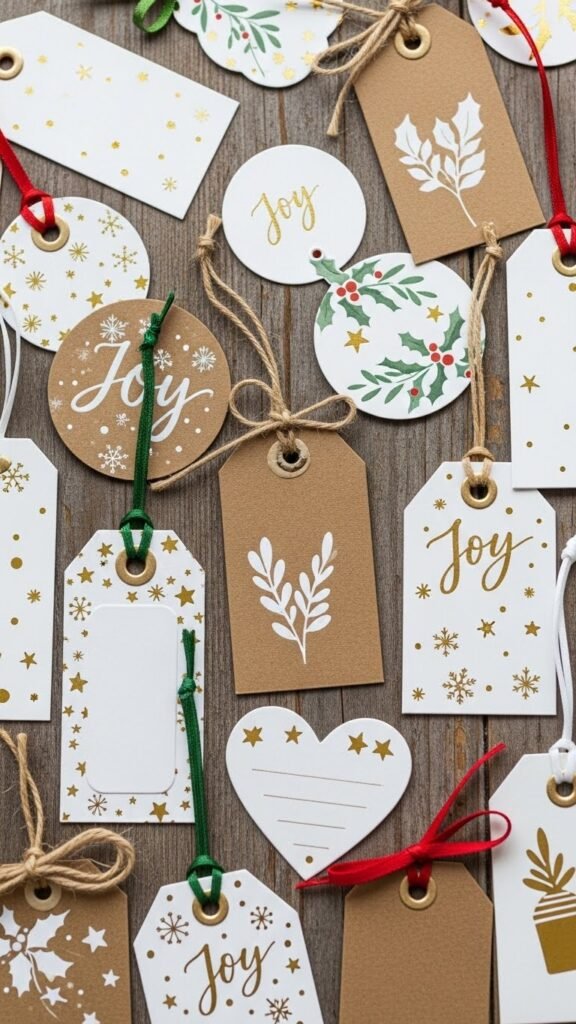
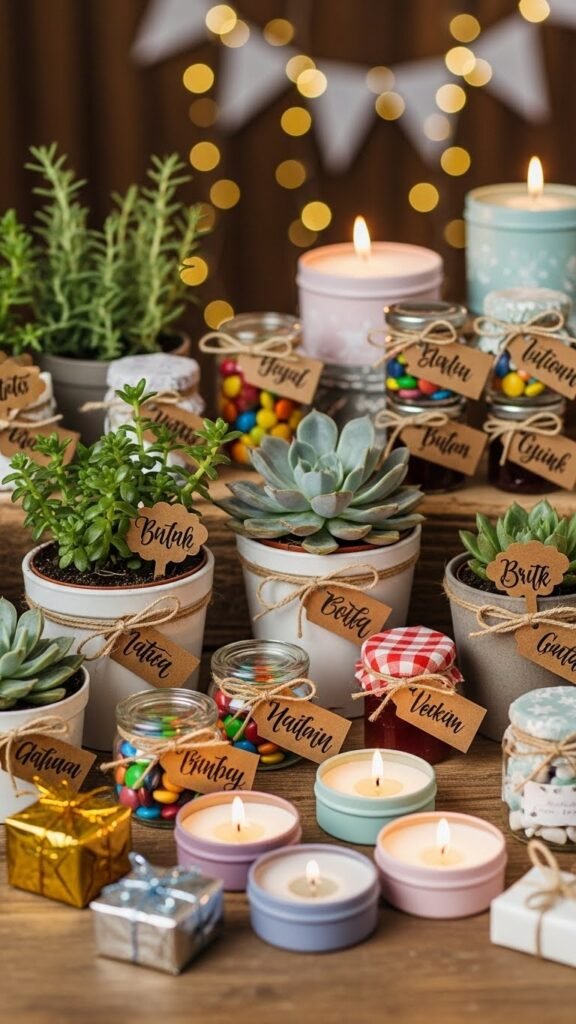
Before designing your gift tags, decide on a theme that matches your event. Whether it’s minimalist, floral, vintage, or modern, make sure the tags reflect your event’s atmosphere. Next, pick a color palette. Stick to 2–3 colors for a more cohesive look. Consider using colors that match the party decor or the season. For instance, pastel hues work great for spring events, while gold and red are perfect for a holiday theme.
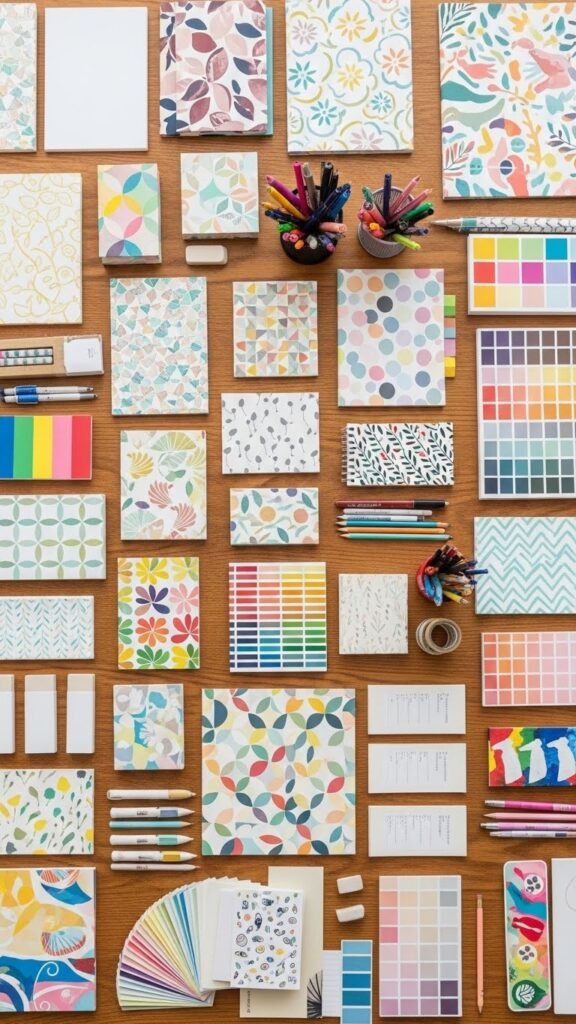
Step 2: Select the Right Paper
The texture and weight of the paper can make a huge difference in the final look of your tags. For a high-end feel, consider using thick cardstock or textured paper. If you prefer a rustic vibe, kraft paper or recycled options are great choices. Make sure the paper is sturdy enough to hold up through handling, but also easy to write on.
Step 3: Choose Your Tag Shape and Size
Gift tags come in all shapes and sizes. You can go with classic rectangular tags or try something more fun, like circles, hearts, or custom die-cut shapes. Keep in mind the size of your party favors. Smaller tags are ideal for dainty favors like chocolates or small trinkets, while larger tags can be used for bigger gifts like candles or mini plants.
For extra flair, you can add decorative edges, such as scalloped or torn finishes. This will add character and make the gift tag stand out.
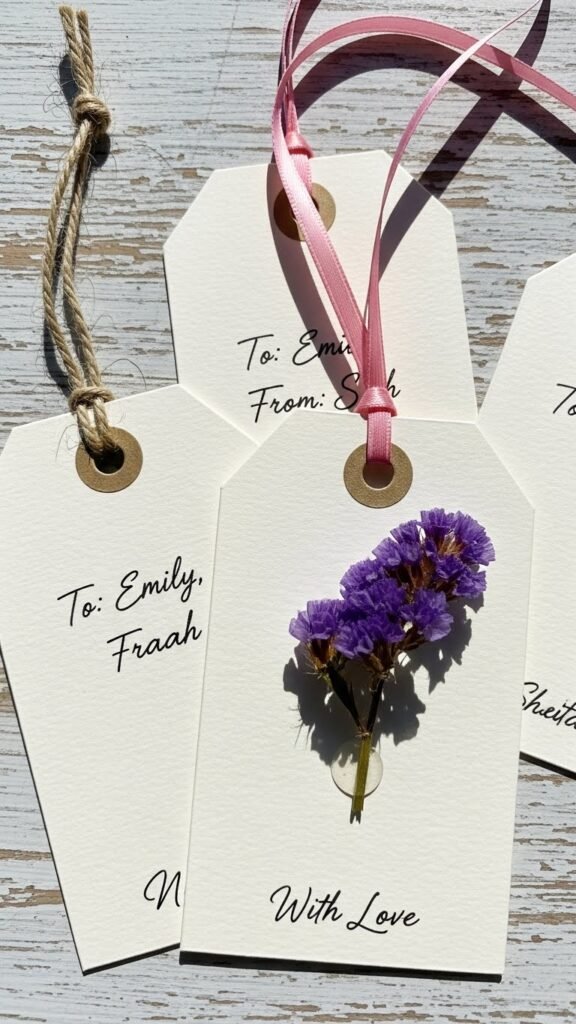
Step 4: Add Personalization
Personalized tags are what really make your gifts feel special. Start with a simple message like “Thank You,” “With Love,” or “Cheers to You,” but don’t be afraid to get creative. You can also add the recipient’s name for a more intimate touch. Incorporate meaningful quotes, short poems, or funny sayings that match the vibe of your party.
If you’re hosting a wedding, adding the couple’s initials or wedding date adds a memorable detail. For a birthday, try something like “Happy Birthday [Name]” or “A Special Treat Just for You.”
Step 5: Incorporate Decorative Elements
To make your gift tags truly pop, add some decorative touches. Consider using stamps, washi tape, stickers, or hand-drawn elements. If you’re feeling crafty, you can even add a little embellishment like a small flower, a piece of twine, or a cute button. This is where you can get really creative, but remember to keep it simple—too many embellishments can make the tag feel overcrowded.
Step 6: Print or Handwrite Your Tags
Depending on your design and the number of guests, you can either print your tags at home or handwrite them for a more personal touch. If you’re printing, use high-quality paper and a good printer for the best results. For handwritten tags, use a fine-tipped pen and ensure your handwriting is clear and legible. If you want to take it up a notch, consider using calligraphy or a brush pen for a more elegant look.
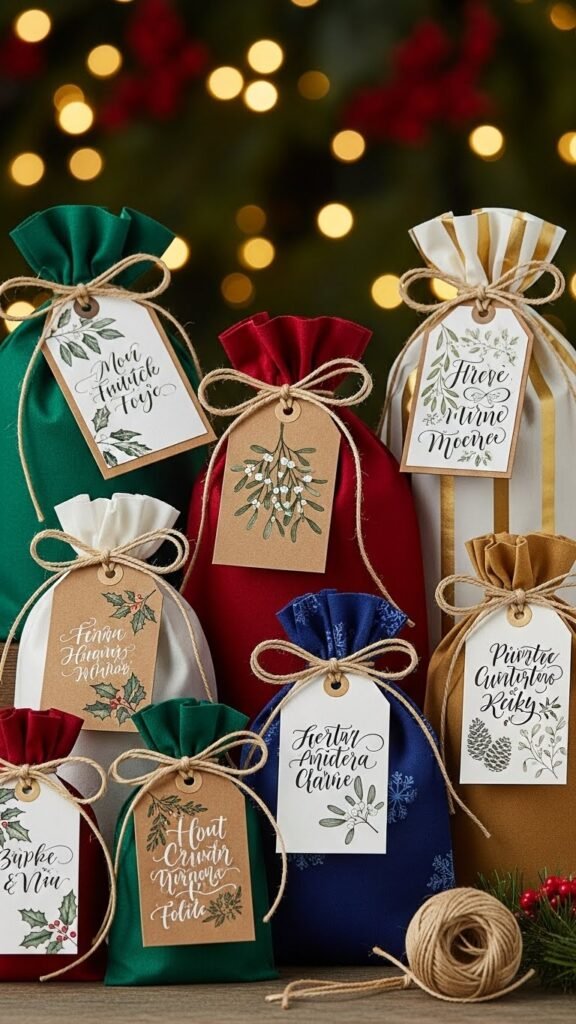
Step 7: Attach the Tags to Your Favors
The final step is attaching your gift tags to the favors. There are many ways to do this depending on the type of gift. Use twine, ribbon, or even a small clothespin for a charming look. Make sure the tag is securely attached but not too tight, as you don’t want to damage the favor or the tag.
For extra flair, consider tying the tag around the gift, or attaching it to a decorative box or pouch. The way you attach the tag can complement the overall theme of your party.
Final Thoughts
Designing your own gift tags is a fun and creative way to elevate your party favors. By following these simple steps, you can create personalized tags that add a special touch to any occasion. Whether you keep it simple or go all out with embellishments, your guests will appreciate the thought and effort you put into each little detail.
Remember, gift tags are more than just labels—they’re a reflection of your style and a way to show appreciation to those who attended your event. So get crafty, have fun, and let your creativity shine!
Save this article for later and start designing your own gift tags today!

Leave a Reply