

A tiered tray can turn a simple dessert table into a true showstopper. It adds height, creates visual interest, and makes even the easiest treats feel special. Whether you’re hosting a birthday party, baby shower, or holiday gathering, learning how to decorate tiered trays for dessert stations will help your sweets look polished, inviting, and totally Pinterest-worthy.

Below, you’ll find easy steps, styling tips, and practical ideas you can use for any event—big or small.
Start With a Clear Theme and Color Palette
Before placing a single dessert on your tray, decide on a theme. This step makes everything else easier.
Think about:
- The occasion (birthday, baby shower, holiday, brunch)
- Your main colors (two to three shades work best)
- The overall vibe (playful, elegant, cozy, minimal)
A clear theme keeps your tray from looking cluttered. For example:
- Pastels for spring parties
- Neutrals with gold accents for elegant events
- Bright colors for kids’ celebrations
Once you choose a palette, stick to it for liners, napkins, decorations, and even dessert toppings.
Choose the Right Desserts for Each Tier
Not every dessert works well on a tiered tray. Size, shape, and stability matter.
Best options include:
- Cupcakes with sturdy frosting
- Cookies stacked or standing upright
- Mini brownies or bars
- Small donuts
- Macarons
- Wrapped chocolates or truffles
Place heavier or larger desserts on the bottom tier. Lighter, delicate items look best on the top.
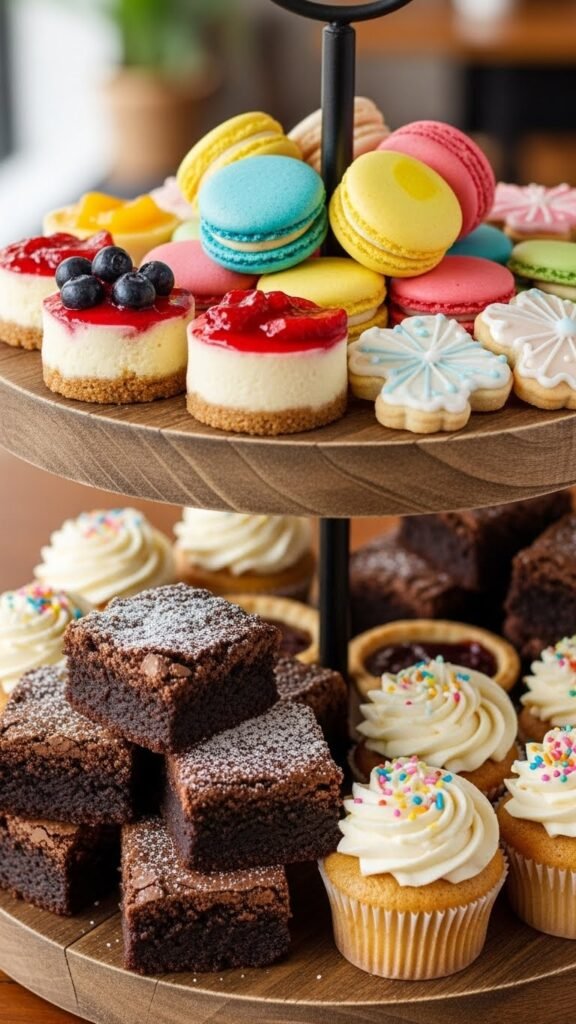
This balance keeps the tray stable and visually pleasing.
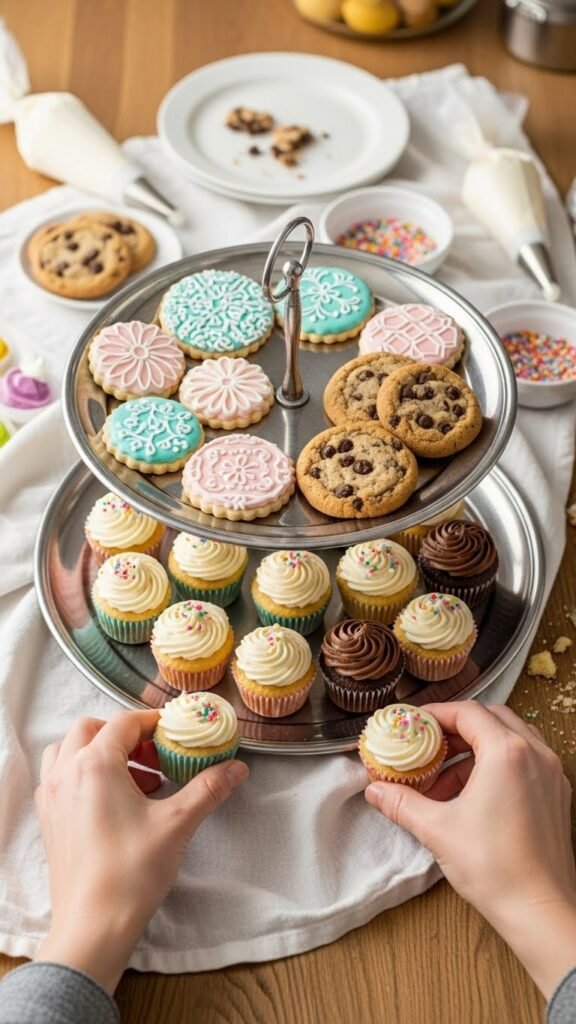
Build From the Bottom Up
Always decorate a tiered tray from the bottom to the top. This gives you better control and prevents overcrowding.
Start with the bottom tier:
- Anchor it with your biggest desserts
- Use cupcake liners or small plates to add structure
- Leave a little breathing room between items
Move to the middle tier:
- Mix medium-sized treats
- Alternate colors and textures
- Add height using wrapped sweets or stacked items
Finish with the top tier:
- Keep it simple
- Choose one or two standout desserts
- Let this tier feel airy, not packed
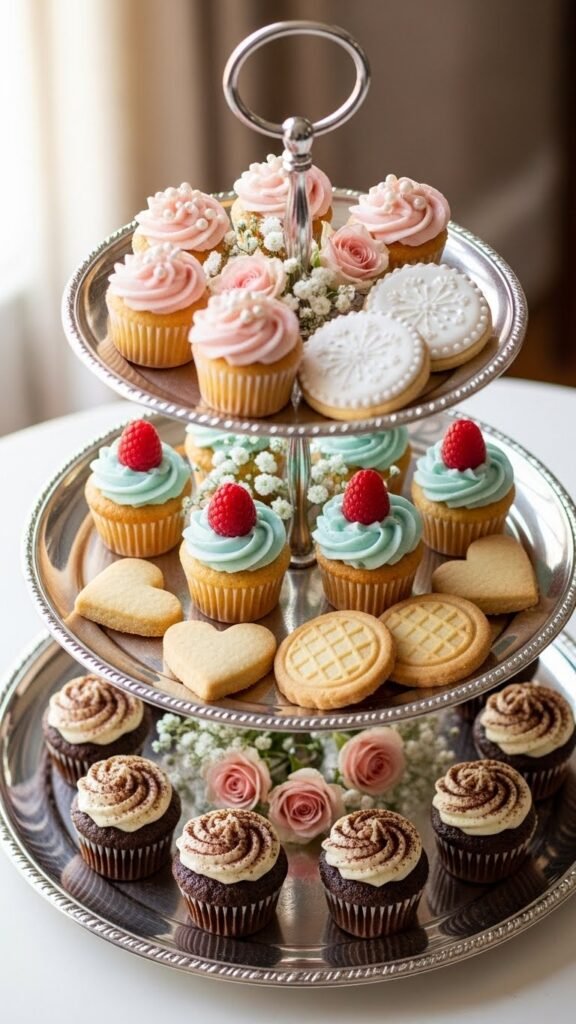
Add Height and Texture for Visual Interest
Flat trays can look dull without variation. Height and texture make desserts feel dynamic and layered.
Easy ways to add dimension:
- Stack cookies in small bundles
- Use mini cake stands or risers on larger tiers
- Add paper liners, doilies, or parchment squares
- Mix smooth desserts with textured ones like sprinkled treats or powdered sugar tops
Avoid placing everything at the same height. A little variation goes a long way.
Use Decorative Fillers Sparingly
Decorative elements should support the desserts, not overpower them.
Great filler ideas:
- Fresh flowers or faux florals
- Seasonal greenery
- Small decorative balls or beads
- Mini signs or tags (placed behind desserts)
Use fillers to fill gaps, not cover empty space completely. If the tray feels crowded, remove one item instead of squeezing everything in.
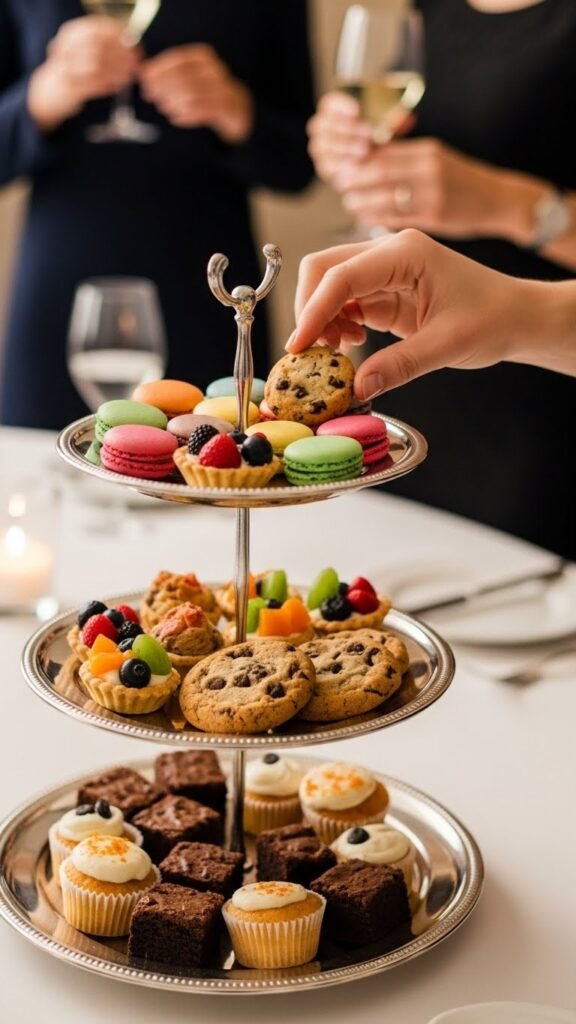
Coordinate With the Rest of the Dessert Station
Your tiered tray should feel like part of the larger setup, not a standalone piece.
Match:
- Table linens
- Serving platters
- Napkins and utensils
- Background décor
If the rest of your dessert table is simple, let the tiered tray shine. If the table is already full, keep the tray more minimal.
This balance makes the entire station feel intentional and cohesive.
Keep It Practical for Guests
A beautiful tray still needs to be functional.
Before guests arrive:
- Make sure desserts are easy to grab
- Avoid sticky items on upper tiers
- Leave space for fingers or small tongs
- Check stability so nothing tips over
If desserts need refilling, keep extras nearby so you can restock quickly without rearranging the whole tray.
Final Touches That Make a Big Difference
Small details elevate the final look:
- Wipe the tray clean before serving
- Adjust spacing once everything is placed
- Step back and view it from different angles
- Remove one item if it feels crowded
Less is often more. A few well-placed desserts look better than too many squeezed together.
Final Takeaway
Decorating tiered trays for dessert stations doesn’t have to be complicated. With a clear theme, balanced dessert choices, and thoughtful spacing, you can create a display that looks professional and inviting every time.
Save this guide for your next celebration—and have fun styling your sweetest centerpiece!

Leave a Reply