

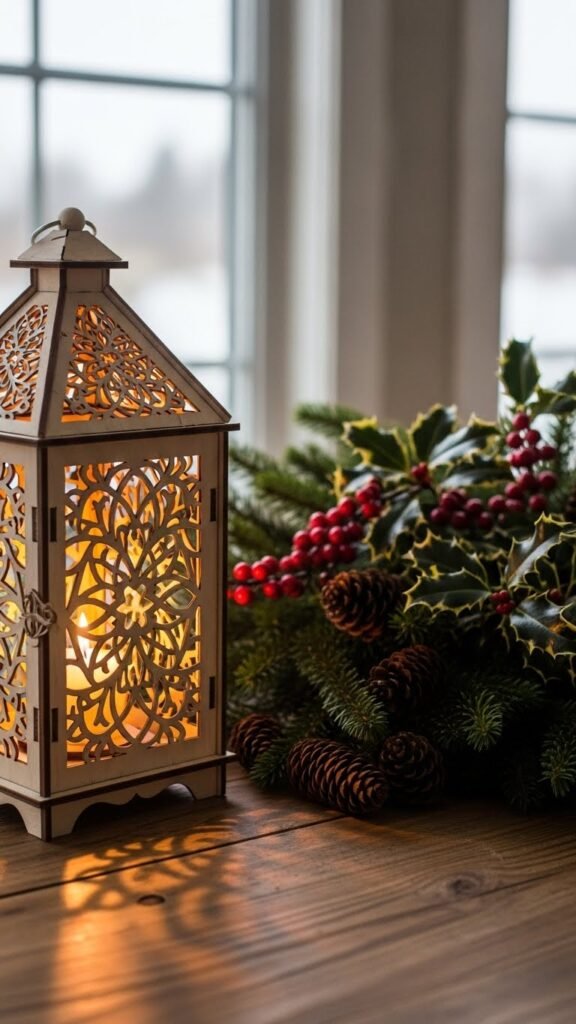
There’s something magical about a handmade wooden lantern glowing softly on a winter night. Whether you place them by your entryway, on your mantel, or as part of a Christmas tablescape, these cozy lanterns instantly add warmth to your holiday décor. And the best part? You can craft them completely from scratch with simple tools and a bit of creativity.
If you’ve been wanting to add a rustic, personalized touch to your Christmas decorations, this project is perfect. Let’s walk through the steps!
Gather Your Materials and Tools
Before you begin, make sure you have everything ready. Wooden lanterns are straightforward, but having the right materials makes the process smooth and enjoyable.
Here’s what you’ll need:
- Wooden boards (pine or birch work great)
- Small dowels or trim pieces
- Wood glue
- Screws or brad nails
- Sandpaper
- Wood stain or holiday-themed paint
- Clear sealer
- A small LED candle
- Optional: glass or acrylic panels

Pro tip: Choose lightweight wood if you plan to hang your lanterns. For tabletop lanterns, slightly thicker wood gives a more stable, classic look.
Measure, Cut, and Build the Frame
Once your materials are laid out, it’s time to create the structure. Think of the lantern as a simple box with an open top and bottom.
1. Cut the Wood Panels
Measure and cut four equal pieces for the vertical sides, plus four shorter pieces for the top and bottom frames.
Keep the edges as straight as possible—clean edges help the lantern look polished.
2. Assemble the Basic Shape
Use wood glue to attach the vertical pieces to the base frame. Once secured, attach the top frame in the same way. Reinforce with brad nails if you want extra stability.

3. Add Crossbars or Decorative Trims
This is where your lantern gets its personality. Add simple crisscross patterns, straight bars, or minimal trim depending on your preferred style.
Try mixing thin dowels with flat wood strips for a charming handmade look.
Sand, Smooth, and Prepare for Finishing
After assembling the frame, a good sanding step helps create that professional feel.
Smooth Every Surface
Use medium-grit sandpaper first, then move to a fine-grit finish. Make sure:
- Corners are rounded
- Rough edges are softened
- Glue marks are removed
A smooth lantern absorbs stain beautifully and looks more refined.
Optional: Install Glass or Acrylic
You can leave your lantern open or insert clear panels for a more classic look. Acrylic is lightweight and easier to cut at home.
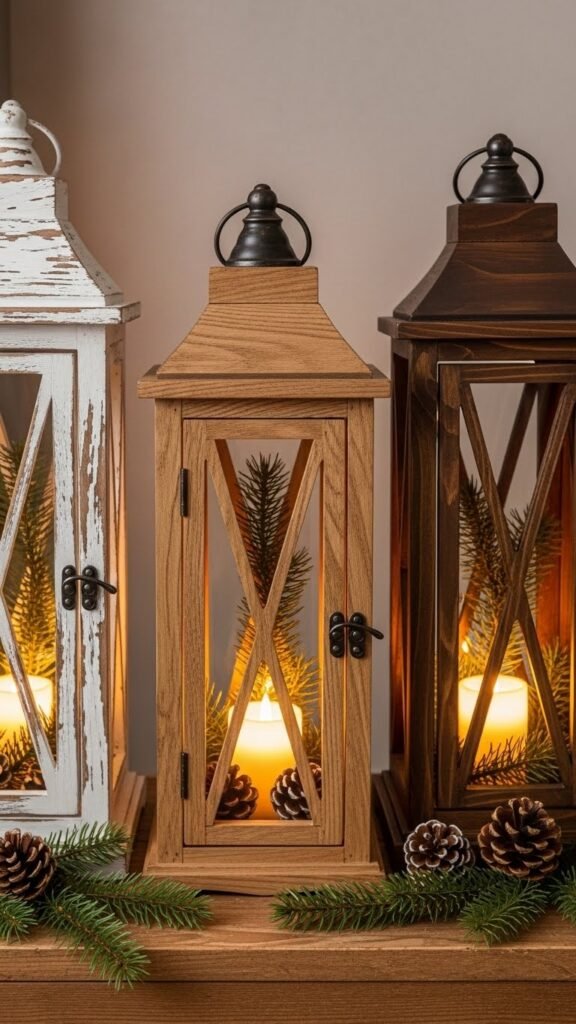
Add Holiday Character with Paint or Stain
This is the most creative part of the project. Your finish choice defines how your lantern fits into your holiday décor style.
Painted Finishes
If you prefer a festive vibe, try:
- Forest green
- Snowy white
- Soft gold
- Deep cranberry
Distressing the edges with sandpaper gives a vintage, farmhouse feel.
Wood Stain Finishes
For a natural rustic look:
- Go with light oak
- Medium walnut
- Dark chestnut
Seal everything with a clear coat to protect the wood from seasonal moisture.
Attach the Handle and Final Details
Now your lantern is ready for the finishing touches.
Add a Handle
Options include:
- A simple rope loop
- A small metal ring
- A wooden dowel handle
Just make sure it’s centered and secure.
Add Decorative Accents
For a Christmas-ready look, try:
- Mini pine cones
- Faux greenery
- Twine bows
- Tiny bells
- Snow-dust glitter edges
Keep the accents subtle so the lantern remains the star.
Place Your LED Candle and Style Your Lantern
Pop an LED candle inside your finished lantern. LED options are safe, warm, and flicker realistically.
Where to use your lantern:
- Porch steps
- Christmas mantel
- Dining table centerpiece
- Bookshelf display
- Holiday entryway vignette
If you’re making multiple lanterns, try varying the heights for a layered, designer look.
Final Thoughts
Building DIY Christmas wooden lanterns from scratch is a rewarding project that adds a personal, heartfelt touch to your holiday décor. With basic materials and some creativity, you can make lanterns that feel special, rustic, and completely unique to your home.
Save this idea for later—and start crafting your own glowing holiday charm!

Leave a Reply