

Creating handmade holiday décor is one of the best ways to bring a warm, magical touch to your home—and few crafts look as delicate and dreamy as DIY lace stars. These pretty ornaments feel light, timeless, and elegant, making them perfect for your tree, your windows, your mantel, or even as gift toppers. The best part? They’re surprisingly easy to make.
Whether you’re crafting for your family, prepping for a cozy Christmas gathering, or adding handmade touches to your décor, these lace stars are the perfect mix of simple and stunning. Let’s walk through the steps so you can start creating your own beautiful set today.
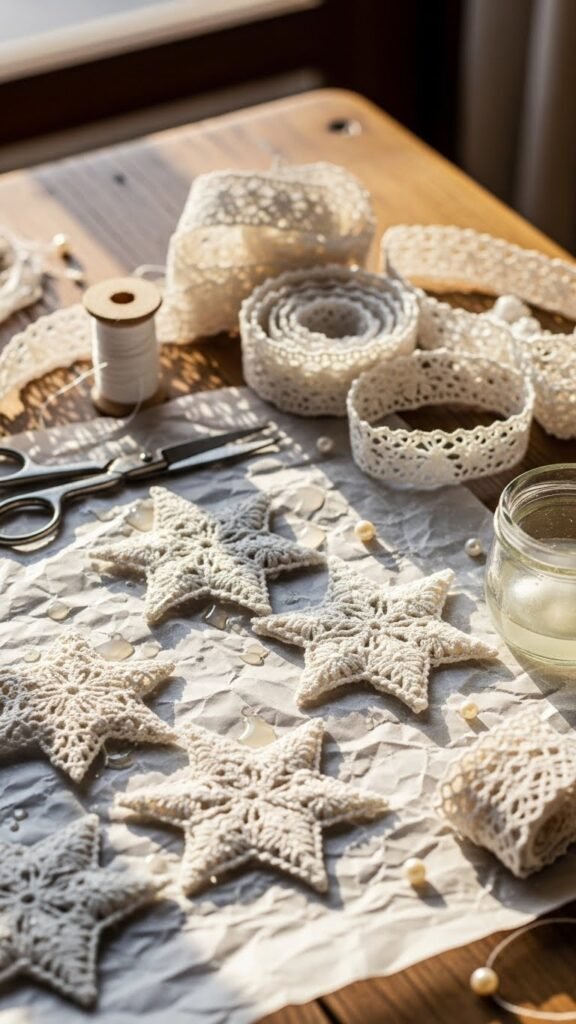
What You Need to Make Lace Stars
Before you start crafting, gather everything in one place. This makes the entire process smoother and much more enjoyable.
You’ll need:
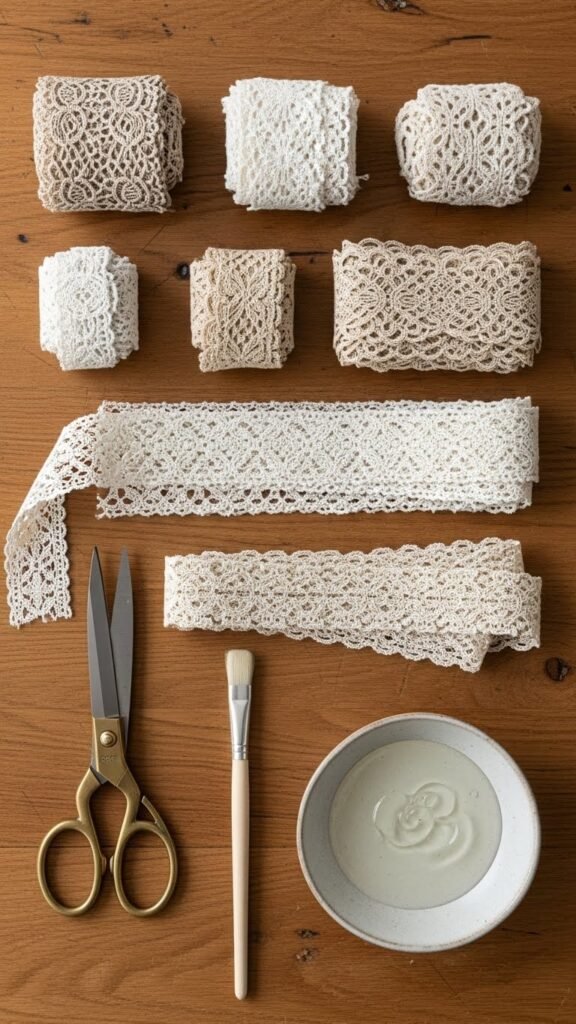
- Lace ribbon or lace fabric scraps
- Fabric stiffener or white craft glue
- Star-shaped cookie cutters or printable star templates
- Small paintbrush
- Wax paper or parchment paper
- Scissors
- Twine, fishing line, or thin ribbon for hanging
If you’re using lace scraps instead of ribbon, try choosing pieces with a mix of open designs and tiny floral details. These patterns harden beautifully and create a delicate, frosted look once dry.
Step 1: Create Your Star Shapes
Start by preparing your base. Lay out a sheet of parchment or wax paper to protect your workspace. This will also help keep your lace from sticking as it dries.
If you have star-shaped cookie cutters, you can use them as molds. If not, print different sizes of star shapes and place them under the parchment so you can trace the outlines with your lace.
Here’s how to shape your stars:
- Cut lace strips that fit the edges of your chosen star shape.
- Use your fingers to gently press each lace piece into place.
- Don’t worry if they look soft and floppy—once they’re stiffened, they’ll hold their shape beautifully.
This step is all about arranging the lace in a delicate but slightly overlapping layout. The more open spaces your lace has, the more magical and airy the final ornament will look.
Step 2: Apply the Stiffener
Now it’s time to bring your lace stars to life.
Dip a small paintbrush into fabric stiffener or diluted craft glue and gently apply it over the lace. Don’t soak it too heavily—just make sure every part is lightly coated.
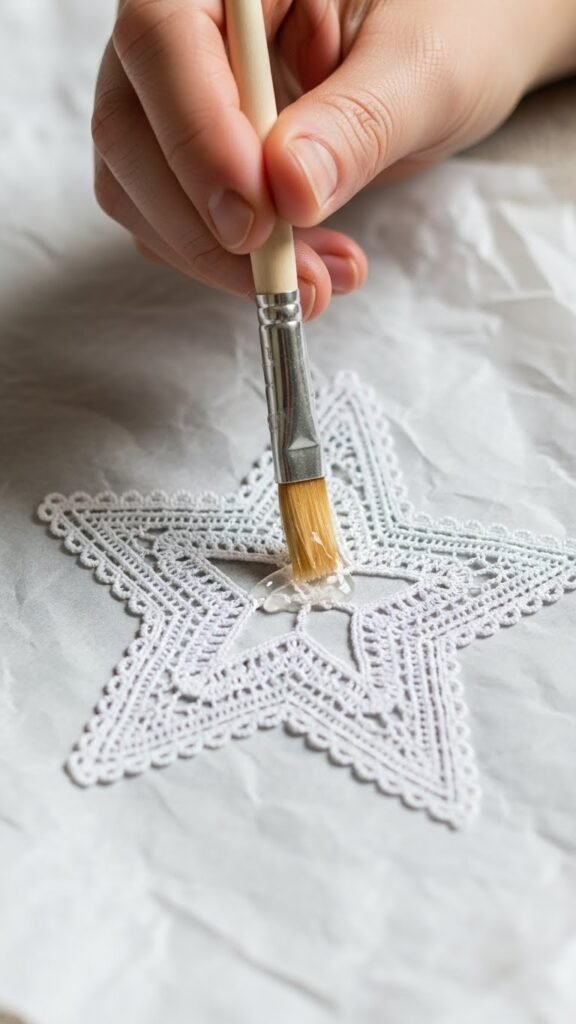
Tips to get the best shape:
- Use the brush to press the lace flat so it follows the star outline.
- Smooth out any wrinkles or raised edges.
- Double-check that the points of the star are defined—this makes the final ornament look crisp and elegant.
If you’re making multiple stars, repeat this process with all your shapes before letting them dry.
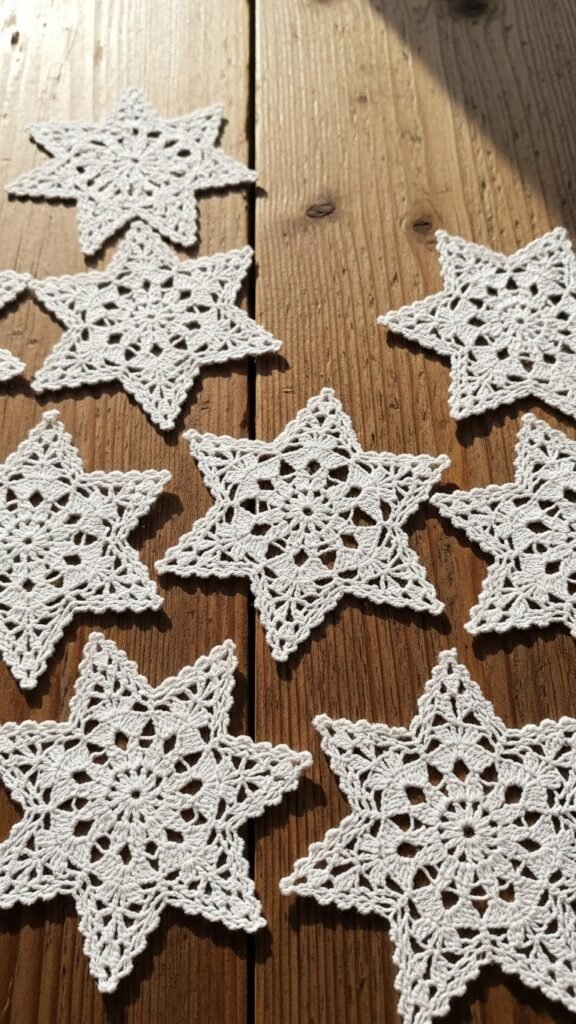
Step 3: Let Them Dry Completely
This part is simple but requires a little patience.
Leave your lace stars on the parchment paper for several hours or overnight. Drying time depends on how much stiffener you used and the thickness of your lace.
Once dry, the stars should feel firm, light, and beautifully textured.
Carefully peel them off the paper. If any edges curl, you can press them gently with your fingers or apply a tiny dab of stiffener to reshape.
Step 4: Add Hanging Loops and Finishing Touches
Now your lace stars are ready for their final details.
Attach a small loop of twine, ribbon, or clear fishing line to the top point of each star. A dab of glue or a tiny stitch will hold it in place securely.
Optional embellishments:
- Add a small bead or pearl in the center
- Brush a touch of clear glitter along the edges for a frosted look
- Create sets of different sizes for a layered display
These small touches make your ornaments feel custom and add dimension when they hang from a tree, garland, or window.
Creative Ways to Use Your Lace Stars
Once you start making lace stars, you’ll find endless uses for them. Here are some fun and stylish ideas:
- Hang them on your Christmas tree for a soft, vintage-inspired look.
- Tie them onto gift boxes as elegant, reusable tags.
- Use them to decorate a holiday tablescape, placing one at each plate.
- Create a whimsical mobile by stringing several stars from a wooden ring.
- Add them to greenery garlands for a romantic snowy effect.
Lace stars are lightweight, timeless, and blend effortlessly with rustic, modern, Scandinavian, and vintage holiday themes.
Final Thoughts
Handmade Christmas decorations bring a warmth that store-bought pieces can’t replicate. These DIY lace stars are the perfect example—simple to create yet stunning enough to elevate your holiday décor.
If you’re looking for an elegant, budget-friendly craft that feels special and unique, this project is a must-try.
Save this idea for later and start crafting a little Christmas magic today!

Leave a Reply