


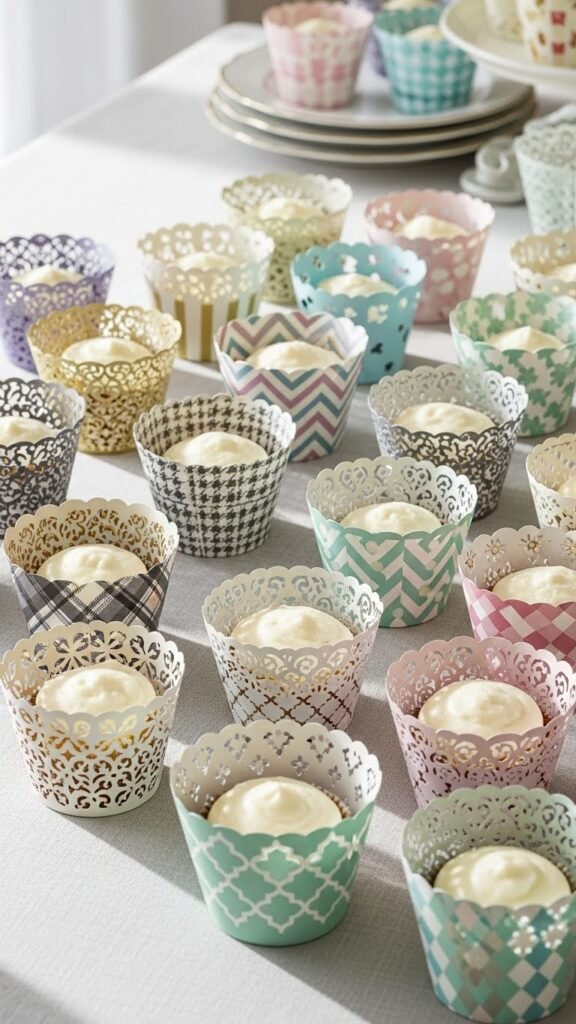
Cupcake wrappers are one of the easiest ways to change how desserts feel on a table. They cost little, take minutes to assemble, and work for birthdays, holidays, showers, and casual gatherings. This guide shares creative wrapper styles that rely on simple materials and clear steps. Each idea focuses on what you can make at home, how to keep costs low, and how to style cupcakes so they feel thoughtful and intentional without extra stress.
1. Scalloped Kraft Paper Wraps
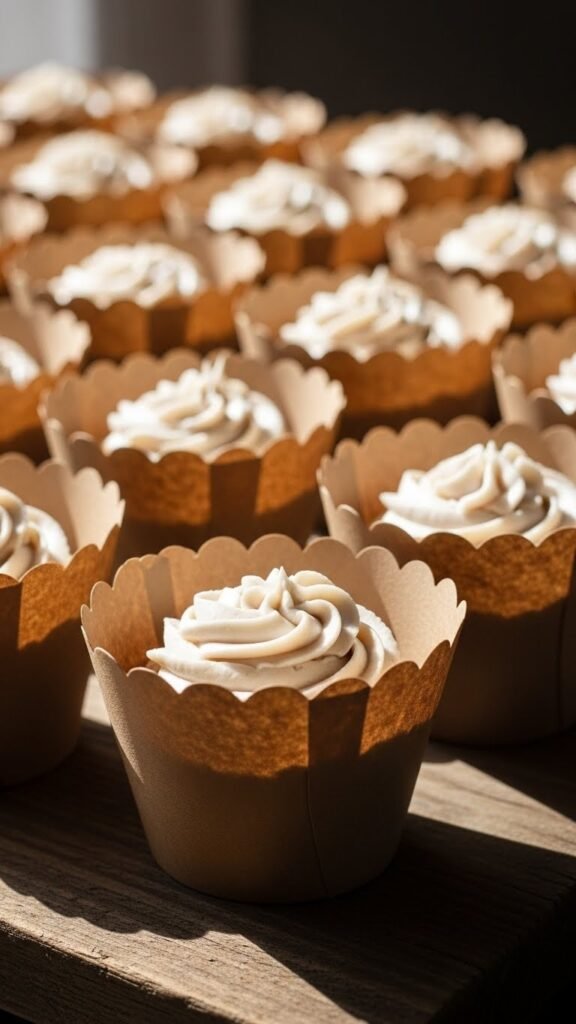
Scalloped kraft paper wraps feel warm and casual. They work well for everyday bakes or rustic parties. Start with kraft cardstock or recycled paper bags. Use a scalloped edge punch or cut curves by hand. Wrap the paper loosely around cooled cupcakes and secure with a small piece of tape on the back.
This style pairs well with plain frosting or light piping. The brown tone grounds the dessert table and keeps things relaxed. If you want variation, mix smooth edges with scalloped ones. That small change adds visual rhythm.
For savings, buy kraft paper in bulk sheets and cut multiple wrappers at once. Store extras flat in a folder. These wraps also double as muffin liners for serving trays, which helps stretch your supplies across events.
2. Lace-Trimmed Paper Sleeves
Lace-trimmed sleeves add softness without feeling overdone. Use plain white paper as the base. Glue lace ribbon or paper lace along the top edge. Keep the trim narrow so it frames the cupcake instead of overpowering it.
This idea works well for showers and small celebrations. Stick to one lace style for consistency. Mixing patterns can feel busy fast. If you want color, choose a pale paper base and keep the lace white.
To save money, buy lace ribbon by the roll and cut short lengths. Hot glue works quickly, but craft glue keeps edges flatter. Let the wrappers dry fully before placing them on cupcakes so they keep their shape.
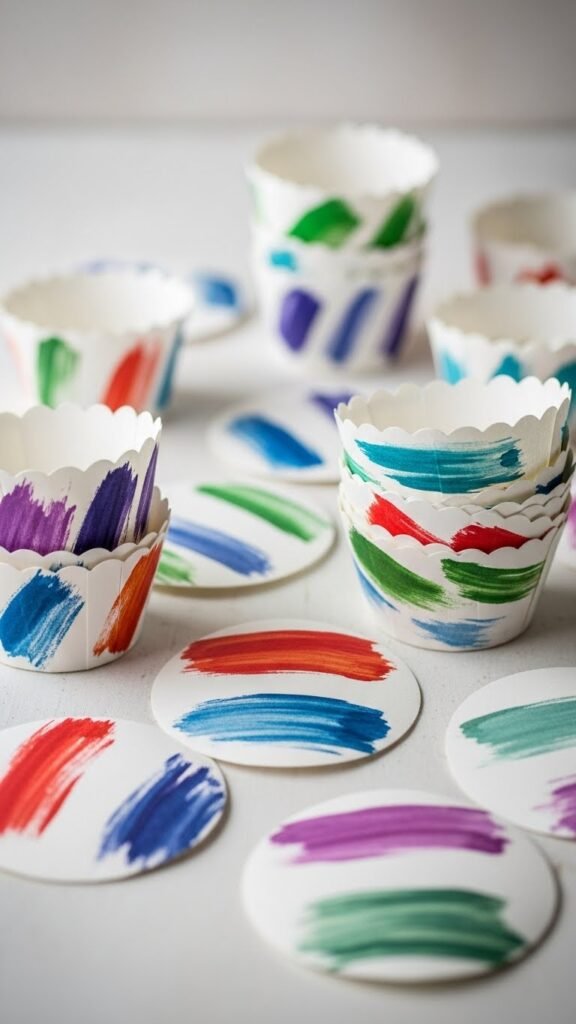
3. Watercolor Wash Wrappers
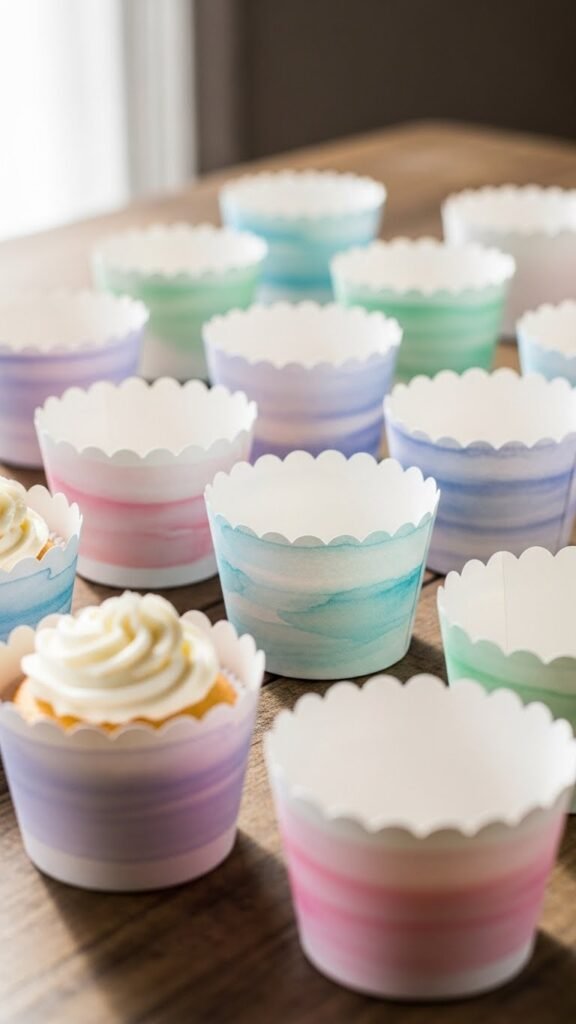
Watercolor wash wrappers feel handmade and personal. Start with thick white paper. Paint light washes using one or two colors. Let the paper dry completely before cutting wrapper shapes.
The uneven color gives each cupcake its own look while still matching the group. Stick with soft tones so frosting stays the focus. These wrappers shine when paired with simple buttercream swirls.
To keep costs low, use student-grade paints and reuse mixing palettes. Paint large sheets first, then cut. This reduces waste and speeds up prep. If painting isn’t your thing, diluted craft paint works in a pinch.
4. Floral Scrapbook Paper Wraps
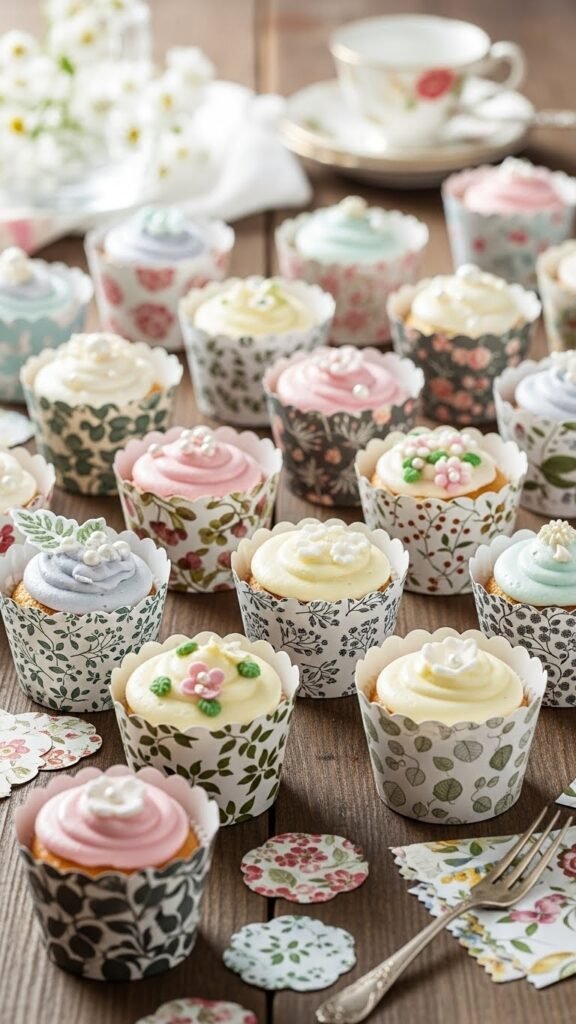
Floral scrapbook paper adds instant pattern. Choose small-scale prints so the design doesn’t overwhelm the cupcake. Cut wrappers to fit snugly and secure at the back.
This style suits spring gatherings and brunch tables. Keep frosting simple so the wrapper does the visual work. White or lightly tinted frosting pairs best.
For savings, use single sheets instead of full packs. Many craft stores sell individual pages. You can also mix two coordinating florals to stretch your stash. Store cut wrappers flat so they stay crisp.
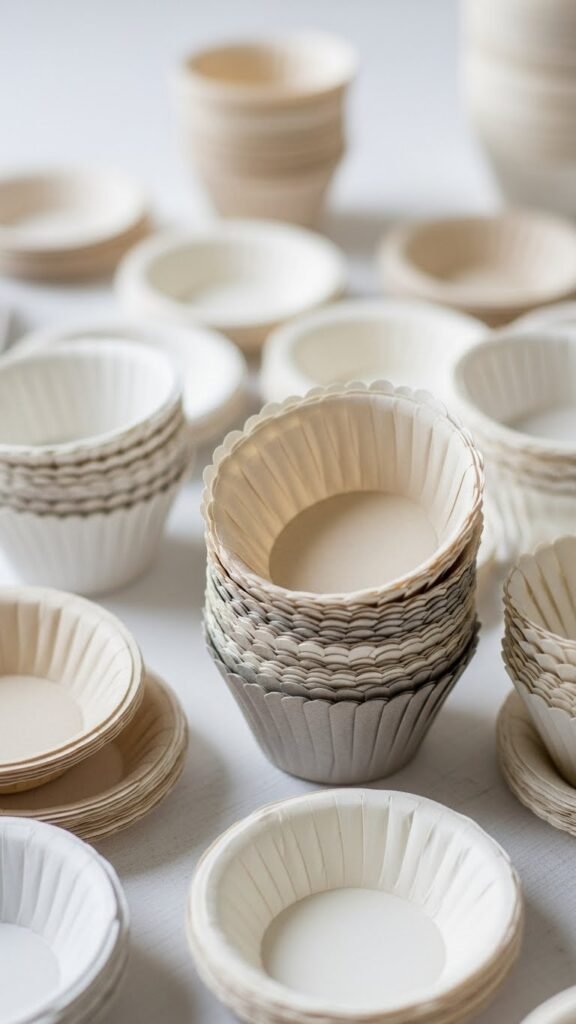
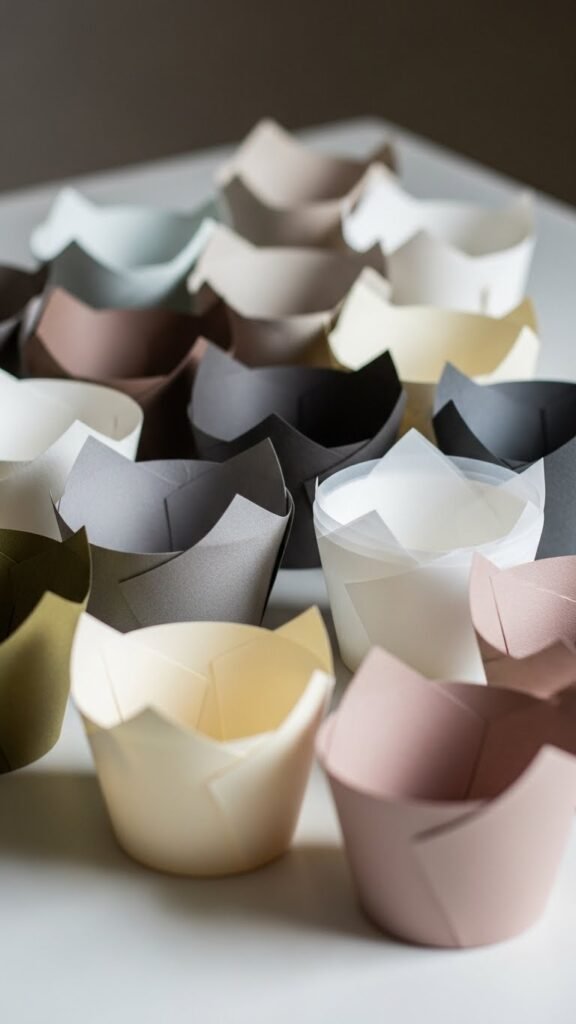
5. Minimal White Cardstock Wraps
Plain white cardstock wraps create a clean look. They fit modern tables and let frosting details stand out. Use sturdy cardstock so the wrap holds its shape.
These are easy to batch-make. Cut, wrap, and tape. If you want a detail, score a thin line near the top edge for texture. That small touch adds interest without extra materials.
Cardstock is budget-friendly when bought in reams. Leftover sheets work for future events. This wrapper style also photographs well, making it useful for sharing dessert shots online.
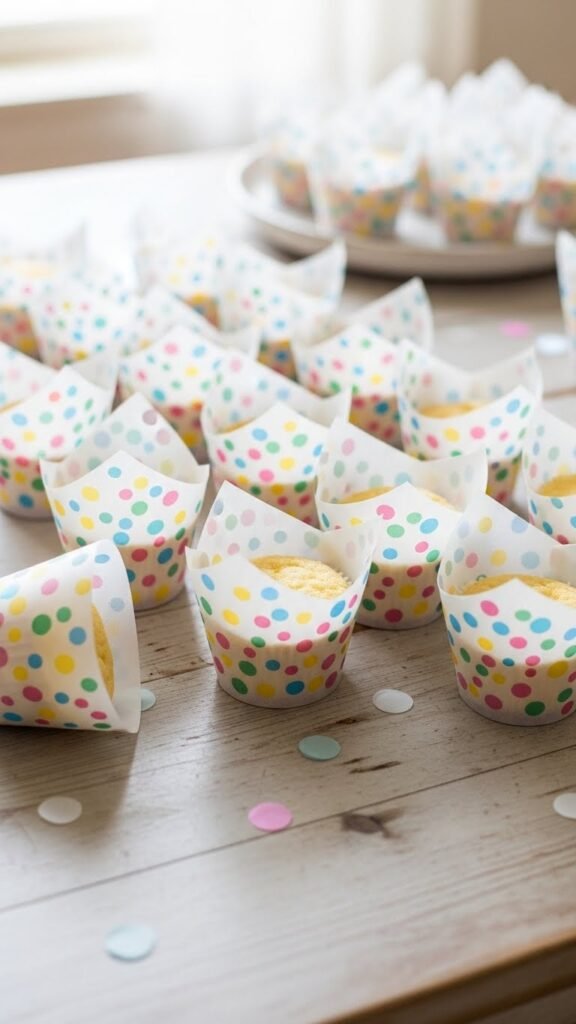
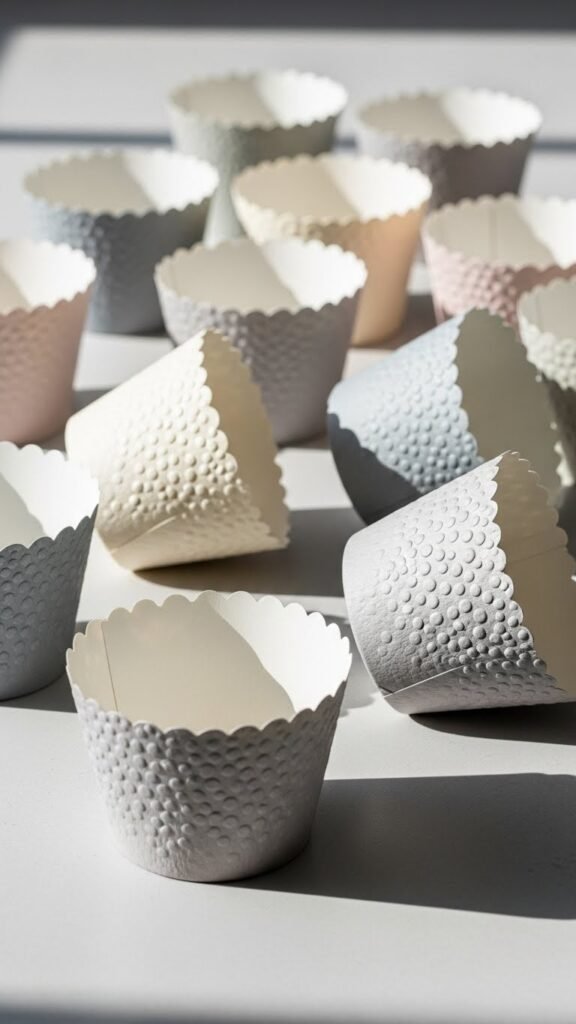
6. Polka Dot Pattern Wraps
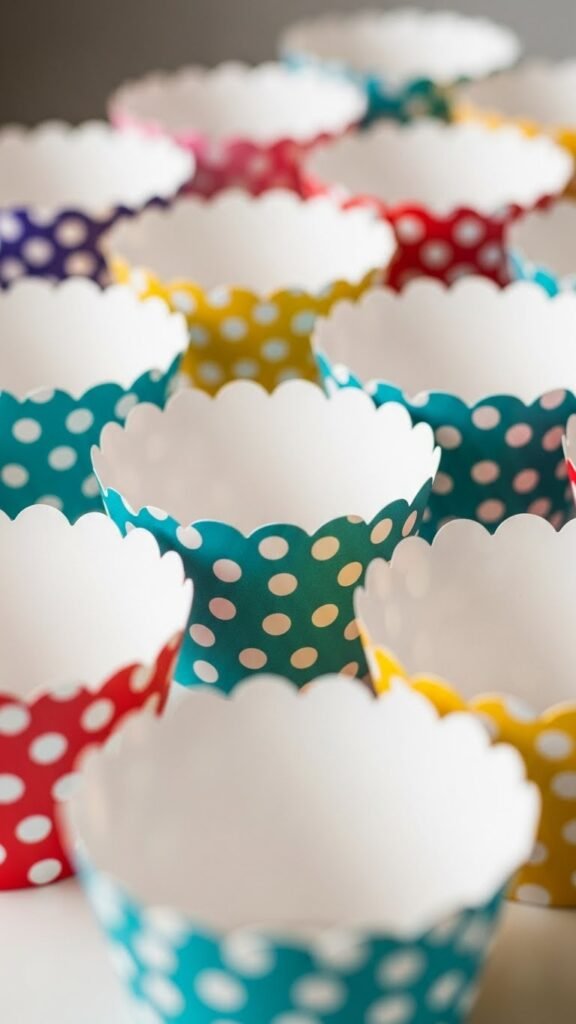
Polka dots bring playfulness. Choose dots in muted tones for balance. Wrap cupcakes tightly so the pattern reads clearly.
This style suits casual parties and kid-friendly tables. Pair with smooth frosting for contrast. Avoid mixing too many colors at once.
For savings, print dot patterns at home on thicker paper. Use draft mode to save ink. Cut multiple wrappers per sheet. This keeps costs down while letting you customize colors.
7. Burlap-Inspired Paper Wraps
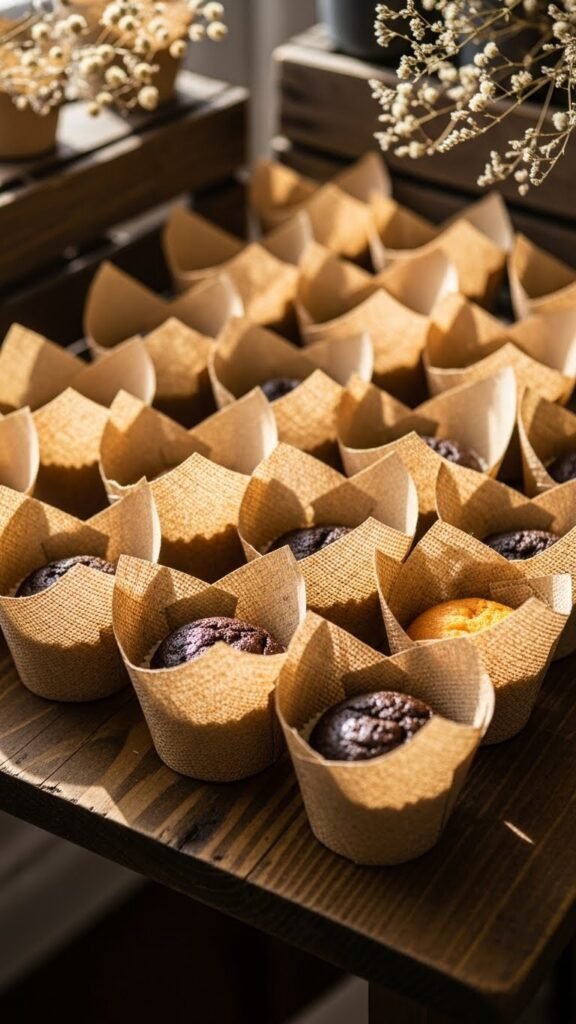
Burlap-inspired paper gives texture without using real fabric. Look for textured cardstock or kraft paper with a woven look. Cut simple wraps and keep edges clean.
These wraps pair well with neutral frosting and wood serving boards. They feel grounded and relaxed.
Real burlap can shed fibers, so paper versions are cleaner. Buy textured paper in small packs to test before committing. Leftovers can be used for tags or place cards later.
8. Pastel Ombre Sleeves
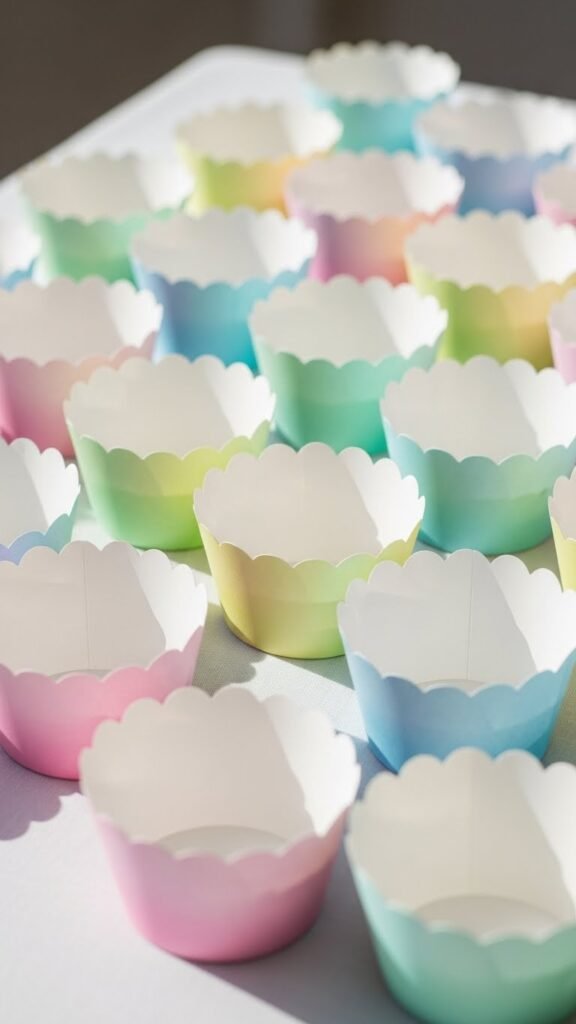
Pastel ombre sleeves fade gently from light to dark. You can paint gradients by hand or print them. Keep colors subtle so the effect feels smooth.
Arrange cupcakes in color order on the table. This adds structure without extra decor. Frosting should stay neutral to avoid clashing.
Printing gradients at home is cost-effective. Use thicker paper settings so colors don’t bleed. Test one sheet before printing multiples.
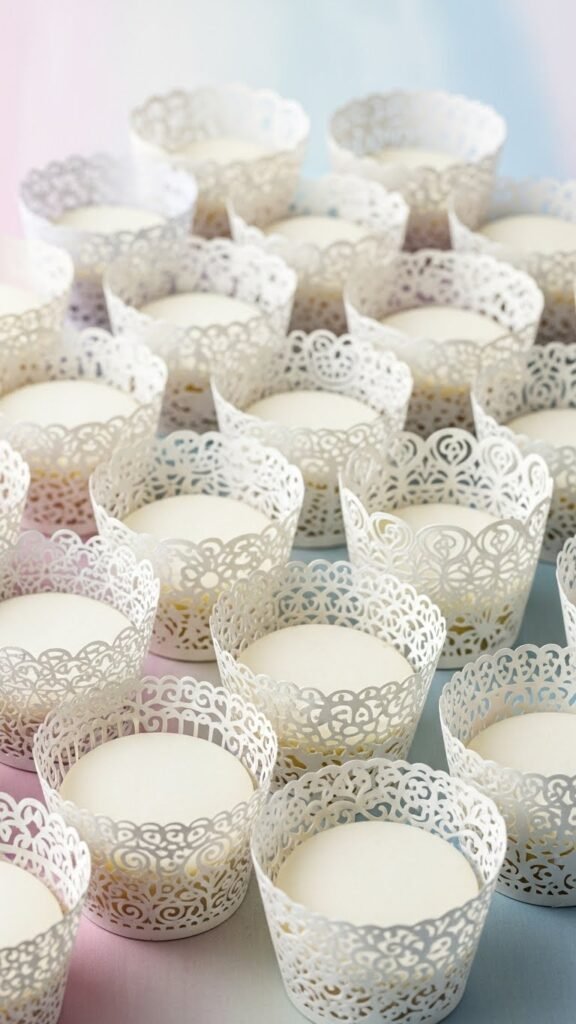
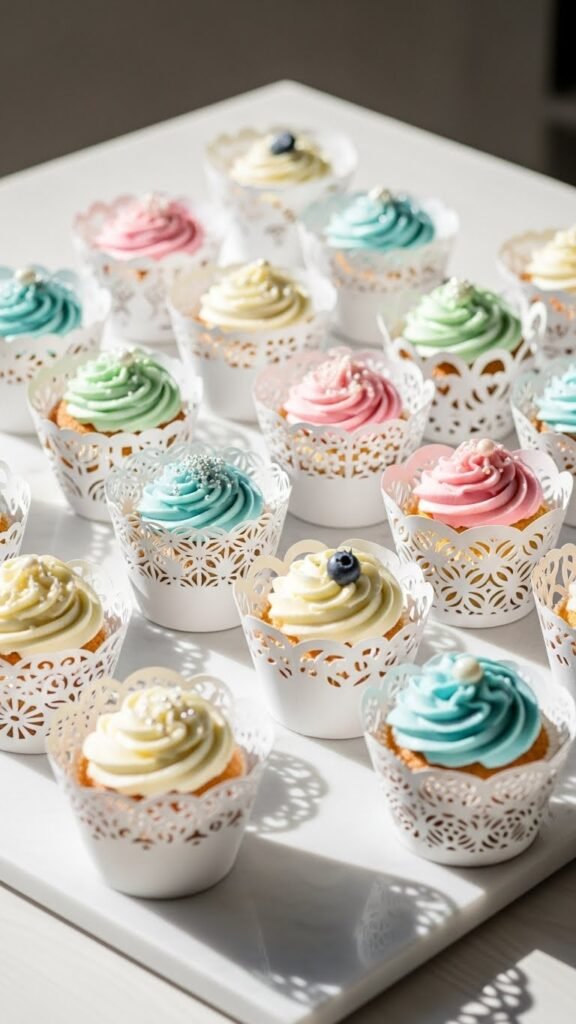
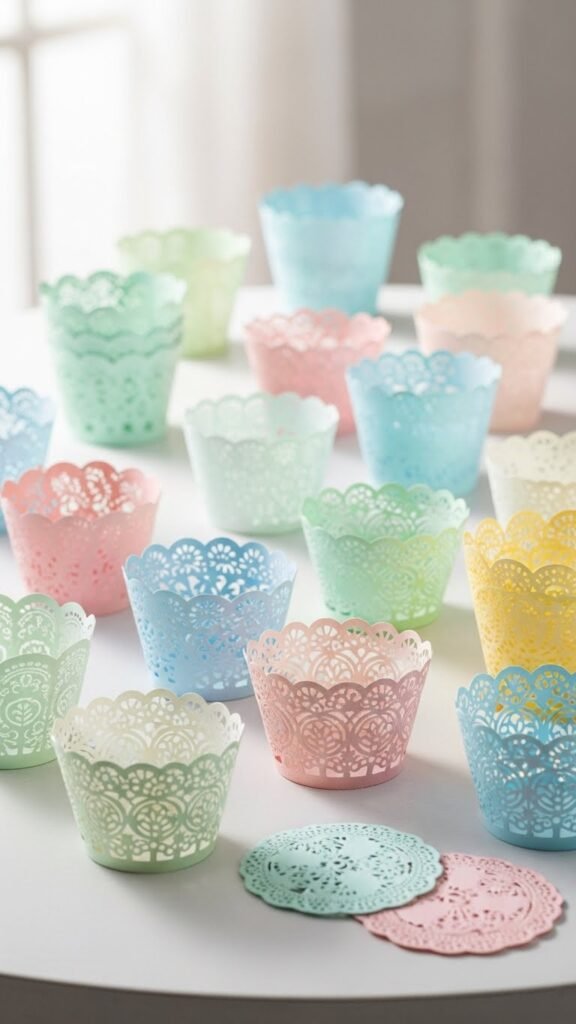
9. Doily-Style Cutout Wraps
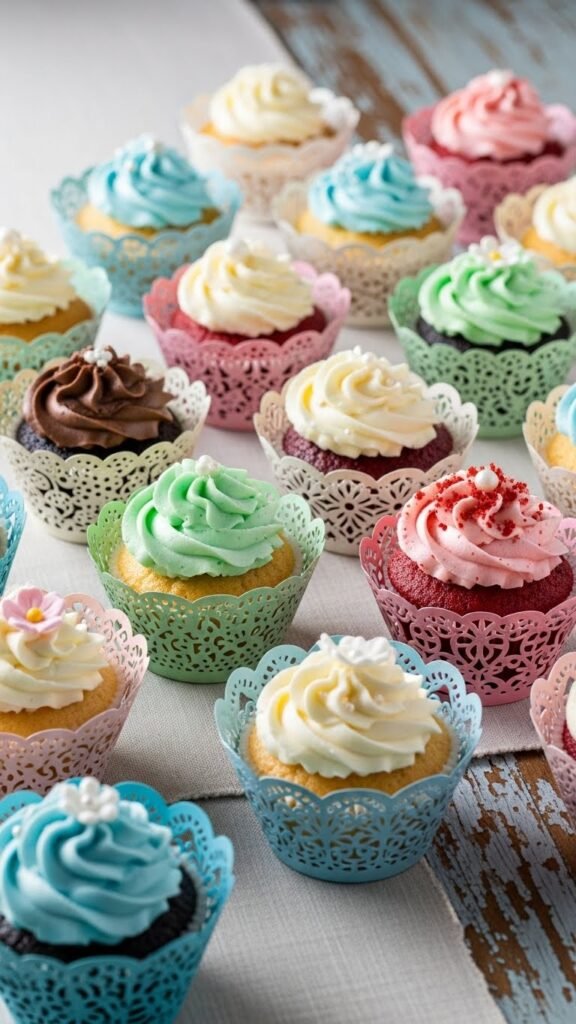
Doily-style cutouts add detail through negative space. Use pre-made paper doilies or cut patterns with a craft knife. Wrap gently so the cut edges stay intact.
These look best with simple frosting. Light colors help the cutouts stand out. Avoid dark liners underneath.
For budget builds, use smaller doilies trimmed to size. Leftover pieces can decorate trays or boxes. Store cut wraps flat between sheets of paper.
10. Metallic Foil Paper Wraps
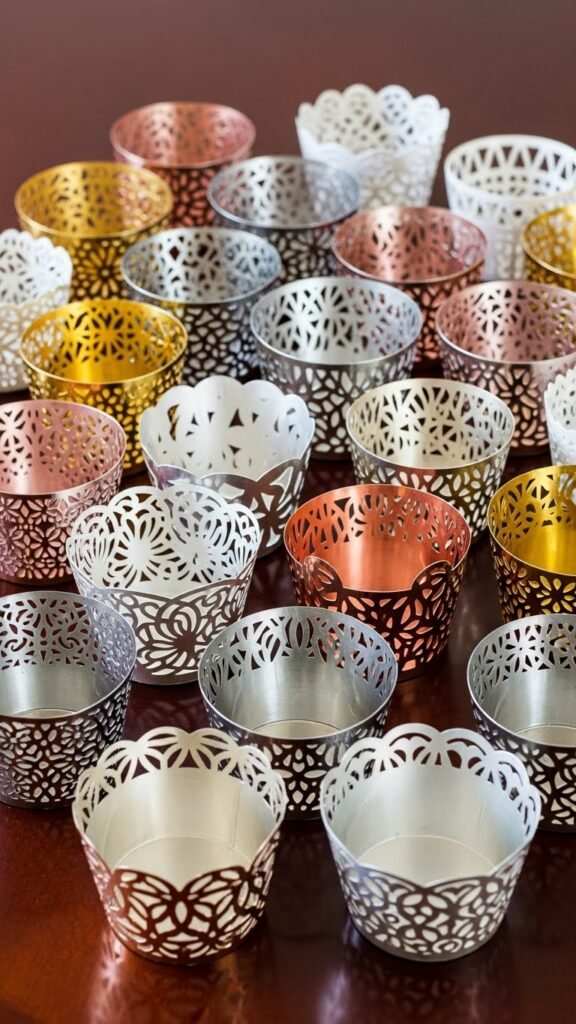
Metallic foil paper adds shine fast. Use it sparingly so it reads as an accent. Wrap snugly and smooth out creases.
Pair with neutral frosting to keep balance. A few foil-wrapped cupcakes mixed with plain ones can stretch materials further.
Foil paper sheets cost less than pre-made wrappers. Cut carefully with sharp scissors. Save scraps for smaller bakes or mini cupcakes.
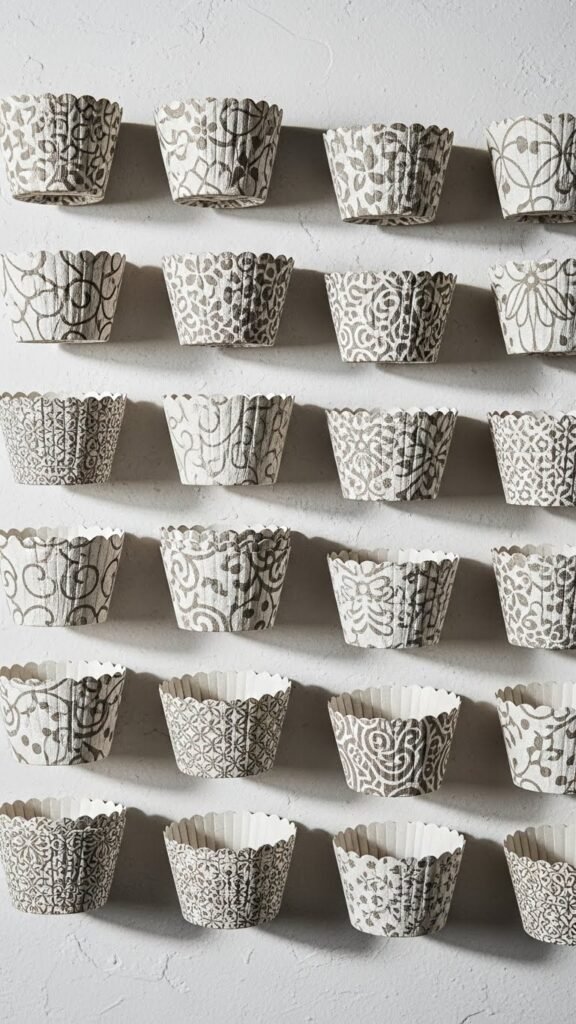
11. Handwritten Pattern Wraps
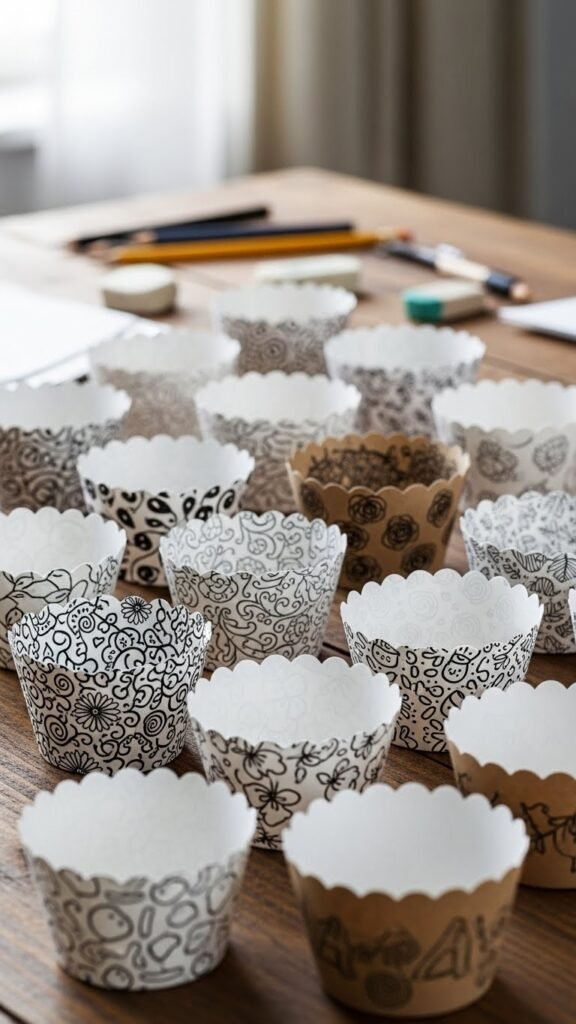
Hand-drawn patterns feel personal. Use pens or markers to draw dots, lines, or small shapes on white paper. Keep designs simple so they repeat easily.
This idea works well for small batches. Let ink dry fully before wrapping. Frosting should stay clean and simple.
To save time, draw patterns on large sheets, then cut. This keeps spacing even and reduces effort per wrapper.
12. Seasonal Color Block Wraps
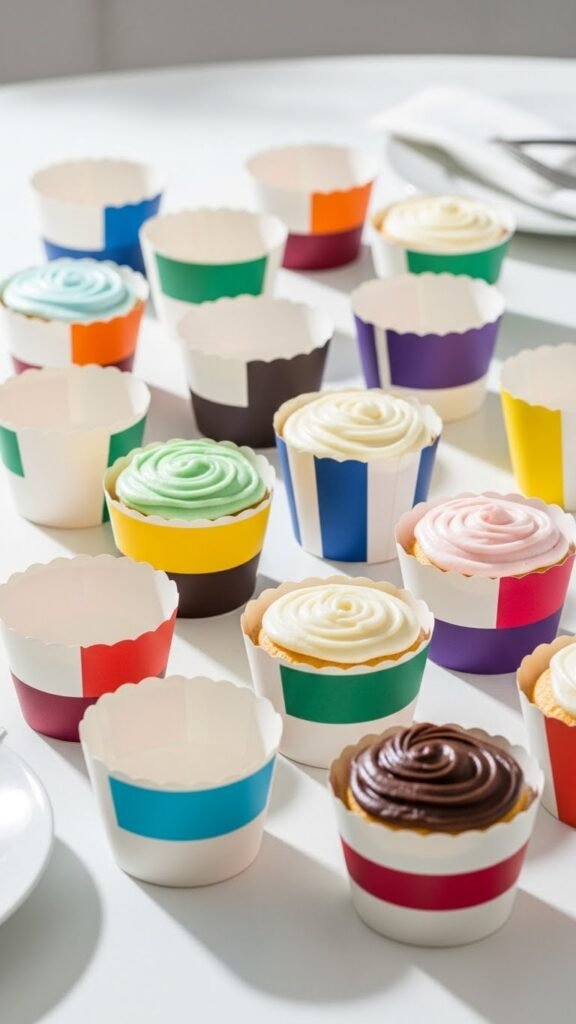
Color block wraps use two or three solid colors. Cut strips and glue layers together. Keep blocks wide so they read clearly.
Choose colors tied to your event theme. Pair with plain frosting for clarity. Avoid adding extra textures.
This method uses paper scraps well. Mix leftovers from past projects. Store assembled wraps flat for future use.
13. Nature Print Paper Wraps
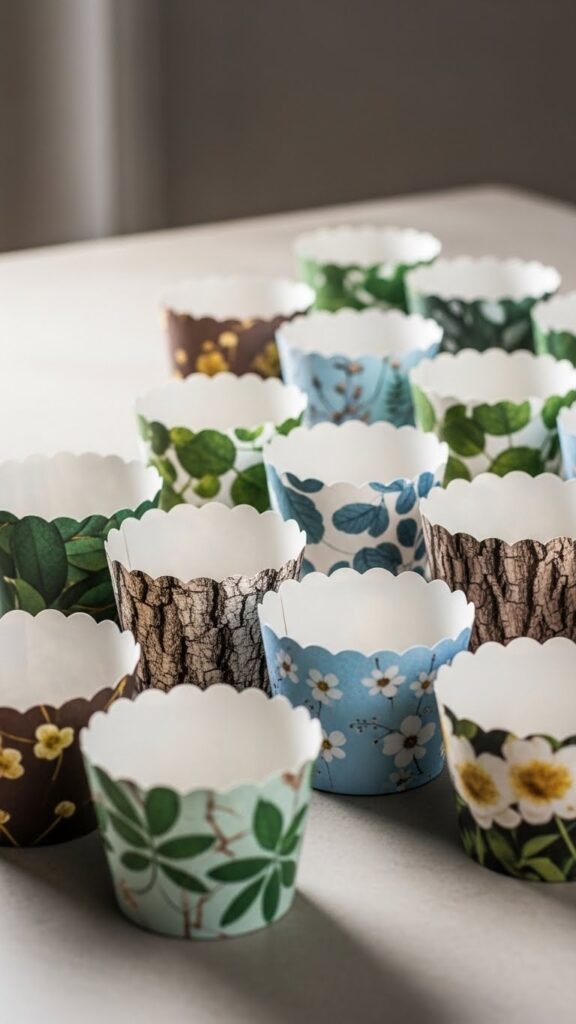
Nature prints like leaves or branches add calm detail. Choose muted prints so they don’t dominate. Wrap loosely to avoid creases.
These suit outdoor gatherings or brunch tables. Pair with light frosting shades.
Scrapbook stores often sell nature prints individually. Buy a few sheets and mix patterns. Leftovers work for tags or liners.
14. Textured Linen-Style Paper Wraps
Linen-style paper has subtle texture. It adds depth without pattern. Cut clean edges and wrap carefully.
This style fits minimalist tables. Frosting details show clearly against the texture.
Textured paper costs a bit more, so use it for smaller batches. Save scraps for accent pieces elsewhere on the table.
15. Confetti Dot Sleeves
Confetti dots feel playful without heavy color. Choose soft dots scattered lightly. Wrap snugly so dots align evenly.
These suit casual events. Pair with smooth frosting.
Print at home to save money. Use light ink coverage. Cut multiple wrappers per page.
16. Grid Pattern Paper Wraps
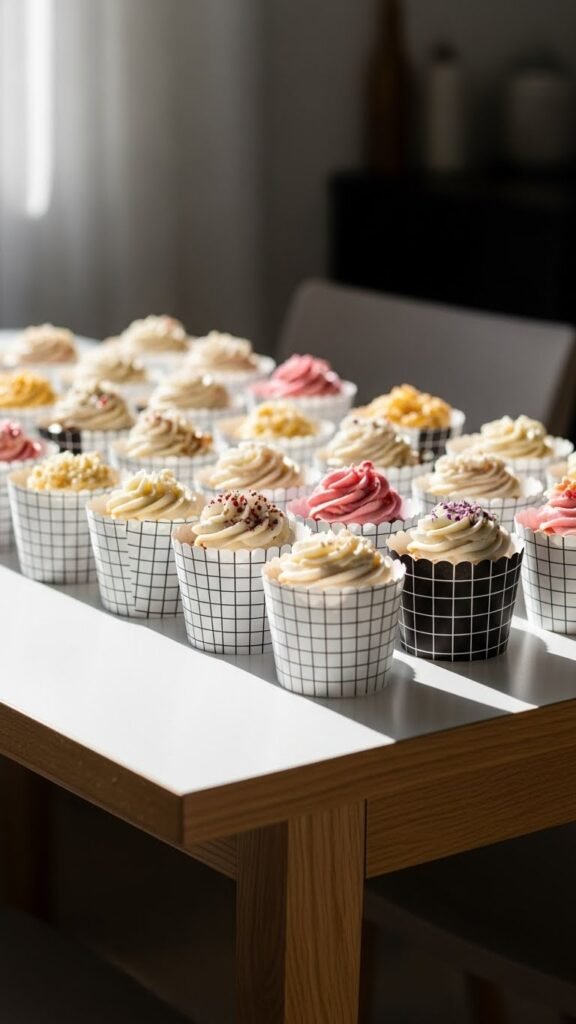
Grid patterns feel orderly. Use thin lines in soft colors. Wrap carefully so lines stay straight.
This style works well for modern setups. Keep frosting simple.
Print grids at home or draw with a ruler. Batch printing saves time and cost.
17. Monochrome Stripe Wraps
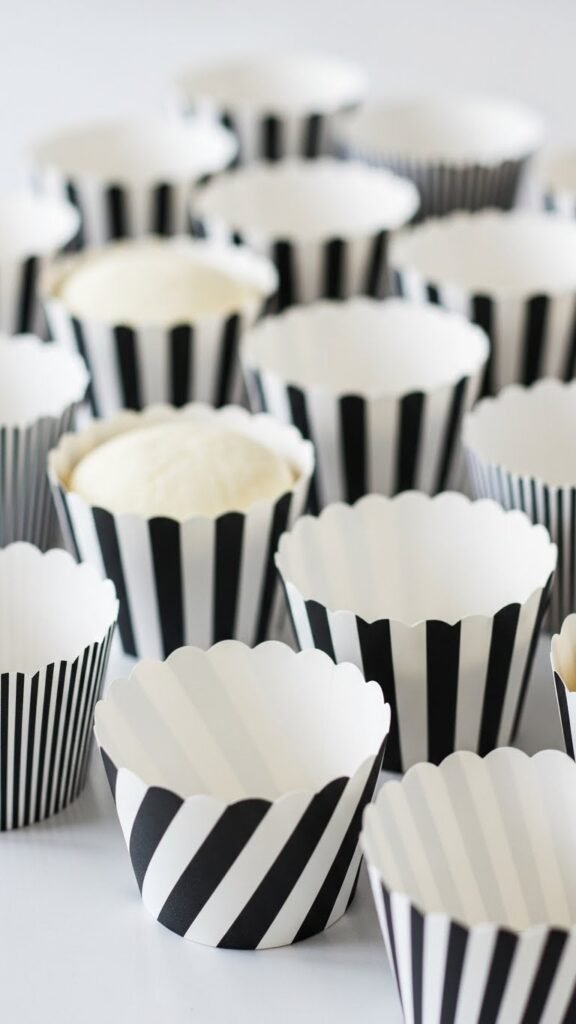
Monochrome stripes add contrast. Keep stripes thin. Wrap evenly so seams align.
Pair with plain frosting. Avoid adding more patterns.
Print stripes at home or use wrapping paper scraps. Cut carefully for clean edges.
18. Soft Pastel Plain Wraps
Pastel plain wraps keep things gentle. Choose one shade for consistency. Wrap snugly.
These work for many events. Frosting can be slightly darker for contrast.
Pastel cardstock is affordable in packs. Use leftovers for future bakes.
19. Hand-Cut Fringe Wraps
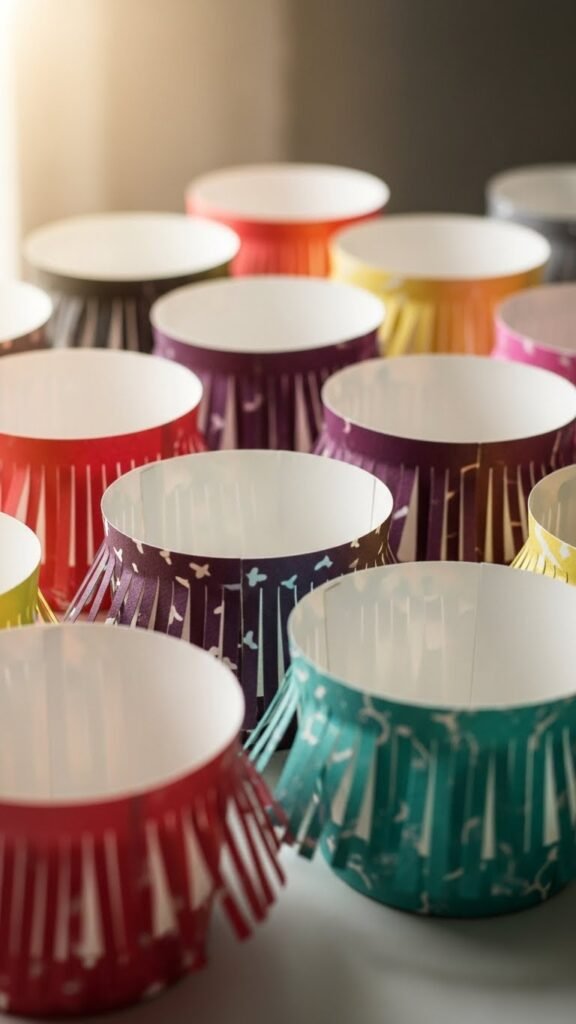
Fringe adds texture through cuts. Use sturdy paper so strips don’t tear. Cut evenly.
This style adds movement. Keep frosting simple.
Fringe wraps use more paper, so make them for smaller batches. Save time by stacking sheets before cutting.
20. Recycled Book Page Wraps
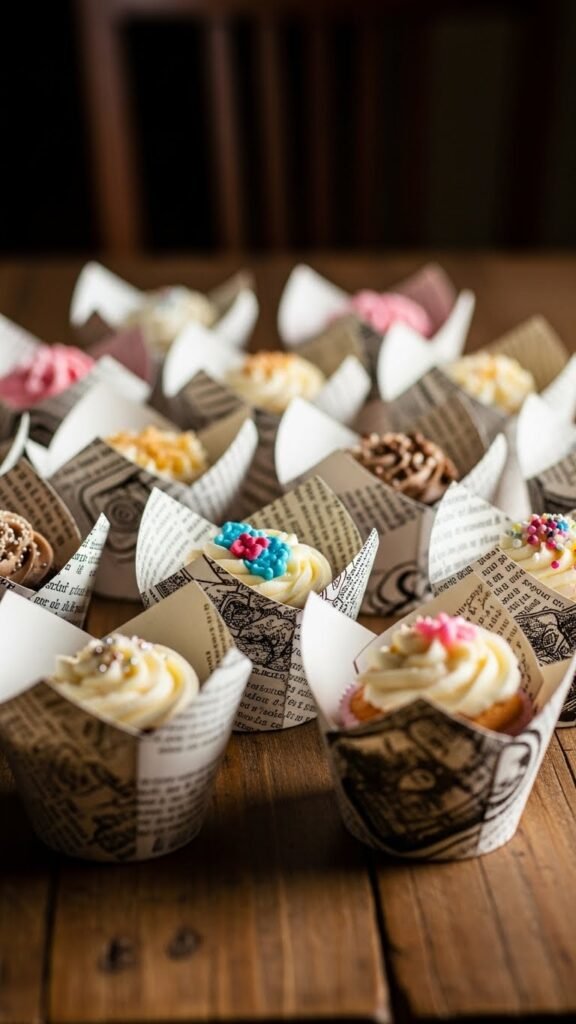
Old book pages bring character. Choose pages with light print. Wrap gently.
Pair with neutral frosting. Avoid moisture contact.
Use damaged books or loose pages. Store extras flat.
21. Minimal Dot Embossed Wraps
Embossed dots add texture without ink. Use an embossing tool or stencil.
This style suits simple tables. Frosting details stand out.
Emboss large sheets, then cut. This saves time and materials.
22. Soft Neutral Layered Wraps
Layered wraps use two papers. Keep colors close. Glue lightly.
Layers add depth. Avoid thick stacks.
Use scraps for inner layers. This stretches supplies.
23. Abstract Brush Stroke Wraps
Loose brush strokes feel relaxed. Use dry brush techniques. Let paper dry fully.
Keep colors limited. Frosting stays simple.
Paint in batches to save time. Cut after drying.
24. Subtle Speckled Paper Wraps

Speckled paper adds quiet texture. Wrap cleanly.
This style works widely. Frosting stays neutral.
Buy speckled cardstock or flick diluted paint lightly.
25. Classic Pattern Mix Wraps
Mixing patterns works when colors match. Limit to two patterns.
Arrange cupcakes in groups. This keeps order.
Use small paper packs. Save leftovers.
26. Simple Folded Edge Wraps
Folded edges add structure. Score lines before folding.
This style fits many themes. Frosting details show clearly.
Fold in batches. Store flat for reuse.
Conclusion
Custom cupcake wrappers offer a simple way to shape how desserts feel on a table without complex steps or high costs. With basic paper, scissors, and a little planning, you can create wraps that feel thoughtful and coordinated. Pick one or two styles that fit your event, batch your prep, and let the wrappers do the visual work while you focus on baking and sharing.

Leave a Reply