

If you want to add a warm, magical glow to your holiday décor without spending a fortune, a DIY Christmas light garland is the perfect project. It’s simple, customizable, and instantly transforms mantels, shelves, doorways, or even stair railings. Plus, you can make it look high-end with just a few accessible craft supplies.
In this guide, you’ll learn how to put together a glowing garland from scratch, style it like a Pinterest pro, and keep it looking beautiful all season long.
Gather Your Main Supplies
Before you start assembling, make sure you have everything ready. This helps the process stay quick and enjoyable.
Here’s what you’ll need:
- A faux or fresh greenery garland (any length you prefer)
- String LED lights (warm white or cool white depending on your theme)
- Floral wire or zip ties
- Optional accents: mini ornaments, pinecones, ribbon, faux berries, bells, dried orange slices, small bows

Choose accents based on your existing décor. For example:
- Red berries for a traditional look
- Gold ribbon for something more elegant
- Neutral tones for a farmhouse theme
Prepare the Base of the Garland
Your greenery garland is your foundation, so make sure it’s fluffed and full.
Start by:
- Gently shaking out the branches
- Spreading out the stems to give it volume
- Checking for gaps or sparse areas
If you’re using faux greenery, bend and adjust the wired branches until they look natural.

You can also combine two thinner garlands into one thicker one. Just overlap them and secure using floral wire every 10–12 inches.
Add the String Lights Evenly
Lights create the glow that makes your garland stand out, so this step matters.
Here’s the easiest method:
- Plug in the string lights first to ensure they work.
- Starting at one end of the garland, weave the lights in a loose S-shape through the greenery.
- Space them evenly—avoid clumping too many bulbs in one section.
- Use small pieces of floral wire or zip ties to hold the lights in place.
A subtle tip: Hide the light cord underneath greenery so only the bulbs show.
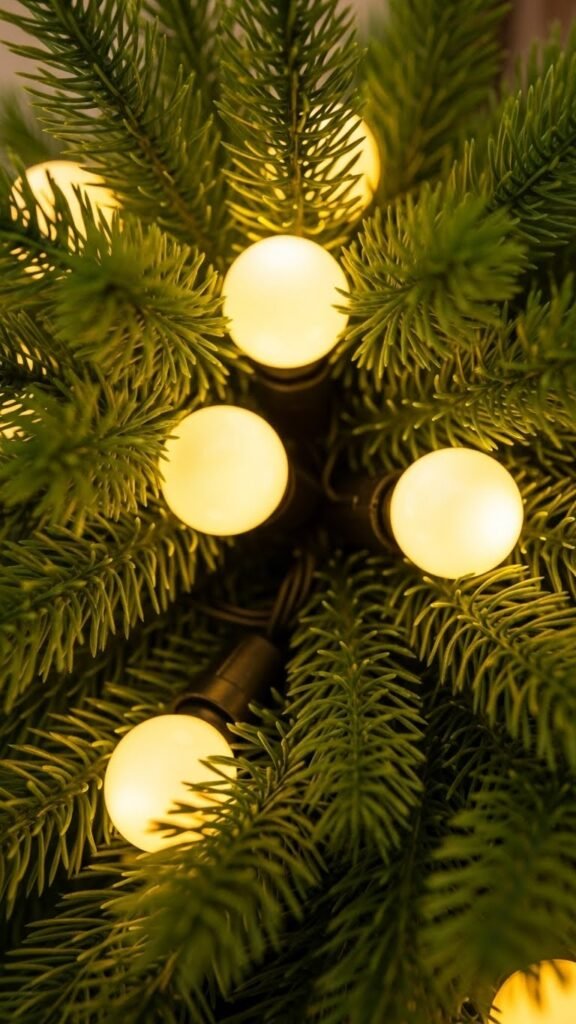
If you want a fuller glow, layer two sets of lights—one warm white, one cool white—but keep them subtle to avoid overpowering the greenery.
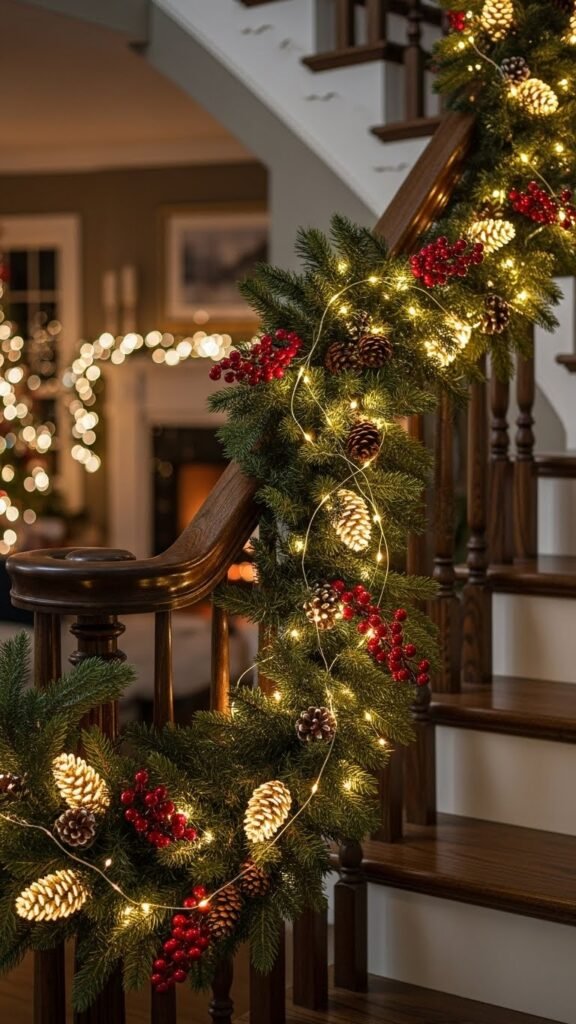
Decorate with Your Favorite Accents
Now comes the fun part—styling! Choose accents that match your holiday theme.
Here are simple ways to elevate your garland:
- Add small ornaments evenly across the length
- Tuck pinecones or faux berries between branches
- Wrap thin ribbon throughout the garland for a soft layered look
- Attach tiny bows for a whimsical touch
- Slide in a few dried orange slices for a natural, rustic vibe
Use floral wire to secure each piece so nothing slips out when you move it.
Keep the balance:
- Don’t overcrowd one section
- Mix textures (shiny, matte, natural elements)
- Step back and check symmetry as you decorate
Secure and Hang the Garland
When your garland looks just the way you imagined, it’s time to install it.
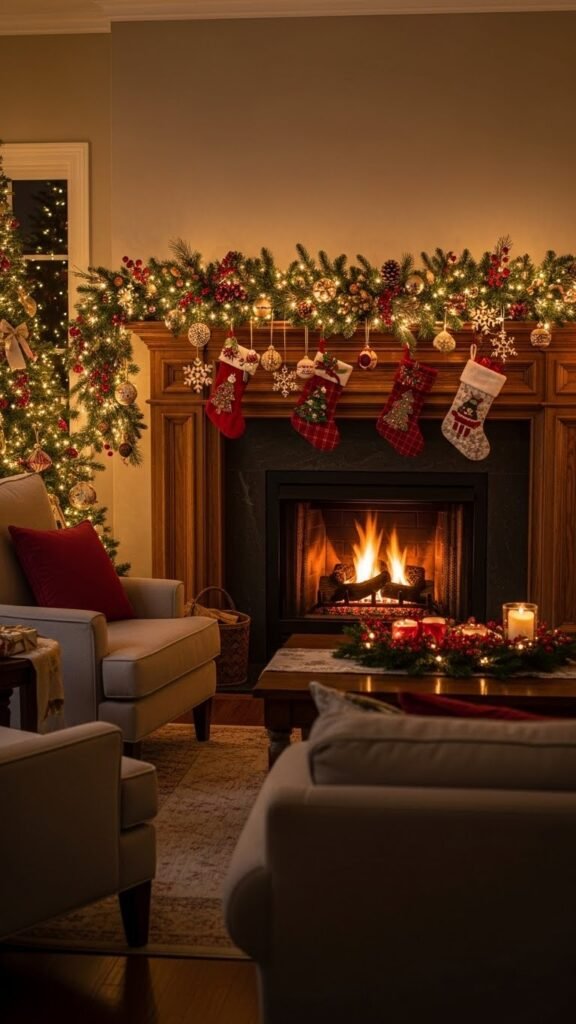
Popular places to hang your glowing creation:
- Mantels
- Staircase railings
- Door frames
- Front porch banisters
- Shelving units
- Console tables
To hang it securely:
- Use command hooks along the mantel or doorway
- Tie with ribbon for stair rails
- Use wire for porch railings
Make sure the plug is easy to reach if your lights aren’t battery powered.
For battery-powered lights, hide the battery pack behind the garland with a small piece of wire.
Extra Tips for a Perfect Glow
Want your garland to look professional? Try these helpful tricks:
- Use warm white lighting for a cozy, inviting feel.
- Layer multiple textures like berries, ribbon, and pinecones to add dimension.
- Choose accents with contrast so each piece stands out.
- Add scented pine branches or cinnamon sticks if you want a subtle seasonal fragrance.
- Keep balance in mind—work from the center outwards for symmetrical decorating.
If your garland still looks flat, add more small lights or tuck in extra greenery stems for fullness.
Final Thoughts
A glowing DIY Christmas light garland is the perfect blend of simple and stunning. You can craft it in under an hour, personalize it to any holiday theme, and enjoy the warm glow it adds to your home all season long.
Save this idea for later and brighten your space with your own handmade Christmas magic!

Leave a Reply