

Birthday banners are one of those details that instantly make a space feel festive—and when you make them yourself with a Cricut, they become even more special. Whether you’re celebrating a first birthday or a milestone party, a custom banner lets you match colors, themes, and styles perfectly. The best part? You don’t need advanced crafting skills to pull it off.

This guide walks you through everything step by step, with simple tips to help your banner look polished, playful, and totally party-ready.
Choose Your Banner Style and Theme First
Before turning on your Cricut, take a moment to plan the look. This step saves time and prevents wasted materials.
Ask yourself:
- Is the banner playful, elegant, or bold?
- Will it hang on a wall, dessert table, or doorway?
- Are you matching a specific party theme or color palette?
Popular banner styles include:
- Triangle or pennant flags
- Rectangular or scalloped shapes
- Layered flags with contrasting colors
Keep the message short and clear. Simple phrases like “Happy Birthday” or a name and age photograph best and are easy to space evenly.
Gather Materials You’ll Need
You don’t need a huge supply list, but quality materials make a noticeable difference.
Basic supplies:
- Cricut machine and StandardGrip mat
- Cardstock (65–80 lb works well)
- Fine-point blade
- Twine, ribbon, or string
- Hole punch or Cricut hole design
Optional upgrades:
- Glitter or textured cardstock
- Foil vinyl accents
- Foam dots for dimension
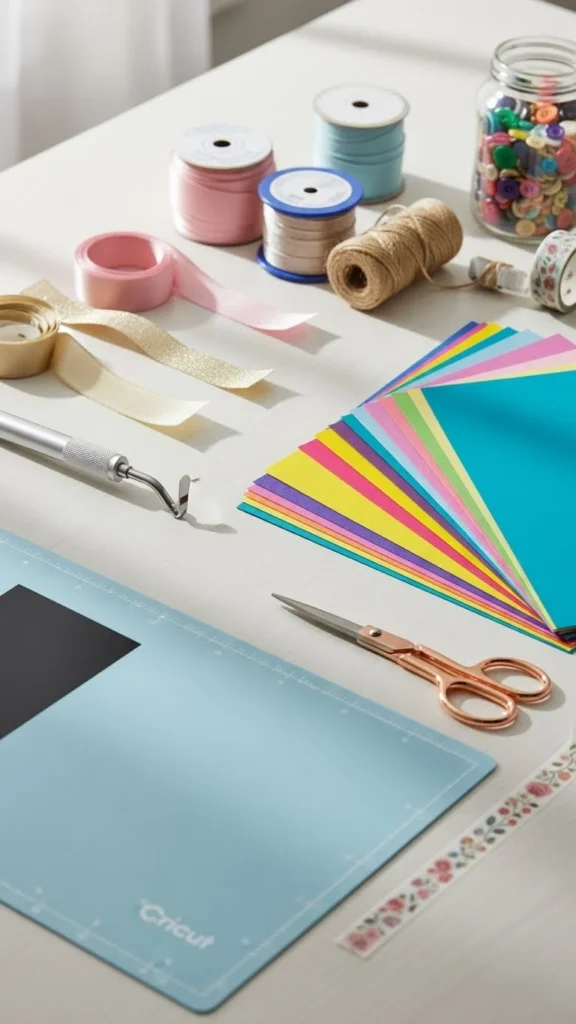
Choose sturdy cardstock so your banner hangs straight and doesn’t curl once assembled.
Design Your Banner in Cricut Design Space
Open Cricut Design Space and start with the banner shape. You can:
- Use a ready-made banner template
- Create your own shape with basic tools
Design tips that make banners look professional:
- Keep letters bold and easy to read
- Leave enough space between letters for cutting
- Size each flag consistently
Duplicate shapes instead of resizing individually. This keeps spacing uniform and saves time.
Before cutting, double-check:
- Letter alignment
- Correct material setting
- Final size fits your hanging space
Cut, Weed, and Prep the Pieces
Now the fun part—watching the Cricut do its thing.
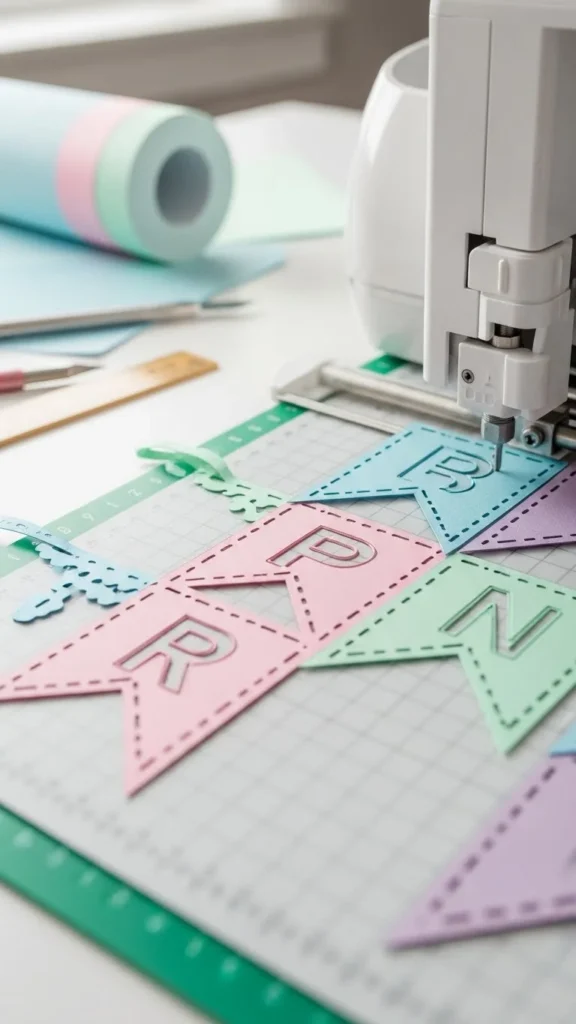
After cutting:
- Gently remove pieces from the mat
- Weed small details carefully
- Stack banner flags in order
If you’re layering cardstock or vinyl:
- Assemble each flag flat on the table
- Use light adhesive or glue dots
- Press firmly but avoid bending
Pro tip: Lay everything out on the floor or table in order before stringing. This helps catch spacing or spelling issues early.
Assemble and String the Banner
Once all pieces are ready, it’s time to bring the banner together.
Common stringing methods:
- Punch holes in the top corners
- Use pre-designed holes from Cricut
- Tape string to the back for a clean look

Assembly tips:
- Leave equal spacing between flags
- Measure string length before cutting
- Knot ends to prevent sliding
If the banner will hang outdoors or in a high-traffic area, use thicker string or ribbon for extra strength.
Add Finishing Touches That Stand Out
This is where your banner goes from “cute” to “wow.”
Simple upgrades:
- Layer letters with foam dots
- Add small paper cutouts like stars or shapes
- Mix matte and glitter cardstock
If you want the banner reusable:
- Avoid permanent glue
- Store flat in a large envelope
- Label pieces for future use
Small details make your banner feel custom and intentional—perfect for photos and party memories.
Style and Display Your Banner
Hang your banner where it naturally draws attention:
- Above a dessert or gift table
- Across a mantle or backdrop
- On a blank wall that needs color
Use removable hooks or tape that won’t damage walls. Step back and adjust spacing until it looks balanced.
Take a quick photo once it’s up—you’ll want to remember how good it turned out.
Final Takeaway
Making a Cricut birthday banner is an easy way to personalize any celebration without overspending. With a little planning, simple materials, and a few creative touches, you can design decor that looks thoughtful and photo-ready.
Save this tutorial for your next celebration—and don’t be surprised when guests ask where you bought your banner.

Leave a Reply